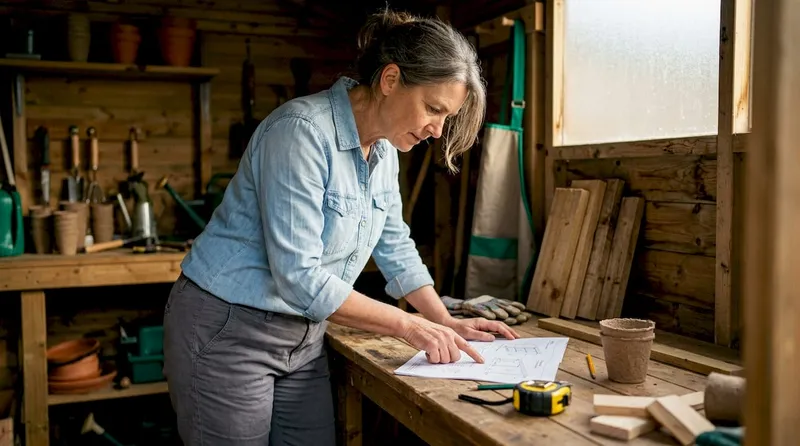
A successful DIY project plan is defined by three qualities: a clear goal, a realistic budget, and a step-by-step build sequence. Without all three, even popular DIY projects stall mid-build or run over cost. The examples of successful diy project plans covered here span outdoor furniture, custom cabinetry, and decorative woodworking. Each one demonstrates how structured planning, the right materials, and a few proven techniques produce results that rival professional work. Whether you are a first-time homeowner or a seasoned DIY enthusiast, these inspiring DIY project examples give you a proven framework to follow.
1. Budget-friendly outdoor dining table you can build in one day
A beginner-friendly outdoor dining table can be completed in a single day by two people using pocket hole joinery and pre-cut lumber. That timeline is achievable because pocket hole joinery eliminates the need for complex mortise-and-tenon cuts, reducing both skill requirements and build time significantly.
The material list stays short: cedar boards, exterior screws, and wood glue. Cedar resists moisture and warping outdoors, making it the practical choice over pine for garden furniture. Pre-cut lumber from a builders' merchant removes the need for a table saw, which keeps the tool list to a drill, a pocket hole jig, and a sander.
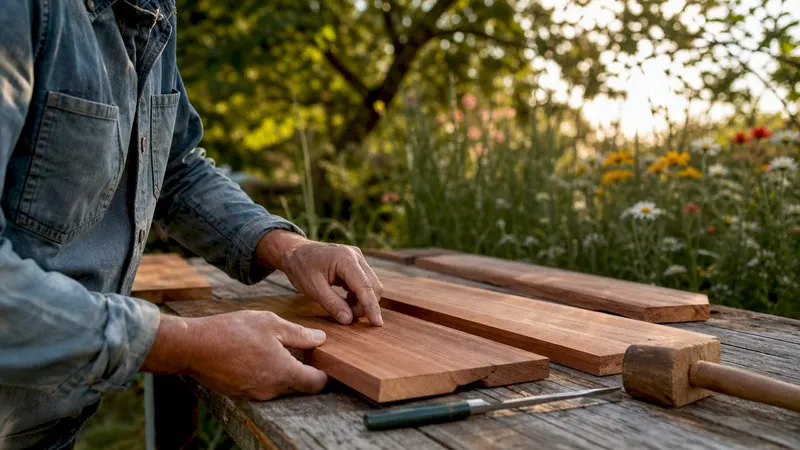
Workflow speed matters on a one-day build. Fast-curing adhesives like DAP Weldwood Instant Wood Adhesive cure in 30 minutes, allowing you to sand and finish joints without waiting overnight. That single product choice can save two to three hours on a project of this size.
Pro Tip: Cut all your pieces before you assemble anything. Laying every component out on the ground first lets you spot sizing errors before glue is involved.
The assembly sequence runs: build the tabletop first, then the leg frames, then join the two. Finishing with an exterior oil or decking stain protects the cedar and adds a polished look. Total material cost sits well within a budget-friendly DIY plan for most homeowners.
2. What makes custom DIY cabinetry successful: a mudroom locker build
Custom mudroom lockers built by DIY expert Jen Woodhouse cost less than £1,600 in materials, compared to potentially five figures for outsourced custom work. That represents at least 80% savings, which is the clearest argument for tackling cabinetry yourself when you have the patience for it.
The planning phase is where the savings are protected. Detailed drawings, a cut list, and a materials schedule prevent waste and reduce the chance of ordering the wrong sheet goods. Plywood, MDF face frames, and off-the-shelf hardware form the core of most budget-friendly cabinetry builds.
Site challenges are normal and not a reason to stop. Walls are rarely perfectly plumb, and floors are rarely perfectly level. According to Jen Woodhouse, planning, patience, and adaptability to unexpected challenges are the keys to successful custom cabinetry. Scribing a filler strip to an uneven wall, for example, takes ten minutes and produces a professional result.
Key steps for a successful mudroom locker build:
- Draw a detailed elevation plan with exact dimensions before purchasing materials.
- Build a cut list from the plan and check it twice against your sheet goods.
- Assemble carcasses on a flat surface to guarantee squareness before installation.
- Scribe and trim any panels that meet uneven walls or floors.
- Add face frames last to cover gaps and elevate the finished appearance.
Pro Tip: Clamp your carcass square before the glue sets. A diagonal measurement check (corner to corner) confirms squareness in under a minute.
3. Tapered planter box: a clever shortcut to a high-end look
A tapered planter box is one of the most visually impressive yet technically accessible successful DIY project ideas available to beginners. The secret lies in the construction method, not the geometry.
Anika Gandhi highlights the stacked box method as a clever shortcut that removes complicated cuts entirely. Instead of cutting four angled sides and mitreing the corners, you build two rectangular boxes of different sizes and stack them. The taper is an optical effect created by the size difference between the two tiers.
The only angle involved is a fixed 7° bevel on the top edge of each board. That single cut, repeated consistently, gives the planter its refined profile without requiring compound mitre calculations. A standard mitre saw with a bevel adjustment handles it in seconds.
Here is the build sequence:
- Cut all boards to length for both box tiers.
- Set your saw to a 7° bevel and cut the top edge of each board.
- Assemble the larger lower box with exterior screws and wood glue.
- Assemble the smaller upper box using the same method.
- Sand both tiers to 120 grit, then 220 grit for a smooth finish.
- Stack and attach the upper box to the lower box, centred on all sides.
- Apply an exterior wood finish or paint to protect against weather.
Building a tapered planter with select cedar costs £65–£95, saving 50–70% compared to retail prices of £120–£240 for equivalent planters. That cost gap makes the two-hour build time a straightforward decision for any homeowner wanting kerb appeal on a budget.
4. Managing precision in DIY storage furniture for a professional finish
Precision separates a DIY storage piece that looks homemade from one that looks built-in. Manual adjustments during assembly to account for material thickness and squareness are what produce perfectly hanging doors and flush drawer fronts.
MDF and plywood both have nominal thicknesses that vary slightly between sheets. A door sized to a nominal opening may bind or gap once the actual sheet thickness is measured. The fix is simple: measure every sheet before cutting, not after.
Key precision habits for storage furniture:
- Measure sheet thickness with a digital calliper before drawing your cut list.
- Build a story stick (a scrap piece marked with all your key dimensions) to transfer measurements without a tape measure.
- Dry-fit every component before applying glue or driving screws.
- Check for square at every stage using a reliable engineer's square.
- Adjust hinge positions in small increments rather than redrilling new holes.
A hidden robot vacuum bay integrated into a storage bench is one example of how functional planning adds real value to a build. The bay requires precise internal dimensions matched to the specific vacuum model, which makes the measurement discipline above non-negotiable.
Pro Tip: Repurpose offcuts as spacers and shims during assembly. They are already the right thickness and cost nothing.
5. When to DIY and when to hire a professional
Not every home improvement project suits a DIY approach. The decision depends on three factors: your skill level, the regulatory requirements of the work, and the cost of getting it wrong.
Large DIY renovations often require outsourcing complex or regulated work such as moving gas lines or ventilation ducts, while the homeowner manages assembly and installation. That split approach keeps costs down without compromising safety or building code compliance.
| Project type | DIY suitability | When to hire a professional |
|---|---|---|
| Outdoor furniture build | High | Rarely needed |
| Custom cabinetry and millwork | High with planning | For structural modifications |
| Bathroom tiling and fitting | Moderate | For plumbing rough-in |
| Electrical work | Low | Always for new circuits |
| Gas line relocation | None | Always, by law |
| Kitchen cabinet installation | High | For structural wall changes |
The pattern is consistent: finish work and assembly suit DIY well, while MEP rough-in (mechanical, electrical, and plumbing) requires licensed contractors. Knowing this boundary before you start a project protects both your budget and your safety.
For guidance on staging your renovations in the right order, a room-by-room priority plan helps you sequence projects so that structural and regulated work is completed before cosmetic finishes begin.
Useful questions to ask before committing to a DIY approach:
- Does this work require a building notice or planning permission?
- Do I have the tools, or will hiring them cost more than the labour saving?
- What is the cost of a mistake, and can I reverse it?
- Is there a safety risk if the work is done incorrectly?
6. How to plan any DIY project from scratch
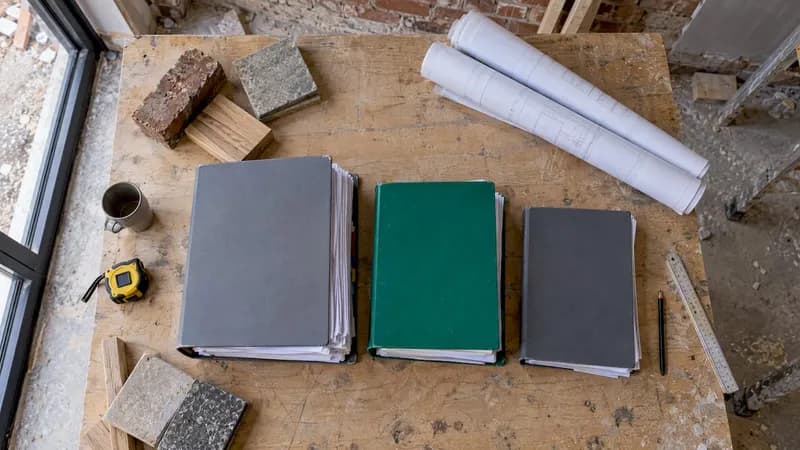
Every successful DIY project plan follows the same underlying structure, regardless of the project type. Meticulous measurement and documentation are the foundation, preventing costly errors with materials that cannot be returned once cut.
The planning process has five distinct stages:
- Define the outcome. Write down exactly what the finished project looks like, including dimensions, materials, and finish.
- Draw a scaled plan. Even a hand-drawn sketch with accurate measurements prevents misunderstandings during the build.
- Build a cut list and materials schedule. List every component, its dimensions, and the quantity of raw material needed.
- Set a realistic timeline. Assign each build stage a time estimate and add a 20% buffer for adjustments.
- Identify your skill gaps. If a stage requires a technique you have not practised, build a test piece from scrap first.
This framework applies equally to a simple tapered planter and a full mudroom cabinetry installation. The scale changes, but the discipline does not. For larger projects, a home layout planning guide provides additional structure for first-time builders managing multiple trades and timelines.
Budgeting deserves its own step. Hidden costs in DIY projects include sandpaper, finishing products, replacement blades, and fixings that are easy to overlook when pricing materials. A contingency of 10–15% on your total material budget absorbs these without derailing the project.
Key takeaways
Successful DIY project plans share three non-negotiable elements: a written plan with accurate measurements, a realistic budget with contingency, and a build sequence that accounts for skill level and site conditions.
| Point | Details |
|---|---|
| Plan before you purchase | A detailed cut list and scaled drawing prevent waste and costly material errors. |
| Use technique shortcuts wisely | Methods like the stacked box approach and pocket hole joinery reduce complexity without sacrificing quality. |
| Budget realistically | Add 10–15% contingency to material costs to cover fixings, finishes, and adjustments. |
| Know your limits | Finish work and assembly suit DIY well; MEP rough-in requires licensed professionals. |
| Precision drives quality | Measuring sheet thickness, dry-fitting components, and checking squareness at every stage separates amateur from professional results. |
What I have learned from years of planning DIY projects
The single biggest mistake I see in DIY project plans is treating the measurement stage as a formality. Builders with decades of experience still measure twice and cut once, not because they lack confidence, but because they understand that a 2mm error in a cut list compounds across 20 components into a project that does not fit.
Patience is the skill that no tool can replace. The urge to move to the next stage before the glue has cured, or to hang a door before the carcass is confirmed square, is where most DIY projects lose their professional edge. Slowing down at the critical junctions, assembly, fitting, and finishing, is what produces work you are proud of six months later.
Adaptability matters as much as the original plan. Walls are not plumb, floors are not level, and timber has character. The plan is a starting point, not a contract. When you encounter an uneven wall or a board with a bow, the right response is a calm adjustment, not frustration. The most experienced DIY builders I know treat every unexpected challenge as a normal part of the process.
Break every project into stages small enough to complete in a single session. Finishing one stage completely before starting the next keeps motivation high and quality consistent. A mudroom locker build that takes three weekends, done properly, is far more satisfying than one rushed into two.
— Azai
FAQ
What are the key elements of a successful DIY project plan?
A successful DIY project plan requires a clear written goal, accurate measurements, a detailed cut list, a realistic budget with contingency, and a step-by-step build sequence matched to your skill level.
How much can I save by building DIY cabinetry instead of buying custom?
Custom mudroom lockers built as a DIY project cost under £1,600 in materials, compared to potentially five figures for outsourced custom work, representing at least 80% savings.
What DIY projects are suitable for complete beginners?
Outdoor furniture builds using pocket hole joinery and tapered planter boxes using the stacked box method are both beginner-friendly, requiring only basic power tools and a single afternoon.
When should I hire a professional instead of doing it myself?
Hire a licensed professional for any work involving gas lines, new electrical circuits, or plumbing rough-in. These tasks carry legal requirements and safety risks that make DIY unsuitable regardless of skill level.
How do I keep a DIY project on budget?
Build a full materials schedule before purchasing anything, add a 10–15% contingency for fixings and finishes, and check your renovation budgeting plan for hidden costs that are easy to overlook at the planning stage.