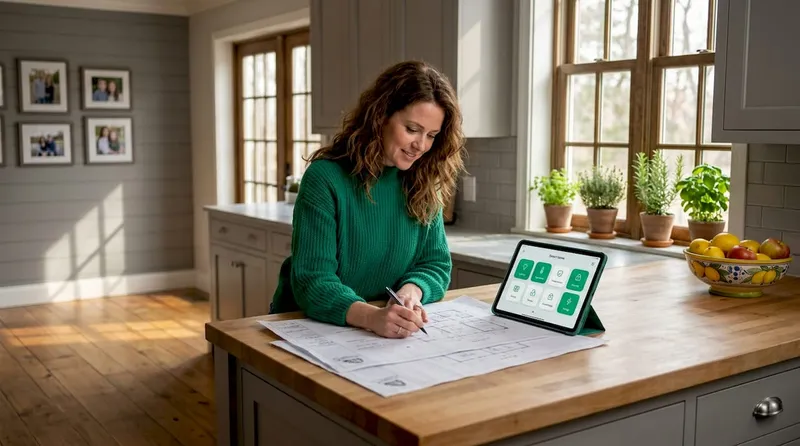
Most homeowners assume that adding smart technology means accepting visible sensors, cluttered cables, and panels that fight with their interiors. The opposite is true. When you understand how smart home tech integrates design, also referred to in the industry as architectural smart home integration, the technology becomes almost invisible. It sits inside your walls, beneath your ceilings, and within your lighting. This guide covers what that integration actually looks like in practice, from the first architectural drawings through to the devices you choose and the controls you live with every day.
Table of Contents
- Key takeaways
- How smart home tech integrates design from the ground up
- Making technology disappear into your interiors
- Unified control systems and smart home usability
- Practical tips for homeowners and design enthusiasts
- My take on technology and design as one discipline
- Plan your smart home integration with House A-Z
- FAQ
Key takeaways
| Point | Details |
|---|---|
| Plan before you build | Discuss smart home infrastructure with your architect before electrical rough-in begins to avoid costly retrofits. |
| Pre-wiring saves money | Installing cabling during construction is 60 to 80% cheaper than retrofitting after drywall is up. |
| Design and tech can coexist | Recessed hardware, in-wall panels, and flush-mounted controls keep technology visually unobtrusive. |
| Unified control reduces clutter | Scene-based automation lets one tap manage lighting, heating, and shading without multiple devices in view. |
| Professional collaboration matters | Working with integrators who understand architecture produces cleaner results and fewer compromises. |
How smart home tech integrates design from the ground up
Architectural smart home integration is not something you add at the end of a project. It is a set of decisions made during the earliest stages of design, alongside your floor plan, structural layout, and MEP (mechanical, electrical, and plumbing) drawings. When technology is considered at this stage, the result is a cleaner design and more consistent system performance, with fewer compromises during construction.
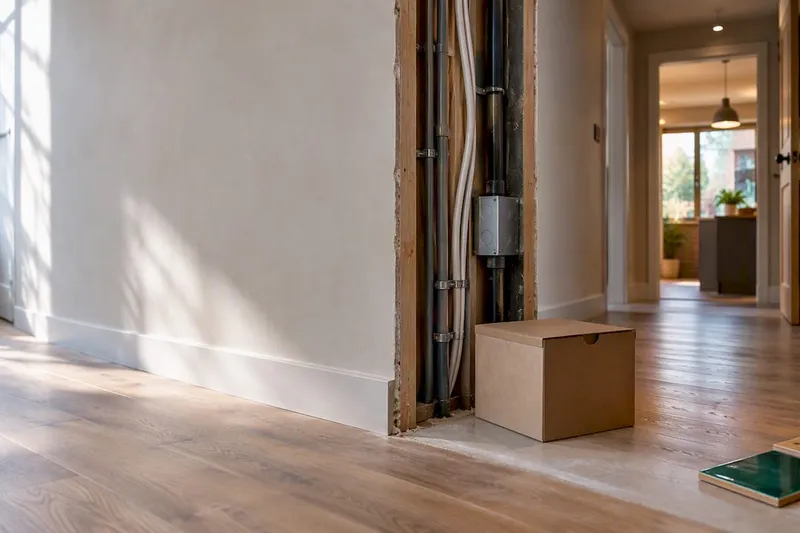
The practical reason for this is simple. Once your walls are closed and your ceilings are finished, retrofitting technology requires cutting into plasterboard, running surface-mounted conduit, and accepting limitations on where devices can be placed. That is both expensive and visually disruptive. By contrast, a low-voltage rough-in completed before drywall costs a fraction of the same work done afterwards.
What to plan before the walls close
The decisions you make at schematic design phase should include the following:
- Ethernet drops: Every room that will contain a smart display, camera, speaker, or media device needs a hardwired network point. Wi-Fi alone is unreliable for performance-critical devices.
- Conduit pathways: Running empty conduit through walls and floors during framing gives you the ability to pull new cables in the future without demolition.
- Sensor locations: Motion sensors, occupancy detectors, and air quality monitors need to sit in specific positions to function correctly. These should appear on your electrical drawings before rough-in.
- Control panel positions: In-wall touchscreens and scene controllers need standard electrical boxes at finish height. Their placement affects both usability and how they read visually in the room.
- Centralised equipment space: A structured cabling rack in a utility cupboard or dedicated comms space keeps your router, patch panel, and smart home hub out of living areas entirely.
Pro Tip: Ask your electrician to coordinate the low-voltage plan with the electrical rough-in before the rough-in inspection closes. Once the inspector signs off and insulation goes in, your window to run cables cheaply has passed.
Network pathways and primary node locations are best addressed during the schematic design phase, so that the entire system can be managed as a unified infrastructure rather than a collection of independent devices added room by room.
Making technology disappear into your interiors
The central design principle for smart homes that look considered rather than cluttered is information hiding. The goal is to move technology into the architecture itself, so that devices are either invisible or designed to read as architectural elements rather than gadgets.
This shapes every product decision you make, from lighting to controls to audio. Here are the strategies that work most reliably:
- Recessed and flush-mounted hardware: Downlights, sensors, and speakers recessed into ceilings and walls leave no visible profile when viewed from below. Anything surface-mounted competes with your interior for attention.
- In-wall control panels: Devices like the Shelly Wall Display XL, a 10.1-inch touchscreen that installs in a standard electrical box, sit flush with the wall plane and read as a considered finish element rather than an afterthought.
- Integrated LED lighting channels: Slat-wall panels and architectural joinery can conceal LED strips entirely. Products in the FlexFit series, for example, allow LED wiring to vanish into a 0.51-inch channel so the hardware is completely invisible when the light is off.
- Centralised equipment racks: Moving routers, smart hubs, and patch panels into a single dedicated enclosure eliminates the cluster of boxes and cables that typically gathers behind televisions or in home offices.
- Design-aligned control placement: Controls placed at consistent heights, aligned with door frames and existing switches, integrate into the visual rhythm of the room rather than interrupting it.
"Visual complexity is best hidden by moving technology into the architecture, using standard wall boxes and recessed channels." This principle, supported by integrators working at the intersection of architecture and smart technology, is the single most reliable way to maintain design integrity across a technology-rich home.
The control interfaces you choose should be planned as finish-level elements, considered alongside skirting profiles, switch plates, and joinery details, not selected from a catalogue after the room is decorated.
Unified control systems and smart home usability
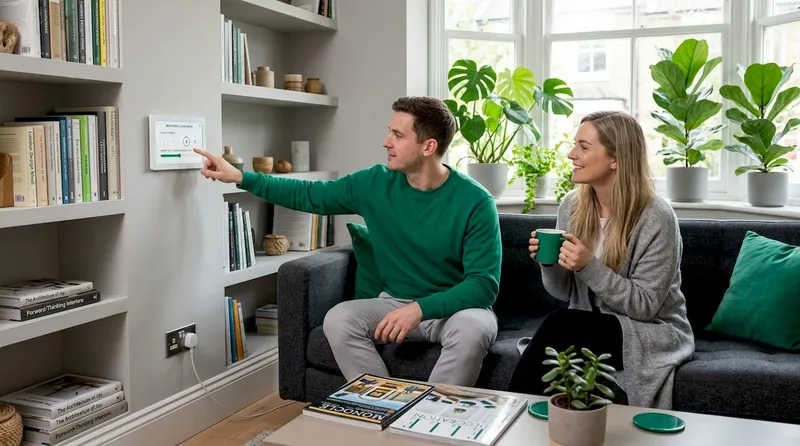
Once your infrastructure is in place and your devices are selected, the experience of living with a smart home depends almost entirely on how control is organised. Fragmented control, where each device has its own app or remote, is both frustrating and visually messy. Unified control, where a single interface manages everything, is how smart home design ideas translate into daily usability.
Here is how to structure control so it works without adding visual clutter:
- Choose a central hub or platform. Whether you use Apple Home, Google Home, or a dedicated controller, all devices should be visible in one place. This reduces the number of physical controls you need in any given room.
- Install scene controllers at key entry points. A single button or touchscreen at the bedroom door that sets your "good morning" or "good night" scene, adjusting lighting, heating, and window shading in one tap, is more practical and more elegant than managing each system separately.
- Use physical buttons where speed matters. Touchscreens work well for browsing settings. For everyday actions like turning off all lights or locking the front door, a physical button is faster and requires no visual attention.
- Plan audio integration early. In-ceiling and in-wall speakers connected to your central system mean music and intercom functionality with no visible hardware. The amplifier and source equipment live in your centralised rack.
- Automate by presence and time. Occupancy-based lighting and scheduled heating require no interaction at all. Your home adjusts around your behaviour rather than requiring you to manage it.
Pro Tip: Devices like the Aqara Touchscreen Switch S100 combine presence sensing with scene control and physical buttons for quick execution. A single unit at a room entrance can replace four or five separate controls.
Smart homes managed by a central hub offer remote control, automation, and measurable energy savings because all connected devices operate as a coordinated system rather than independent units.
Practical tips for homeowners and design enthusiasts
Knowing the principles is one thing. Putting them into practice during a real build or renovation requires specific decisions at specific times. The checklist below reflects the most common points where homeowners lose the opportunity to integrate technology well.
- Start the conversation before schematic design is complete. Once your architect has fixed the structural layout, the easiest opportunities for conduit runs and equipment spaces have already been decided.
- Produce a device location plan alongside your electrical drawings. Mark every Ethernet drop, every sensor position, and every control panel location on the floor plan. Your electrician needs this before rough-in begins.
- Specify conduit in all walls and floor voids. Even if you are not certain what technology you will install, empty conduit costs almost nothing during construction and preserves your options indefinitely.
- Research smart home infrastructure during build for ADUs and extensions, as these secondary structures have the same integration requirements as the main home and are often overlooked.
- Select devices with design-focused options. Most major smart lighting brands now offer flush-mount and in-wall variants. Specify these from the start rather than retrofitting standard products later.
- Engage a smart home integrator early. An integrator who works alongside architects and builders will flag infrastructure requirements before they become expensive problems.
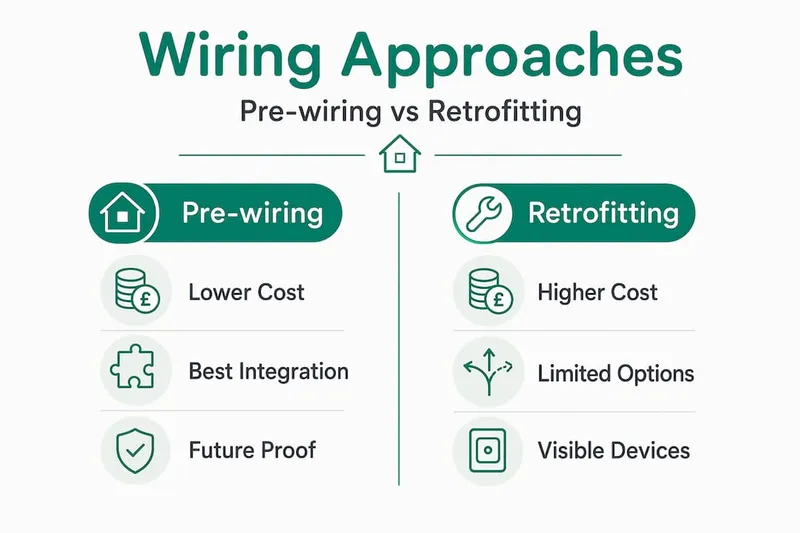
Pre-wiring vs retrofitting: a direct comparison
| Factor | Pre-wiring during build | Retrofitting after completion |
|---|---|---|
| Cost | Significantly lower | 60 to 80% more expensive |
| Visual impact | Cables fully concealed | Surface conduit often visible |
| Flexibility | Full device placement freedom | Limited by wall and ceiling access |
| Disruption | None, part of normal construction | Significant, requires opening walls |
| Future-proofing | Empty conduit allows future upgrades | Each upgrade requires new works |
The low-voltage backbone should be designed around a centralised rack and coordinated conduit paths before rough electrical completion. This single decision determines how clean your finished home will look and how easily it can be updated over time.
My take on technology and design as one discipline
I have seen the full range of outcomes in residential projects. The ones that look and work the best share one thing in common: the technology was treated as part of the architecture from day one, not bolted on afterwards.
What I find most telling is how often the late-add approach happens not from ignorance but from a reasonable assumption that tech can always be sorted out later. It cannot. Once the walls are closed, you are making compromises. Every surface-mounted cable tray and every exposed hub is a visual decision you did not mean to make.
The projects that genuinely excite me are those where you can walk into a room and not identify a single piece of technology, yet the lighting adjusts as you enter, the temperature is already right, and everything you need is one tap away. That outcome is not expensive or complicated. It is the result of a conversation that happened early enough.
What I have come to believe is that integrating technology in design should be framed not as a technical upgrade but as a design discipline. When architects, builders, and technology consultants collaborate from schematic design onwards, how technology enhances home design stops being a question and becomes the standard.
View smart tech the way you view plumbing or electrical: it belongs in the walls, it should be invisible in use, and the right time to plan it is before anything is built.
— Azai
FAQ
What is smart home integration?
Smart home integration, also called architectural smart home integration, is the process of planning and installing connected technology, such as lighting, climate control, security, and audio systems, so they operate as a single coordinated system managed through a central hub or app.
When should I start planning smart home technology?
The best time is during schematic design, before electrical rough-in begins. Pre-wiring during construction is significantly cheaper and allows full freedom over device placement, making early planning the most cost-effective approach.
How do I keep smart devices from ruining my interior design?
Choose recessed, flush-mounted, or in-wall hardware wherever possible, and route all cabling through concealed conduit. In-wall touchscreens, recessed lighting channels, and centralised equipment racks remove visible technology from living spaces without reducing functionality.
Do I need a professional integrator?
For whole-home systems, working with an integrator who collaborates with your architect and builder produces better results than self-installing devices independently. They ensure that sensor placement and unified control are treated as architectural decisions rather than afterthoughts.
What is the cost difference between pre-wiring and retrofitting?
Pre-wiring during construction can be 60 to 80% cheaper than retrofitting smart home cabling after drywall is completed. The cost gap is driven by the labour and disruption involved in opening finished walls and ceilings to run new cables.