A home renovation mood board is a curated visual collection that translates abstract design ideas into a shared, tangible reference for everyone involved in a project. When you build a home renovation mood board together, you give your renovation a clear direction before a single tile is ordered or a paint colour is chosen. The process draws on established design practice: collecting 40–60 images before curating down to 12–20 focused elements, and defining 3–5 keywords that describe how a space should feel. Done well, a collaborative mood board prevents costly misalignments and keeps both partners pointing in the same direction throughout the build.
What tools do you need to build a home renovation mood board together?
The right tools determine how easily you and your collaborator can contribute, revise, and share ideas. Digital platforms and physical materials each have genuine strengths, and many couples use both.
Digital platforms
Canva, Figma, and Milanote are the three most widely used platforms for creating a design mood board for home projects. Canva suits those who want drag-and-drop simplicity with no design background required. Figma works well when you need precise layout control and real-time co-editing. Milanote is built specifically for visual planning and lets you arrange images, notes, and links on a freeform board.

All three allow multiple people to edit simultaneously, which is the core requirement for a truly collaborative mood board for renovations. Cloud storage means neither partner loses access if a laptop fails.
Physical boards
A corkboard pinned with paint swatches, fabric samples, and magazine clippings remains one of the most practical tools for a DIY renovation mood board. Physical mood boards let you test materials and colours under real lighting conditions in the actual room. A digital screen cannot replicate how a warm-toned tile looks under your kitchen's north-facing window at midday.
The practical choice depends on your working style. Use the table below as a quick guide.
| Format | Best for | Key advantage | Main limitation |
|---|---|---|---|
| Digital (Canva, Figma, Milanote) | Remote collaborators, frequent updates | Real-time sharing and editing | Cannot test physical textures or lighting |
| Physical (corkboard, swatches) | In-person review, material testing | Accurate colour and texture in real light | Harder to share remotely |
| Hybrid (both) | Most renovation projects | Combines flexibility with tactile accuracy | Requires more time to maintain both |
Key materials to gather regardless of format:
- Colour swatches: Paint chips, fabric samples, or printed hex references
- Imagery: Room photographs, architectural details, lighting styles
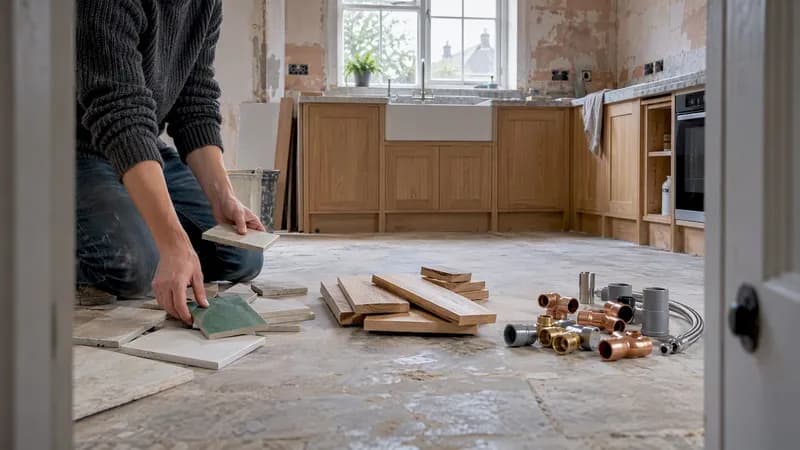
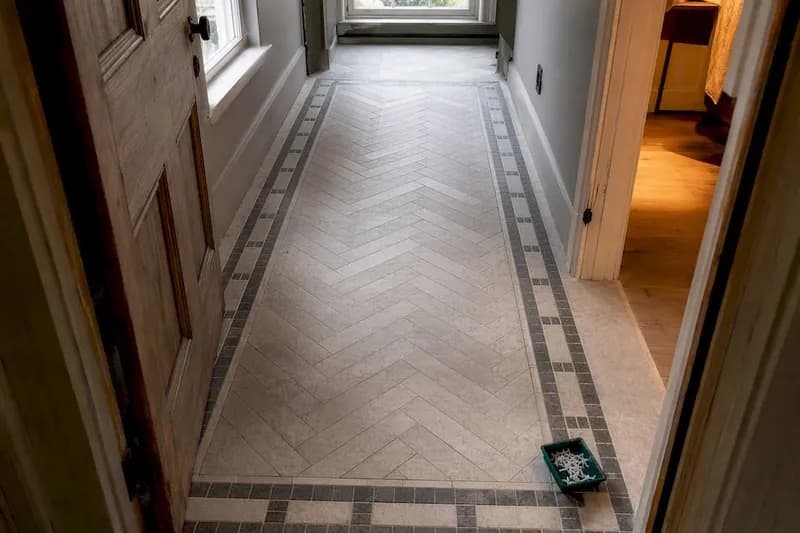
- Texture references: Tile samples, timber offcuts, wallpaper strips
- Typography and finish references: For kitchens and bathrooms especially
- Product anchors: Actual fixtures or fittings you have already chosen or shortlisted
Pro Tip: Choose your platform based on where your collaborator is most comfortable. The best tool is the one both of you will actually use consistently.
How do you define goals and gather visual elements effectively?
Clear goals prevent a mood board from becoming a collection of pretty images with no shared purpose. The most common mistake couples make is gathering images they individually love without first agreeing on how the finished space should feel.
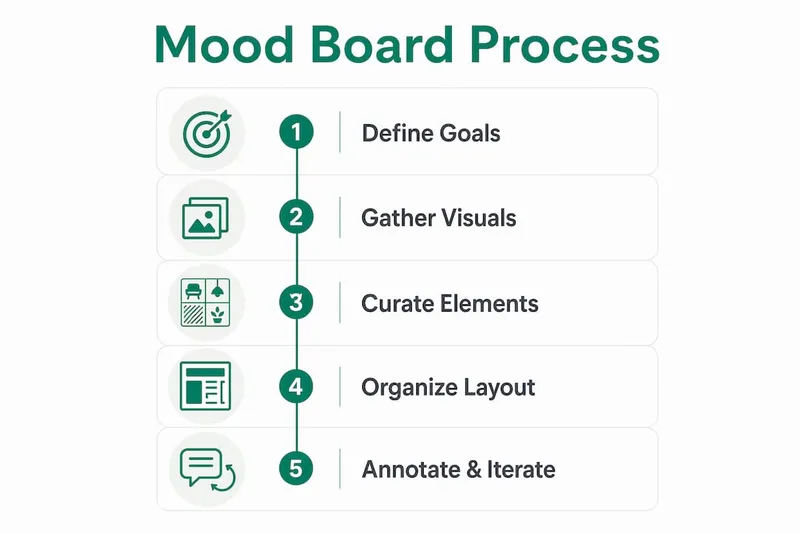
Start by writing down 3–5 keywords together. Words like "calm," "industrial," "warm," or "airy" act as a filter for every image you consider adding. Defining the intended mood before sourcing images keeps the board focused and can reduce the entire creation process to under an hour for a single room. That speed matters when you are juggling contractor quotes and planning permissions.
A structured gathering process
- Agree on keywords first. Sit together and write 3–5 words describing how the space should feel, not just look. "Relaxed coastal" is more useful than "blue."
- Set a collection target. Aim for 40–60 images and samples before you begin cutting anything. Sources include Pinterest boards, architecture magazines, real rooms you have visited, and product catalogues from suppliers.
- Use real product anchors. If you have already chosen a kitchen worktop or bathroom basin, pin it to the board first. Real product anchors ground the board in what is actually achievable and prevent the design from drifting toward the unaffordable.
- Separate boards by room. A single board covering every space in the house becomes unmanageable. Create individual boards per room that all reference a shared colour palette. This approach maintains home-wide cohesion while respecting that a bedroom and a kitchen have very different functional needs.
- Flag personal favourites separately. Each collaborator should mark their non-negotiables. This makes the curation conversation more honest and less personal.
Pro Tip: If an image is beautiful but does not match your keywords, leave it out. "Pretty but irrelevant" is the fastest way to dilute a mood board's usefulness.
How do you curate, organise, and refine the board collaboratively?
Curation is where a mood board becomes genuinely useful. Collecting images is easy. Cutting them down to the ones that truly matter is the skill.
The target is to reduce your 40–60 gathered items to 12–20 impactful elements that each earn their place. Every image that survives the cut should connect directly to at least one of your agreed keywords. If it does not, remove it regardless of how much one partner likes it.
Layout and organisation
Arrangement affects how the board reads. A grid layout works well for digital boards because it creates visual order and makes it easy to compare colours and textures side by side. A collage layout suits physical boards and can better reflect the layered, textured quality of a finished room. Grouping elements by colour family first, then by texture, helps both partners see whether the palette is consistent.
A renovation mood board should include five core components: 3–6 colours, typography references, photography and lighting styles, tactile textures, and the defining keywords themselves. Keeping all five present prevents the board from becoming one-dimensional.
Annotation and iteration
Annotating each image is one of the most underused practices in home renovation mood boarding. Labelling why an image was chosen prevents misinterpretation. "Included for the quality of light, not the furniture style" is a note that saves an argument later. Write brief labels directly on digital boards or use sticky notes on physical ones.
Treat the board as a living document throughout the renovation. Final execution boards often look different from the original version because constraints change: a tile goes out of stock, a budget shifts, a contractor suggests an alternative. Revising the board is not failure. It is the process working correctly.
| Stage | Action | Output |
|---|---|---|
| Collection | Gather 40–60 images and samples | Raw reference library |
| Keyword filter | Remove anything not matching 3–5 keywords | Shortlist of 20–30 items |
| Curation | Cut to 12–20 impactful elements | Core mood board |
| Annotation | Label intent behind each image | Annotated, shareable board |
| Iteration | Revise as project constraints evolve | Living document |
How can collaborators resolve disagreements through the mood board process?
Disagreements over design are normal. The mood board process gives you a structured way to surface and resolve them before they become expensive decisions on site.
The most effective reframe is to present the mood board as a proposal, not a final decision. When one partner shares their board as "here is what I am thinking" rather than "here is what we are doing," the other person can engage constructively rather than defensively. This single shift changes the tone of most design conversations.
Four practical steps for productive disagreements:
- Ask before reacting. When you see an image you dislike, ask why your partner included it before saying no. The reason is often different from what you assumed.
- Separate the feeling from the specific image. You might both want "warmth" but have chosen different images to represent it. Identifying the shared feeling is more useful than debating individual pictures.
- Use the board as a decision filter. When a contractor proposes a material or finish, hold it against the mood board. If it does not fit, the board gives you an objective reason to decline rather than a personal preference.
- Test physical samples in the room. Bring shortlisted tiles, paint chips, and fabric swatches into the actual space. Colour perception changes significantly under different lighting conditions, and what looks right on screen may read differently in a north-facing room in january.
"Defining how a space should feel, rather than just how it should look, gives collaborators a shared filter for every decision that follows." Source
Connecting your mood board decisions to your renovation budget early also prevents the board from drifting into aspirational territory that the project cannot support.
Key takeaways
A collaborative home renovation mood board works best when it starts with shared keywords, gathers broadly, curates ruthlessly, and evolves throughout the project rather than being fixed at the outset.
| Point | Details |
|---|---|
| Start with keywords | Agree on 3–5 mood words before gathering any images to keep the board focused. |
| Gather broadly, then cut | Collect 40–60 items, then reduce to 12–20 elements that each match your keywords. |
| Annotate every image | Label why each image was chosen to prevent misinterpretation among collaborators. |
| Test physically | Bring swatches and samples into the real room to check colours under actual lighting. |
| Treat it as living | Revise the board as constraints change rather than treating it as a fixed plan. |
Why I think most couples approach mood boards the wrong way
Most couples I have seen start a renovation mood board by opening Pinterest and saving everything they find attractive. Within a week, they have 200 images and no clearer idea of what they actually want. The board has become a problem rather than a solution.
The fix is counterintuitive. Do less, earlier. Spend thirty minutes agreeing on five words before you save a single image. Those five words will do more work than any algorithm or inspiration feed. They act as a filter that makes every subsequent decision faster and less contentious.
The other mistake is treating the mood board as a finished product. Couples often feel they have "failed" when the board changes halfway through a renovation. The opposite is true. A board that evolves shows the process is working. You are responding to real constraints, real materials, and real costs rather than a fantasy version of the project.
The couples who get the most from this process are the ones who keep the board visible throughout the build. Pin it to the wall of the room being renovated. Bring it to contractor meetings. Use it to explain your intent to tradespeople who have not been part of the design conversation. A mood board that stays in a folder on your laptop helps no one.
One last thought: the mood board is not about aesthetics alone. It is a communication tool. The clearer it is, the fewer expensive misunderstandings you will have on site. That is the real return on the time you invest in building it well.
— Azai
FAQ
What is a renovation mood board?
A renovation mood board is a curated visual collection of images, colour swatches, textures, and material references that defines the intended look and feel of a space. It acts as a shared reference for everyone involved in the project.
How many images should a mood board contain?
The most effective mood boards contain 12–20 curated images, selected from an initial collection of 40–60 references. Fewer images create a clearer, more focused design direction.
What is the best platform for a collaborative mood board?
Canva, Figma, and Milanote all support real-time collaboration and are widely used for home renovation mood boards. The best choice depends on your technical comfort and how frequently you need to update the board.
How do you stop a mood board from becoming cluttered?
Use 3–5 keywords describing the intended mood as a filter. Any image that does not connect to at least one keyword should be removed, regardless of how visually appealing it is.
Should you create one board for the whole house or separate boards per room?
Separate boards per room work better for most renovations, provided they all reference a shared colour palette. This approach maintains consistency across the home while respecting that each space has different functional requirements.