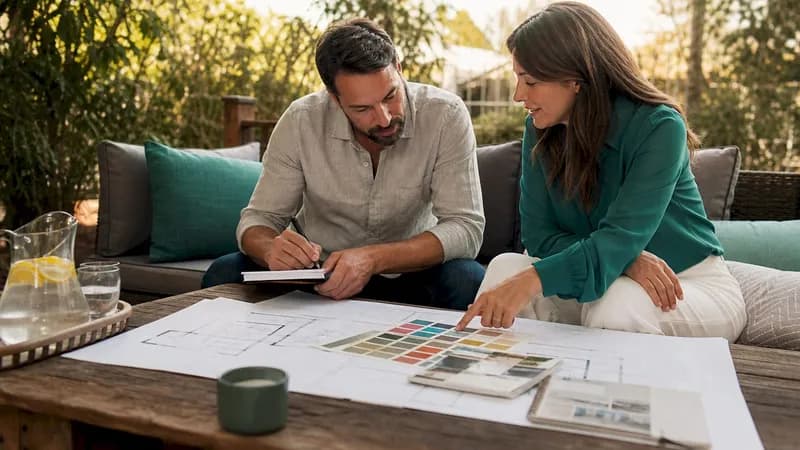
A shared home renovation vision is the process of aligning design concepts, practical plans, and budget priorities between partners before a single wall comes down. Without this alignment, couples face costly change orders, delayed decisions, and rooms that feel pulled in opposite directions. The good news is that building a clear, joint home makeover plan does not require a design degree. With the right tools and a structured approach, you can create shared home renovation vision that reflects both of you and guides your project from the first sketch to the final coat of paint.
What tools help you create a shared home renovation vision?
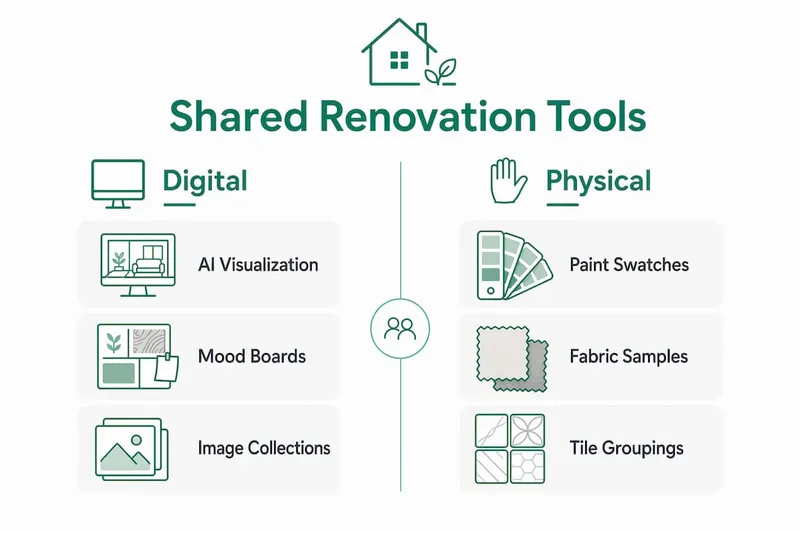
The most effective tools for building a shared design vision fall into two categories: digital and physical. Each serves a different purpose, and the strongest renovation plans use both together.
Digital tools include AI visualisation platforms, mood board apps, and shared image collections. AI visualisation tools can generate photorealistic room previews in roughly 30 seconds, giving you and your partner a concrete image to react to rather than an abstract description. These platforms typically offer 25 or more design styles, and most couples test 5–10 variations per room before settling on a direction they both feel confident about.

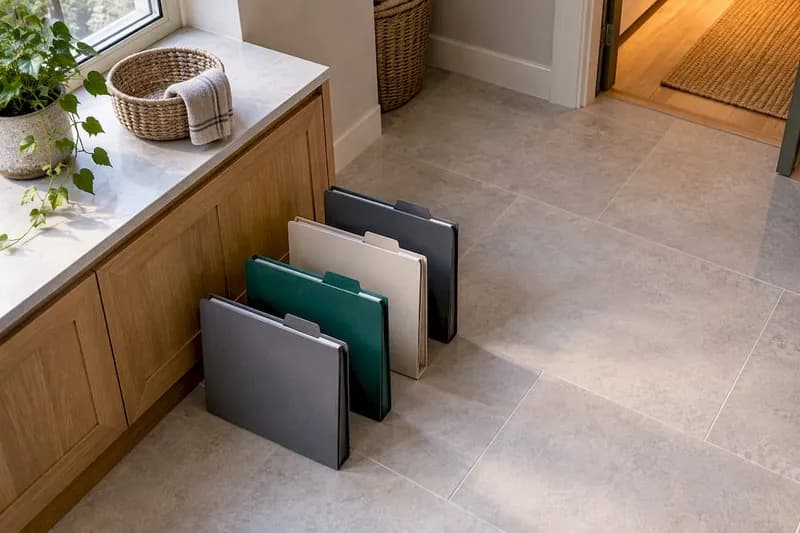
Physical tools are equally important and often underestimated. Paint swatches, fabric samples, and tile groupings placed on actual walls are irreplaceable because ambient lighting and real-world scale change how colours and textures read. A tile that looks warm grey on a screen can appear cold blue under your kitchen's downlights. No digital render fully captures that shift.
| Tool type | Strengths | Limitations |
|---|---|---|
| AI visualisation platforms | Fast style trials, photorealistic previews, easy sharing | Cannot replicate real lighting or tactile texture |
| Mood board apps | Organise images by room, shareable with partners | Risk of collecting too many images without editorial discipline |
| Physical samples | Accurate colour and material perception in real conditions | Time-consuming to source; harder to share remotely |
| Shared image collections | Simple, low-cost, accessible on any device | No structured layout; can become cluttered quickly |
Pro Tip: Start with a digital mood board to agree on a general direction, then commit to physical samples before finalising any material or colour choice.
How do you build a whole-home mood board step by step?
A whole-house mood board defines your palette, materials, and architectural character for every room in one disciplined document. Limiting your selection to 15–25 images is the single most important rule. More images create noise; fewer create gaps. That constraint forces the editorial discipline that turns a loose collection of inspiration into a clear renovation brief.
Follow these steps to build one that actually works:
- Set your scope. Decide whether the board covers the whole home or one zone at a time. A whole-home board works best for open-plan spaces where rooms flow into each other.
- Choose a colour palette first. Select three to five colours that will recur across flooring, cabinetry, and walls. This creates visual continuity between rooms.
- Add material and finish samples. Include flooring types, cabinetry door profiles, trim details, and hardware finishes. These elements carry the design language from room to room.
- Select one bold feature per space. Timeless designs with a single standout feature, such as a sculptural kitchen island or oversized door hardware, give each room character without competing with the overall palette.
- Edit ruthlessly. Remove any image that does not directly support your chosen palette or material story. If you cannot explain why an image belongs, it does not belong.
- Review together. Walk through the board as a couple and note which images you both respond to positively. These are your anchors.
Pro Tip: Save your mood board as a shared PDF and send it to your contractor before your first site meeting. A clear visual brief reduces misunderstandings before work begins.
| Step | Action | Output |
|---|---|---|
| 1. Set scope | Define rooms or zones to cover | Clear brief boundary |
| 2. Colour palette | Choose 3–5 recurring colours | Consistent colour story |
| 3. Materials | Add flooring, cabinetry, trim | Room-to-room continuity |
| 4. Bold feature | One standout element per room | Character without clutter |
| 5. Edit | Remove off-brief images | Focused, usable board |
| 6. Review | Walk through together | Agreed shared direction |
A well-built mood board can be completed in under 60 minutes. That hour of focused work saves weeks of back-and-forth during construction.
What collaborative strategies help couples align on renovation decisions?
The most common mistake couples make is treating renovation decisions as a series of wins and losses. Successful couples reframe this as building a shared design story together, where the goal is a home that reflects both people, not a compromise that satisfies neither.
Assign roles based on strengths
Assigning renovation tasks by individual strengths reduces friction and keeps the project moving. One partner might manage the budget spreadsheet and contractor communications, while the other leads material research and design decisions. Neither role is more important. Both are necessary.
Clear role division also prevents the most common source of renovation arguments: duplicated effort and contradictory instructions to contractors. When your builder receives consistent direction from one point of contact, decisions happen faster and errors drop.
Run short, focused design meetings
Regular 15–30 minute sessions with prepared options work far better than open-ended discussions. Come to each meeting with two or three specific choices, not an open question. "Which of these three tile options do we prefer?" is productive. "What should we do with the bathroom?" is not.
Schedule these meetings weekly during the planning phase. Keep a shared document where decisions are recorded immediately after each session. This prevents the common situation where a decision made verbally gets forgotten or misremembered two weeks later.
Common pitfalls to avoid
- Avoiding the conversation entirely. Delaying design decisions pushes them into the construction phase, where changes cost significantly more.
- Treating every preference as non-negotiable. Flexibility on secondary choices protects the decisions that genuinely matter to each partner.
- Skipping the physical sample stage. Digital agreement on a colour does not mean you will both like it on the wall. Always verify with physical samples before ordering.
- Failing to document decisions. Verbal agreements disappear. Written records with dates protect both partners and your contractor.
Pro Tip: Before each design meeting, each partner writes down their top three priorities for that session. Sharing these lists first reveals where you already agree and focuses discussion on genuine differences.
How do AI visualisation tools improve your renovation planning?
AI visualisation tools change the planning process by making abstract ideas concrete within seconds. Rather than describing a kitchen style in words, you can generate a photorealistic preview and both partners can react to the same image. That shared reference point removes a significant source of miscommunication.
The practical benefits are clear:
- Speed. Photorealistic previews generate in about 30 seconds, making it practical to test multiple directions in a single planning session.
- Style range. Platforms offering 25 or more design styles let you move quickly from "we like something warm and natural" to a specific palette with defined materials.
- Contractor communication. Sharing an AI render with your builder before work begins sets a clear visual expectation. This reduces the likelihood of change orders caused by misaligned expectations.
- Partner alignment. Seeing the same image simultaneously removes the gap between one partner's mental picture and the other's. Disagreements become visible early, when they are cheap to resolve.
AI visualisation works best alongside expert design input for architectural decisions. A render can show you what a vaulted ceiling looks like, but it cannot tell you whether your existing structure supports it. Use AI for style discovery and early alignment, then bring in a professional for structural and technical precision.
Physical sample verification remains essential even after AI agreement. The complete home building timeline includes specific checkpoints for material sign-off, and those checkpoints exist precisely because digital previews and real-world results can diverge. Always hold physical samples against your actual walls before placing orders.
Key takeaways
A shared home renovation vision built on disciplined mood boards, assigned roles, and regular short meetings is the most reliable way to keep both partners aligned and avoid costly mid-project changes.
| Point | Details |
|---|---|
| Limit mood board images | Keep to 15–25 images to maintain a focused, cohesive visual brief. |
| Use physical samples | Always verify colours and materials on your actual walls before ordering. |
| Assign clear roles | Divide tasks by strength to reduce friction and keep decisions consistent. |
| Run short design meetings | Use 15–30 minute sessions with prepared options to make decisions efficiently. |
| Combine AI with expert input | Use AI renders for early alignment, then confirm structural choices with a professional. |
Why I think most couples approach renovation planning backwards
Most couples I have seen start a renovation by browsing images and collecting inspiration. That feels productive, but it often creates the problem they are trying to solve. You end up with two separate collections of images that reflect two separate visions, and the first real conversation about design becomes a negotiation rather than a collaboration.
The couples who get this right start with a conversation about how they want to feel in the finished space, not what they want it to look like. Do you want the kitchen to feel calm and uncluttered, or warm and full of character? That question is easier to answer together than "should the cabinets be white or oak?" Once you agree on the feeling, the visual choices tend to follow naturally.
I have also noticed that the physical sample stage is where most couples genuinely align for the first time. You can disagree about a tile on a screen and agree the moment you hold it under your kitchen light. That moment of shared reaction is worth more than an hour of discussion. Build it into your process early, not as a final check.
The other thing I would say plainly: the renovation couples who finish on time and on budget are almost always the ones who made their decisions before construction started. Every decision made during construction costs more and takes longer than the same decision made at a desk. A disciplined planning process is not bureaucracy. It is the most direct route to a home you both love.
— Azai
FAQ
What is a shared home renovation vision?
A shared home renovation vision is a documented agreement between partners on the design direction, materials, and priorities for a renovation project. It typically includes a mood board, a colour palette, and a list of non-negotiable design decisions.
How many images should a renovation mood board contain?
A mood board works best with 15–25 images. This range maintains a cohesive visual narrative and supports faster, more confident decisions without creating confusion.
How do AI visualisation tools help couples plan renovations?
AI tools generate photorealistic room previews in roughly 30 seconds, giving both partners a concrete image to discuss. This shared reference reduces miscommunication and helps align expectations before work begins.
What roles should couples assign during a renovation?
One partner typically manages budget tracking and contractor communication, while the other leads material research and design decisions. Assigning tasks by individual strengths reduces arguments and keeps the project moving.
When should couples use physical samples instead of digital previews?
Physical samples are necessary before finalising any colour or material choice. Ambient lighting and real-world scale affect how materials look in ways that digital screens cannot replicate accurately.