A room-by-room renovation order is the strategic sequencing of rooms and trades across a project to prevent rework, manage costs, and keep contractors on schedule. Get the sequence wrong and you will pay twice: once to do the work and again to undo it. The industry term for this discipline is construction sequencing, and it applies whether you are refreshing a single bathroom or gutting an entire house. This guide walks you through the recommended renovation sequence, how permits and inspections fit in, how to prioritise rooms when budgets are tight, and the practical mistakes that derail even well-funded projects.
What is the recommended room-by-room renovation sequence?
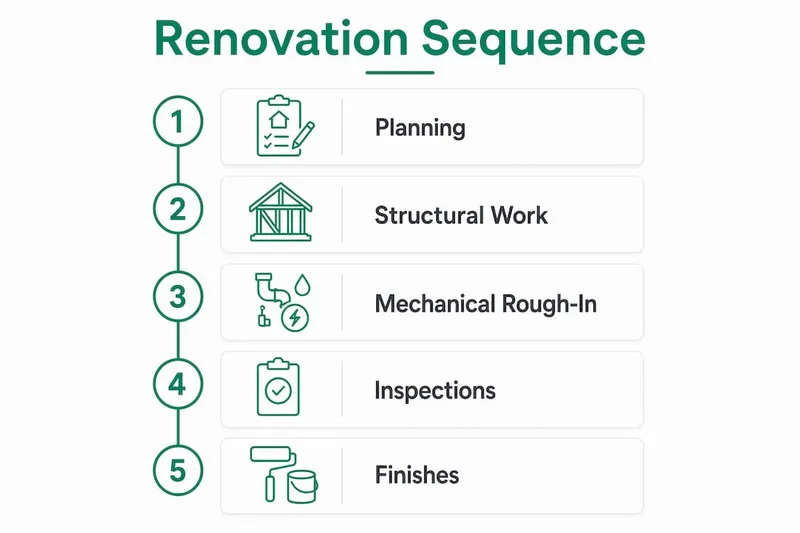
Renovations follow three broad phases: structure and services, surfaces and fittings, and finishes. Every room in your home sits somewhere within this framework, and the order in which you tackle rooms must respect these phases rather than work against them.
The standard room renovation sequence runs as follows:
- Structural work and demolition — Remove walls, address foundations, and resolve any damp or structural defects before anything else. Structural changes affect every room downstream, so they must come first.
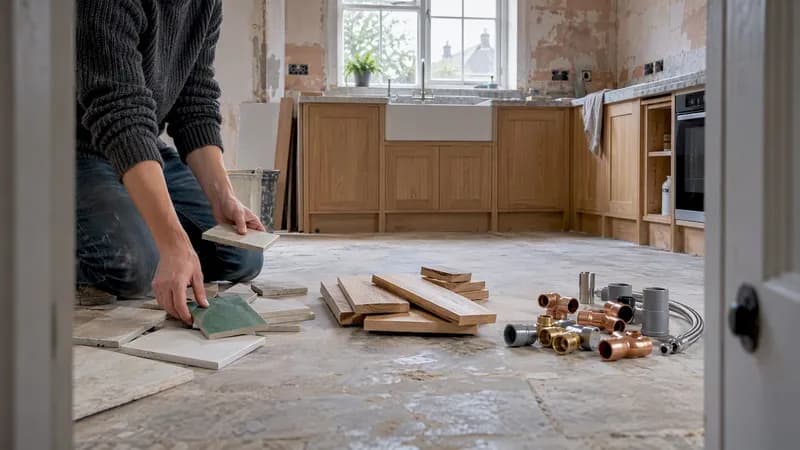
- Kitchen — The kitchen contains the highest concentration of plumbing, electrical, and gas services in the home. Completing MEP rough-in (mechanical, electrical, and plumbing) here early means tradespeople can move through the rest of the house without returning.
- Main bathroom — Wet rooms require waterproofing, drainage, and ventilation work that must be inspected before walls close. The main bathroom typically serves the most occupants, making it a high-priority room.
- En-suites and secondary bathrooms — These follow the same logic as the main bathroom but carry lower priority because fewer people depend on them daily.
- Bedrooms — Once services are roughed in throughout the house, bedrooms move to insulation, drywall, and finishes. They are lower-risk rooms with fewer trade dependencies.
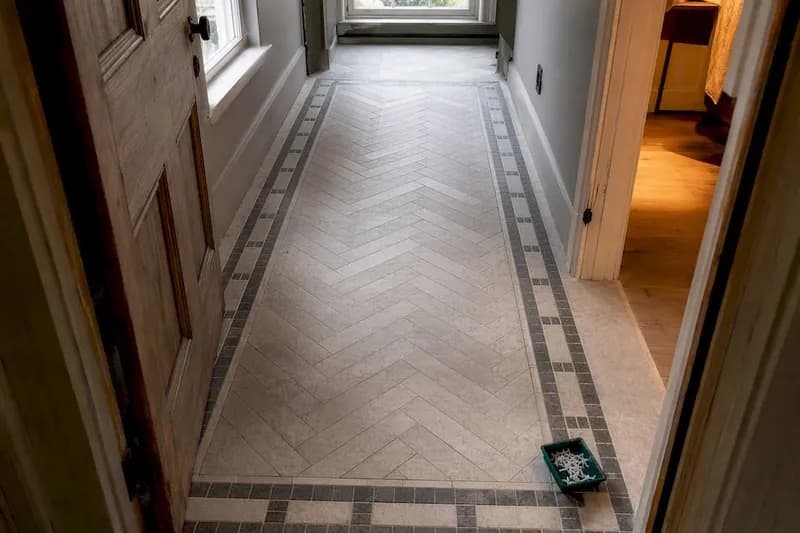
- Living spaces — Flooring, joinery, and decorating in living areas come late because they are the most vulnerable to dust and foot traffic from other trades.
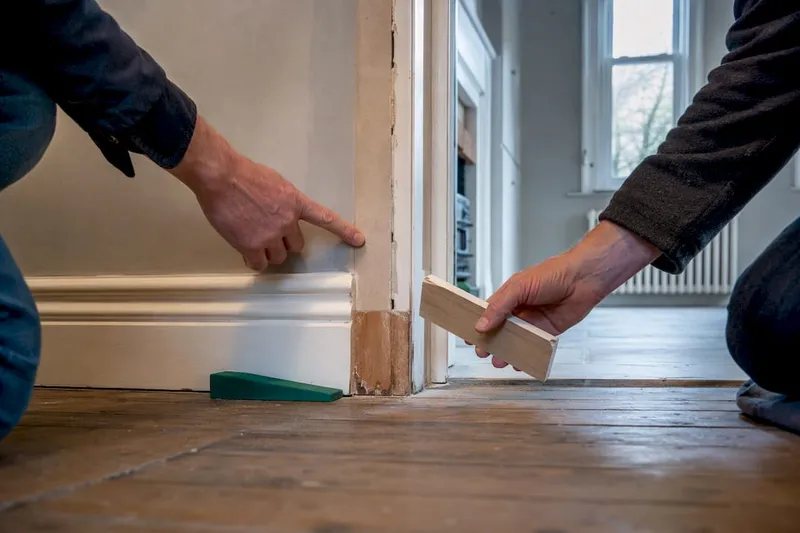
- Hallways and stairs — These are finished last. They are the thoroughfare for every contractor on site, so finishing them early guarantees damage.
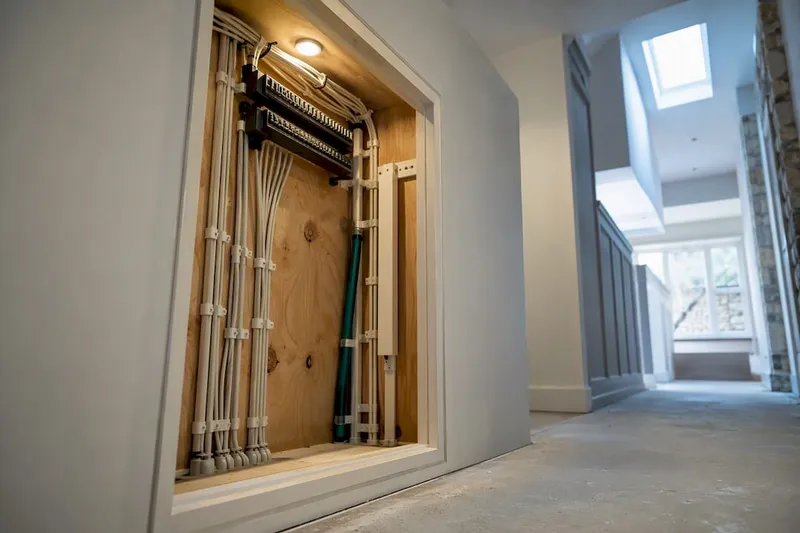
Mechanical rough-in for electrical, plumbing, and HVAC must be completed before insulation and drywall in every room. The internal progression within each room runs: rough-in inspection, insulation, drywall, primer, and finishes. Skipping or reordering any of these steps forces you to open finished walls, which multiplies both cost and time.
Pro Tip: Do not begin finishes in any room until rough-in inspections for that room have been signed off. One missed inspection can require you to strip back plasterboard across an entire wall.

How do permits and inspections affect renovation sequencing?
Permits are not optional paperwork. Building permits are required for nearly all construction, alteration, and system upgrades, and separate trade permits for electrical, plumbing, and mechanical work are typically required on top of the main building permit. Each permit must be obtained before the corresponding trade work begins. Starting without one risks a stop-work order, fines, and the requirement to demolish completed work.
Inspections are the checkpoints that control when each room can advance to its next phase. The key inspection stages are:
- Footing and foundation inspections — Required before concrete is poured or backfill placed.
- Rough-in inspections — Cover plumbing, mechanical, gas, and electrical before walls are closed. This is the most critical inspection point for room sequencing.
- Framing inspections — Confirm structural integrity before insulation is installed.
- Final inspections — Confirm all systems and finishes meet code before occupation.
Concealing work before inspection is unlawful and may require uncovering at the owner's expense. This is not a theoretical risk. Inspectors regularly identify work that has been closed in prematurely, and the cost of cutting back plasterboard, exposing pipework, and replastering can run into thousands.
Plan permit lead times into your schedule from day one. Permit approval alone can take four to six weeks, and structural changes may require starting the process six to twelve months before work begins. Treat permit milestones as fixed dates in your programme, not flexible targets.
Scheduling inspections in advance is equally important. Inspectors are often booked days or weeks out. If your contractor closes a wall before the inspector arrives, you have a problem that no amount of goodwill resolves quickly.
How to prioritise rooms within your renovation plan
Prioritising rooms is how you protect your budget when reality diverges from the plan. A priority-ranking system divides your renovation goals into three tiers: must-haves, nice-to-haves, and dream features. Apply this tiering to rooms as well as individual features within rooms.
The practical rules for room prioritisation are:
- Prioritise rooms with plumbing and electrical first. Kitchens and bathrooms carry the highest trade complexity and the longest lead times for fixtures. Getting these rooms through rough-in early frees up tradespeople for the rest of the house.
- Schedule messy rooms before clean ones. Demolition, concrete work, and plastering generate dust and debris that settle everywhere. Complete these phases in all rooms before beginning finishes in any room.
- Leave decorative rooms until last. Bedrooms and living rooms have the fewest trade dependencies. They are also the most likely to be damaged by ongoing site activity, so finishing them late reduces the risk of rework.
- Adjust priorities if budget constraints arise. If costs escalate mid-project, your tiering system tells you which rooms can be deferred to a later phase without stopping the project entirely.
Pro Tip: When planning your renovation budget, add a 20% contingency to your total. For older homes with unknown conditions behind walls, increase that buffer to 25%. This contingency is not a luxury. It is the financial mechanism that allows you to maintain your room sequence when unexpected work appears.
The home layout planning guide from House A-Z covers how spatial decisions in the planning phase affect the sequencing of trades, which is worth reviewing before you finalise your room order.
What are common mistakes to avoid when sequencing your renovation?
Even homeowners with solid plans lose weeks and money to avoidable sequencing errors. The following numbered list covers the most damaging mistakes and how to prevent them.
Ordering materials too late. Starting material and fixture selections late is one of the leading causes of project stalls. Tiles, kitchen cabinetry, bespoke joinery, and specialist fittings can carry lead times of eight to fourteen weeks. Order long-lead items before demolition begins, not after.
Finishing rooms one at a time. Completing one room entirely before moving to the next forces tradespeople to mobilise repeatedly. A plasterer who returns to your site three times costs more than one who completes all rooms in a single visit. Run trades across the whole house in phases, not room by room.
Closing walls before inspections. This is the single most expensive sequencing mistake. Planning around close-up boundaries means treating each rough-in inspection as a hard gate. No insulation, no drywall, no wall closure until the inspector has signed off.
Ignoring trade scheduling conflicts. Delays from subcontractor scheduling are among the most common causes of renovation overruns. Confirm trade availability before you set your programme, and build buffer days between trades to absorb minor slippage without cascading delays.
Skipping a contingency buffer. A programme with no float collapses at the first unexpected discovery. Build two to three weeks of contingency into a standard renovation timeline, and treat it as a reserve rather than a target end date.
Document every sequencing decision and change in writing. Construction documentation and change control are the primary tools for maintaining your renovation sequence when scope changes arise. A verbal agreement with a contractor is not a record. Use written change orders to capture any deviation from the agreed sequence, and review the managing change orders guide for a practical framework.
The renovation phases guide from Simplay Projects provides a useful reference for understanding how each phase connects to the next, particularly for first-time renovators unfamiliar with construction sequencing.
Key takeaways
Successful renovation sequencing requires completing structural and service work before surfaces, and surfaces before finishes, with every inspection passed before walls close.
| Point | Details |
|---|---|
| Follow the three-phase order | Complete structure and services, then surfaces and fittings, then finishes in every room. |
| Kitchens and bathrooms come first | These rooms carry the most trade complexity and must reach rough-in stage before other rooms progress. |
| Permits and inspections are hard gates | Obtain all trade permits before work begins and pass rough-in inspections before closing any wall. |
| Order long-lead items early | Tiles, cabinetry, and bespoke fittings can take eight to fourteen weeks. Order before demolition starts. |
| Build a 20% contingency | Budget and timeline buffers protect your room sequence when unexpected conditions arise behind walls. |
Why sequencing is the most underrated part of any renovation
I have reviewed enough renovation projects to say with confidence that sequencing failures cause more budget blowouts than any other single factor. Skipping early steps causes change orders, rework, and budget blowouts that dwarf the original savings homeowners thought they were making by cutting corners.
The pattern I see most often is this: a homeowner or contractor rushes to get visible progress on site. Walls go up before rough-in inspections are complete. Tiles go down before waterproofing is signed off. The inspector arrives and the work has to come apart. What looked like a two-week saving becomes a four-week delay and a bill for demolition, reinstatement, and re-inspection.
The other underestimated risk is trade scheduling. Most homeowners assume their contractor manages this. Many contractors assume the homeowner is chasing it. The result is a gap where nobody is confirming that the electrician, plumber, and framing contractor are booked in the right order with the right gaps between them. I recommend you ask your contractor for a written trade schedule before work starts, and review it against your permit milestones. If those two documents do not align, resolve it before demolition begins.
Renovation order reflects physical dependencies: structure first, then systems, then drywall, then finishes. Expect more hidden work before visible progress. That is not a sign the project is going wrong. It is a sign the sequence is being respected.
— Azai
FAQ
What is the correct order to renovate a house?
The correct order follows three phases: structural work and services first, then surfaces and fittings, then finishes. Within that framework, kitchens and bathrooms come before bedrooms and living spaces because they carry the most trade dependencies.
Do I need permits before starting renovation work?
Yes. Building permits are required for nearly all construction and system upgrades, and separate trade permits for electrical, plumbing, and mechanical work are typically required as well. Starting without permits risks stop-work orders and fines.
Why should I renovate the kitchen before the bedrooms?
The kitchen contains the highest concentration of plumbing, electrical, and gas services. Completing MEP rough-in in the kitchen early allows tradespeople to progress through the house without returning, which reduces costs and scheduling conflicts.
How much contingency should I add to my renovation budget?
Add a 20% contingency to your total renovation budget, or 25% for older homes where unknown conditions behind walls are more likely. This buffer protects your room sequence when unexpected work is discovered.
What happens if I close walls before a rough-in inspection?
Concealing work before inspection is unlawful and may require uncovering at the owner's expense. The cost of cutting back plasterboard, exposing pipework, and replastering can run into thousands of pounds and add weeks to your programme.