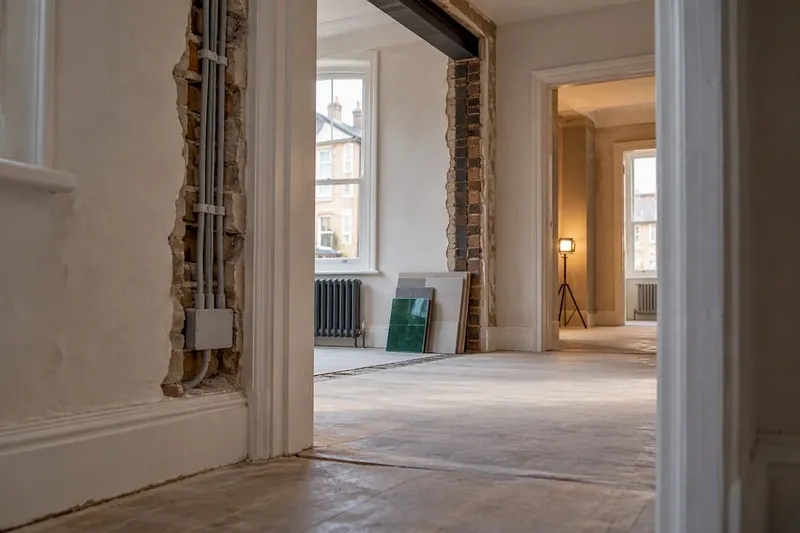
A renovation project is defined as a structured sequence of phases, from initial feasibility through to aftercare, that determines whether your project finishes on time, on budget, and to the standard you expect. Understanding these phases, which the construction industry formally calls the project lifecycle, is the single most reliable way to avoid the costly surprises that derail most home improvements. A typical renovation spans 7 to 10 distinct phases, covering everything from planning and permits to snagging and ongoing maintenance. Whether you are tackling a single bathroom or a full-house overhaul, knowing what comes next, and why the sequence matters, keeps you in control throughout.
1. Renovation project phases explained: the full sequence
The standard renovation lifecycle follows a logical order where each phase creates the conditions for the next. Skipping or rearranging steps, particularly mechanical rough-ins and inspections, is a leading cause of budget overruns and timeline blowouts. Here is the complete sequence most projects follow:
- Initial planning and feasibility — Define what you want to achieve, confirm the structural viability, and identify any constraints such as listed building status or party wall agreements.
- Budgeting — Establish your total spend, allocate costs by trade, and set a contingency fund (typically 10 to 20 per cent of the build cost).
- Design and technical specifications — Produce drawings, select materials, and finalise finish levels so contractors can price accurately.
- Contractor selection — Obtain at least three quotes, check references, and agree on a milestone-based payment schedule.
- Permits and approvals — Submit applications to your local authority under Building Regulations and, where required, planning permission.
- Pre-construction preparation — Order long-lead materials, arrange site access, and protect areas outside the scope of works.
- Construction — Demolition, structural works, MEP rough-ins (mechanical, electrical, and plumbing), insulation, and drywall.
- Inspections and approvals — Scheduled hold points where a building control officer or inspector signs off each stage before work proceeds.
- Snagging — A systematic walkthrough to identify and rectify defects before final payment is released.
- Aftercare and ongoing maintenance — Warranties, operating manuals, and scheduled maintenance tasks handed over at completion.
Minor cosmetic renovations, such as repainting or replacing flooring, may compress phases 1 to 6 into a single weekend of planning. Major structural renovations require every phase to be treated as a distinct project milestone with its own documentation.
Pro Tip: Create a one-page scope document before you contact a single contractor. List every room in scope, every room out of scope, and the finish level you expect in each. This single document reduces misquotation and scope creep more than any other planning tool.

2. How long each phase takes: a renovation timeline guide
Renovation timelines vary considerably by scale: simple projects run from 3 days to 3 months, medium-scale projects from 3 weeks to 6 months, and major renovations from 12 to 15 months. The table below gives indicative durations for each phase so you can build a realistic schedule.
| Phase | Indicative duration | Key variable |
|---|---|---|
| Planning and design | 2 to 6 weeks | Complexity of drawings and number of revision rounds |
| Permits and approvals | 2 weeks to 3 months | Local authority workload and application completeness |
| Pre-construction (materials, mobilisation) | 2 to 6 weeks | Long-lead item availability |
| Construction | 6 weeks to 12 months | Scope, number of trades, and inspection scheduling |
| Interior finishing and snagging | 1 to 4 weeks | Cure and drying times for plaster, paint, and adhesives |
Planning and design typically takes 2 to 6 weeks, but permitting can extend the pre-construction window to three months in some jurisdictions. That gap is where most homeowners underestimate their start date. Permitting durations differ significantly by jurisdiction, so contacting your local building authority early, before finalising your contractor start date, prevents the most common scheduling collision in residential renovation.
Some local authorities, such as Pinellas County in Florida, offer digital permit applications and next-day inspections when requests are submitted on time. Knowing what your local authority offers can shave weeks off your pre-construction phase. For a detailed breakdown of how delays compound across phases, the NYC renovation timeline guide from Designs by D&J is a useful reference for understanding real-world phase durations.
Pro Tip: Add a contingency buffer of two to four weeks to every phase that depends on a third party, specifically permits, inspections, and material deliveries. These are the three most common causes of cascading delays.
3. The correct order of work within construction and finishing
Construction sequencing is not a matter of preference. It is a technical requirement driven by Building Regulations, structural logic, and the physical properties of materials. Mechanical rough-in work, covering plumbing, electrical, and HVAC, must be completed and inspected before drywall installation begins. Closing walls before an inspection is a compliance failure that requires demolition to rectify, at your cost.
The correct construction order within a typical renovation is:
- Demolition — Strip out existing finishes, remove non-structural partitions, and clear the site.
- Structural works — Install or modify load-bearing elements, lintels, and floor joists.
- First fix MEP rough-ins — Run pipework, cable, and ductwork through open walls and floors.
- Insulation — Install thermal and acoustic insulation between studs and joists.
- Pre-drywall inspection — Building control sign-off before walls are closed.
- Drywall installation — Hang, tape, and sand boards. Allow 1 to 2 days drying time between coats of jointing compound.
- Second fix MEP — Fit sockets, switches, sanitaryware, and radiators once walls are complete.
- Interior finishing — Prime, paint, install trim, doors, and flooring in sequence.
Interior finishing is not purely aesthetic. Each stage of drywall, paint, and trim installation carries cure-time dependencies that must be built into your schedule. Rushing paint coats or fitting skirting boards before plaster has fully dried causes cracking and peeling within months. A typical drywall sequence takes 2 to 3 days for hanging, followed by phased taping, sanding, and priming with mandatory drying intervals between each coat.
Critical inspections and approvals during construction include:
- Foundation or subfloor inspection (where applicable)
- Pre-drywall MEP rough-in inspection
- Structural frame inspection
- Insulation inspection
- Final building control sign-off and completion certificate
4. How to plan a renovation: managing costs, timelines, and contractors
Effective renovation planning begins before you speak to a single contractor. A clear written scope, a realistic budget with contingency, and a milestone-based payment schedule are the three documents that determine whether your project runs smoothly or dissolves into disputes. Start with your home layout planning decisions before committing to any structural changes, as late-stage redesigns are disproportionately expensive.
Budgeting requires you to group costs into two categories: structural and mechanical works (which are harder to change mid-project) and finishes (which offer more flexibility). Allocate your contingency fund to the first category. For guidance on where costs tend to hide, the House A-Z article on renovation budgeting and hidden costs covers the line items most homeowners miss at the planning stage.
When selecting contractors, follow these steps:
- Obtain a minimum of three written quotes based on the same scope document.
- Check references from at least two completed projects of similar scale.
- Agree on a milestone-based payment schedule tied to completed phases, not calendar dates.
- Define a written change-order process before work starts so that any scope additions are priced and approved in writing before execution.
- Schedule a weekly site meeting or written update to maintain visibility across all active trades.
Long-lead material ordering is a separate pre-construction task that frequently determines your actual start date. Bespoke windows, structural steel, and specialist tiles can take 6 to 12 weeks to arrive. Order these items as soon as your design is confirmed, not after permits are approved.
Pro Tip: Ask every contractor for their current lead time before you finalise your programme. A contractor who is available immediately may be available for a reason. The best tradespeople are typically booked 6 to 12 weeks in advance.
Key takeaways
A renovation project succeeds or fails based on how well each phase is sequenced, documented, and handed off to the next stage.
| Point | Details |
|---|---|
| Follow the full phase sequence | Skipping phases, especially MEP rough-ins and inspections, causes costly rework and compliance failures. |
| Build realistic timelines | Major renovations take 12 to 15 months; always add a contingency buffer to permit and inspection phases. |
| Treat inspections as fixed gates | Pre-drywall and structural inspections are non-negotiable hold points, not optional milestones. |
| Order long-lead materials early | Bespoke items can take 6 to 12 weeks; order as soon as design is confirmed to protect your start date. |
| Document everything in writing | A scope document, change-order process, and milestone payment schedule prevent the majority of contractor disputes. |
What I have learnt from watching renovations go wrong
Yuriy here. After working with hundreds of homeowners through their renovation projects, the pattern I see most often is not poor workmanship. It is poor sequencing. Homeowners who understand the phases intellectually still underestimate how rigid the dependencies are in practice. You cannot negotiate with plaster drying times, and you cannot charm a building control officer into skipping a pre-drywall inspection.
The two phases that cause the most grief are permitting and interior finishing. Permitting delays are almost always the result of incomplete applications submitted too late. Interior finishing delays are almost always the result of trades being booked before the preceding phase is genuinely complete. Both are preventable with earlier planning and honest conversations with your contractors about their actual availability.
My honest advice: treat your renovation programme the way a project manager treats a critical path. Identify the tasks that cannot move, specifically inspections, cure times, and material deliveries, and build everything else around them. The homeowners I have seen complete projects on time are not the ones with the biggest budgets. They are the ones who asked the right questions in phase one and refused to let urgency override the sequence. For practical guidance on managing construction delays when they do occur, that resource is worth bookmarking before your project starts.
— Azai
FAQ
What are the main phases of a home renovation?
A typical renovation covers 7 to 10 phases: initial planning, budgeting, design, contractor selection, permits, pre-construction, construction, inspections, snagging, and aftercare. Each phase must be completed in sequence before the next begins.
How long does a full home renovation take?
Simple renovations take 3 days to 3 months, medium-scale projects 3 weeks to 6 months, and major structural renovations 12 to 15 months. Permitting and long-lead material orders are the most common causes of delays to the overall timeline.
Why must MEP rough-ins be inspected before drywall?
Mechanical rough-ins require inspection approval before walls are closed because building control must verify that pipework, cabling, and ductwork comply with Building Regulations. Closing walls without sign-off requires demolition to rectify, which adds significant cost and time.
What is a snagging list in a renovation?
A snagging list is a written record of defects, incomplete items, and substandard finishes identified during a final walkthrough before the contractor receives their last payment. Completing snagging before releasing final funds is the most effective way to guarantee outstanding items are addressed promptly.
How much contingency should I budget for a renovation?
A contingency of 10 to 20 per cent of the total build cost is the standard industry recommendation, with the higher end applied to older properties or projects involving structural works. Allocate contingency specifically to structural and mechanical phases, where unexpected findings are most common.