Most homeowners planning a renovation focus on what needs to be done. Far fewer stop to think carefully about when each task should happen. That gap in thinking is where projects go wrong. Understanding why renovation order matters is not a procedural nicety. It is the single most reliable way to protect your budget, your timeline, and the quality of the finished result. Wrong task sequencing causes roughly 25% of renovation delays and contributes to budget overruns in 35% of projects. Getting the order right from the start changes everything.
Table of Contents
- Key takeaways
- Why renovation order matters: the core logic
- The practical renovation sequence: phase by phase
- Common mistakes when renovation order is ignored
- How to apply correct renovation order to your project
- My perspective on renovation sequencing
- Plan your renovation order with confidence
- FAQ
Key takeaways
| Point | Details |
|---|---|
| Sequence drives cost control | Mechanical systems account for 40–60% of renovation cost; correct order prevents expensive rework on these items. |
| Inspections are non-negotiable gates | Rough-in inspections must pass before drywall closes walls, or corrections become destructive and costly. |
| Early flooring is a common error | Installing flooring before trades finish can add £800 to £3,000 in avoidable repair and replacement costs. |
| Phase timelines prevent trade conflicts | Milestone dates for approvals and inspections stop contractors blocking one another and causing idle downtime. |
| Planning locks in protection | Locking in design decisions before work begins limits change orders and protects you as a client throughout the project. |
Why renovation order matters: the core logic
Most people think of a renovation sequence as a simple checklist. In reality, it is a dependency network. Each task either unlocks or blocks the ones that follow. Sequencing prevents change orders and protects clients by locking in core dependencies before the project advances to the next phase.
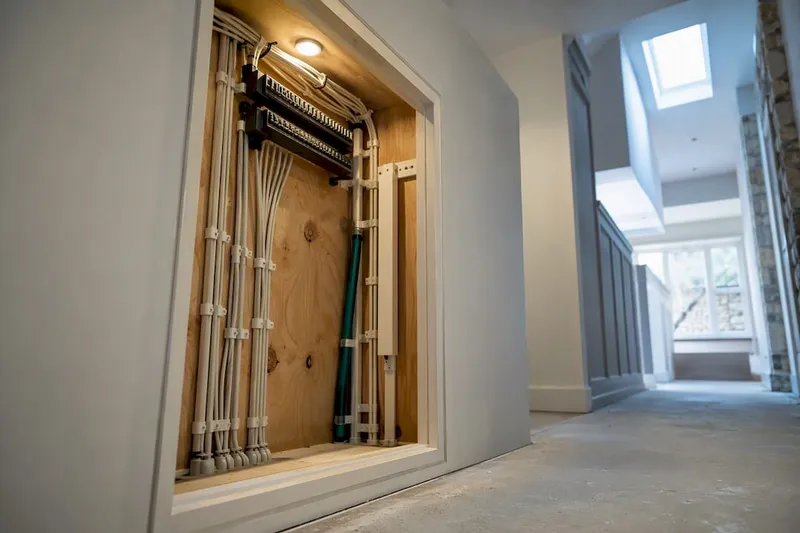
The clearest example of this dependency logic is the relationship between mechanical rough-ins and drywall. Plumbing, electrical wiring, and HVAC ducting (collectively called MEP rough-ins) all run inside your walls. They must be installed and inspected before drywall goes up. Inspection hold points are mandatory gatekeepers. Only the Authority Having Jurisdiction can authorise work to proceed past them. Skip this gate, and you risk code violations and the kind of corrections that require tearing open finished walls.
"A well-run project is about when you do things, not only what you do. Right sequencing reduces unnecessary rework and directly supports cost control and quality outcomes." — Irish Times Property
Mechanical systems account for 40 to 60% of total renovation cost. When these components are sequenced incorrectly, the downstream changes are not cheap tweaks. They are expensive corrections that require revisiting completed work.
Pro Tip: Ask your contractor to walk you through the inspection hold points in your project plan before work begins. If they cannot name them clearly, that is a warning sign worth taking seriously.
The renovation project order also acts as a client protection tool. When you agree on a sequence upfront, it limits the scope for contractors to introduce expensive change orders mid-project. You create a shared understanding of what comes next and why, which makes budget surprises far less likely.
The practical renovation sequence: phase by phase
Understanding the renovation stages explained in general terms is useful. Seeing them laid out in a logical order is more useful still. Here is how a well-sequenced renovation typically progresses.
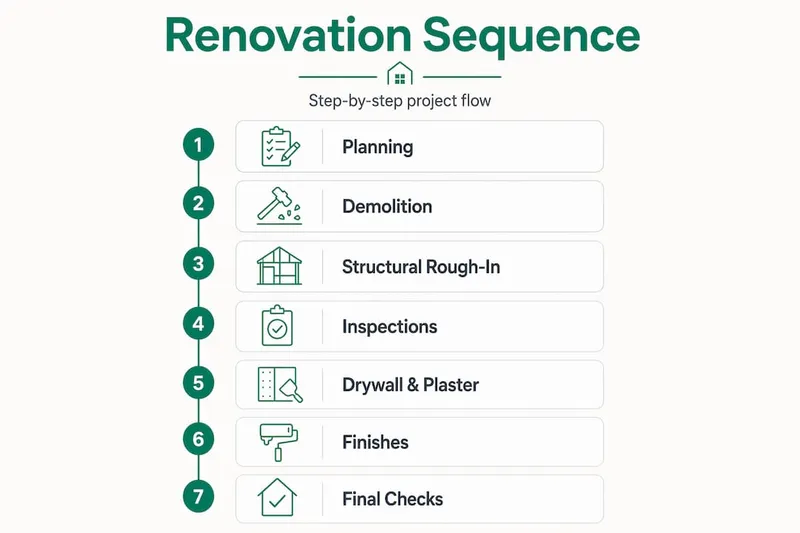
Planning and design
Before any physical work begins, design decisions should be locked in. This includes finalising layouts, specifying fixtures, and confirming structural requirements. Changes made on paper cost nothing. Changes made after work has started cost significantly more. This stage also covers obtaining planning permissions and building regulations approvals where required.
Demolition and strip-out
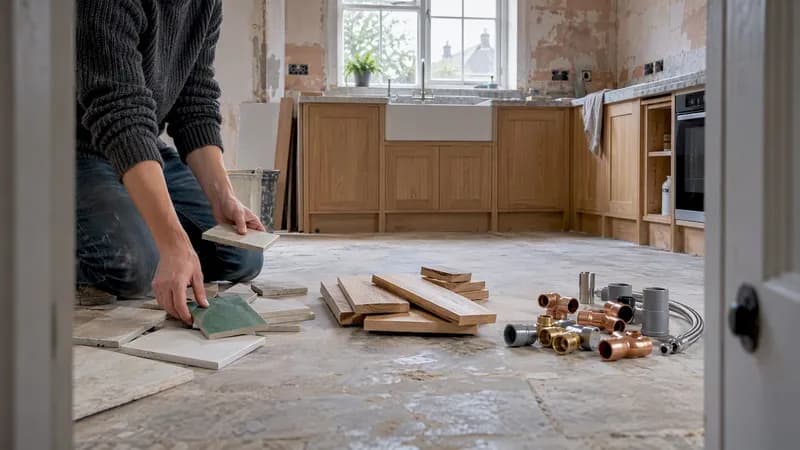
Once plans are approved, demolition comes first. Removing existing finishes, fittings, and sometimes structural elements exposes the actual condition of the building. Surprises discovered at demolition (such as hidden water damage or substandard wiring) can be addressed before any new work is compromised by them.
Structural and rough-in work
This is the most consequential phase in terms of sequencing. Structural work (new beams, lintels, or walls) happens first, followed by MEP rough-ins. This is when your plumber, electrician, and heating engineer complete all the concealed work that will be hidden inside floors, walls, and ceilings.
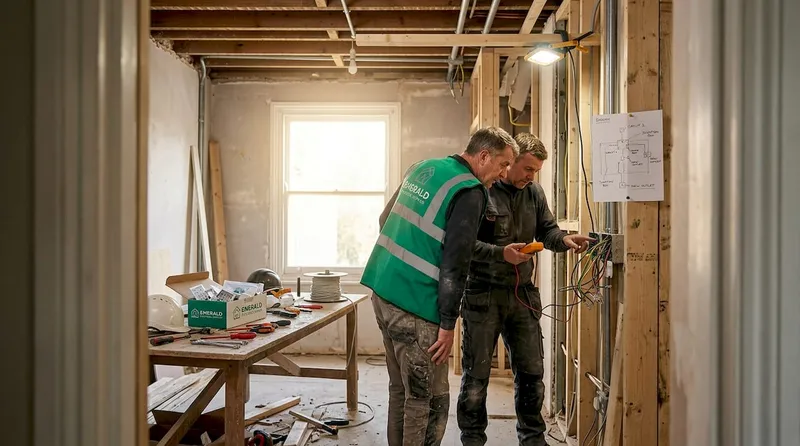
Inspections
Inspections occur after rough-ins and before any enclosure. Drywall scheduling includes inspection dependencies and a material delivery lead time of two to five business days. Factor this into your timeline as a fixed buffer, not an optional one.
Drywall and plasterwork
Once inspections pass, walls and ceilings are closed. This is the point of no return. Everything concealed behind the drywall is now inaccessible without destructive work. Getting here with confidence requires every preceding step to have been completed and signed off correctly.
Finishes and fixtures
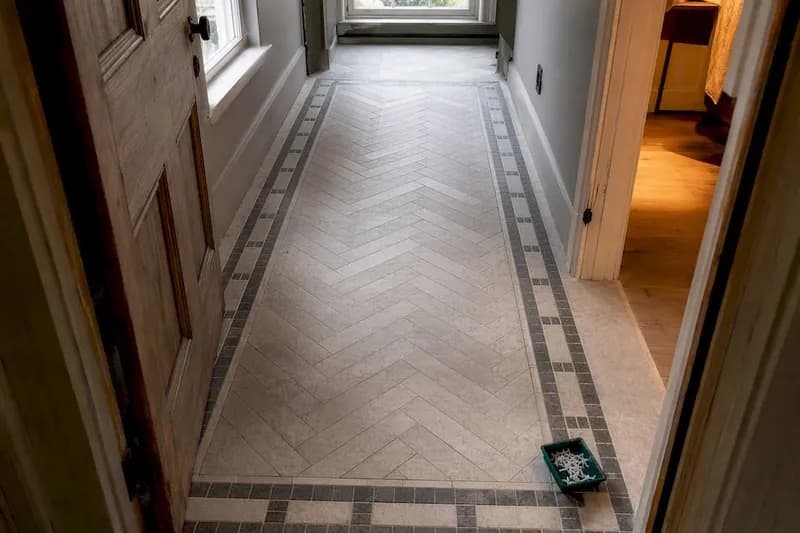
Painting, tiling, cabinetry, and fitted furniture all follow drywall. Flooring typically comes at the very end of this phase (or after it) to avoid damage from ongoing trades.
Final connections and snagging
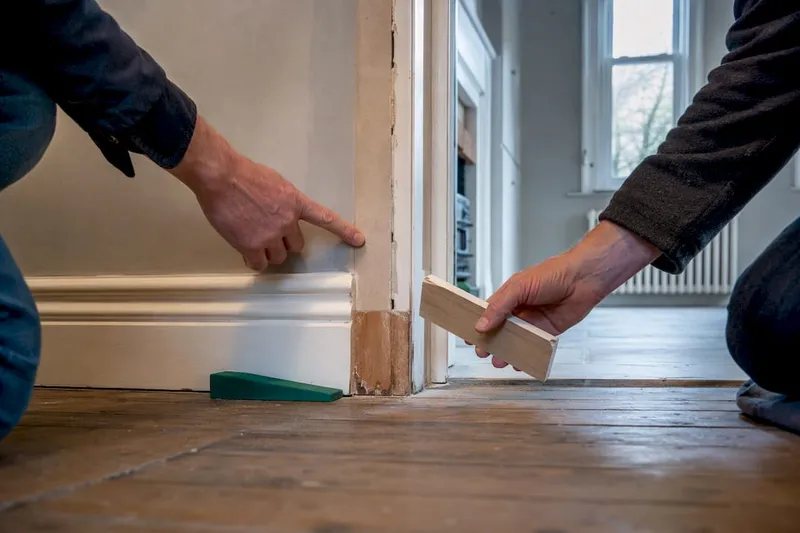
Electrical faceplates, plumbing connections, and appliance installation happen last. A snagging list is then compiled to capture any defects before the project is signed off.
| Phase | Key tasks | Why this order |
|---|---|---|
| Planning | Design lock-in, approvals | Changes on paper are free; changes on site are not |
| Demolition | Strip-out, condition survey | Reveals hidden issues before new work begins |
| Structural and rough-ins | MEP installation, structural work | Must be concealed and inspected before next stage |
| Inspections | Hold-point sign-off | Legal requirement; cannot proceed without authorisation |
| Drywall and plaster | Wall and ceiling closure | Locks in all concealed work permanently |
| Finishes | Tiling, painting, cabinetry | Applied to completed, inspected surfaces only |
| Flooring | Hard flooring, carpet | Last to avoid damage from ongoing trades |
| Final fit-out | Fixtures, appliances, snagging | Connects and completes all installed systems |
Pro Tip: Order long-lead items such as bespoke cabinetry, specialist tiles, or imported fixtures at the planning stage. A six-to-eight-week lead time on a kitchen unit can idle your entire project if you leave the order too late.
Common mistakes when renovation order is ignored
Understanding the importance of renovation sequence is one thing. Knowing exactly what goes wrong when it is ignored gives you sharper motivation to get it right. The consequences tend to cluster around a handful of recurring errors.
Installing flooring too early. This is one of the most frequent and expensive mistakes in residential renovation. Early flooring installation causes material damage and failed inspections. Ongoing trades dragging equipment across new hardwood or luxury vinyl will cause damage that requires replacement, not just repair.
Proceeding to finishes before inspection sign-off. Tiling a bathroom or painting walls before the rough-in inspection passes is a gamble that rarely pays off. If the inspector requires a correction, those finished surfaces come off. The cost is doubled: once for the finish, again for the reinstallation.
Ordering materials at the wrong time. Ordering fixtures too early means they sit on site accumulating risk of damage. Ordering too late creates gaps in the schedule when trades are ready but materials have not arrived. Both scenarios add cost and frustration.
Overlooking sequencing-dependent delays. Sequencing mistakes can cause days of idle work and real schedule impacts. Inspection wait times, material lead times, and gaps in contractor availability all need to be built into the plan as buffers, not assumed away.
Starting finish work before structural issues are resolved. Applying plaster over walls with unresolved movement or moisture problems is a short-term fix with long-term consequences. Always resolve structural and moisture issues before any finish work begins.
Pro Tip: Build a contingency of at least 10 to 15% into both your budget and your timeline to absorb sequencing-dependent delays. Experienced renovators treat this buffer as a standard part of planning, not an admission of poor preparation.
How to apply correct renovation order to your project
Knowing the correct renovation sequence in theory is only useful if you can put it into practice. These steps help you apply renovation process priorities from the moment you start planning.
Lock in your design before anything is ordered or built. Every change made after work begins creates a ripple of sequencing disruption. Finalise your layout, fixtures, and specifications before your first contractor is booked.
Create a phased timeline with milestone dates. Phase timelines with buffers are recommended for scheduling and coordination. Map out when each phase starts, when inspections are expected, and when the next phase can begin. Share this with every contractor involved.
Communicate sequencing expectations clearly to all trades. Contractors working on different phases need to understand how their work connects to what comes before and after. A kitchen electrician who runs cables without knowing where the cabinetry sits will create problems for the joiner who follows.
Document progress with photos at each stage. A photo record of concealed rough-in work (pipes, cables, ducts) is invaluable if questions arise later. It also provides evidence of compliance should inspections be queried.
Review the renovation budget planning implications at each phase transition. Before advancing from one stage to the next, confirm that the current phase is complete, inspected where required, and within budget. This check-in prevents compounding problems.
Use a single platform to track tasks, contractors, and approvals. Spreadsheets and separate apps fragment your oversight. When everything lives in one place, sequencing gaps and scheduling conflicts are far easier to spot before they become problems.
My perspective on renovation sequencing
I have seen what happens when homeowners and renovators treat sequencing as a formality rather than a framework. The pattern is consistent. The project starts with energy and optimism. Then, somewhere around the finish stage, something is discovered that should have been resolved three phases earlier. The rework is not just expensive. It is demoralising.
What I have learned from working with renovation projects is that sequencing is not a checklist to be ticked. It is a protective structure for your investment. When you respect the order, you are not just following a process. You are building a buffer against the chaos that renovation almost always introduces.
The projects that run smoothest are those where the client, the designer, and the contractors all agreed on the sequence before the first tool was lifted. Early collaboration on the order of home improvements removes ambiguity. It means every trade knows what they are inheriting and what they are handing over.
My genuine advice: treat the sequence conversation as seriously as you treat the budget conversation. They are connected. Respect one and you protect the other.
— Azai
Plan your renovation order with confidence
Getting the sequence right is one of the most valuable things you can do before a single wall is touched. But it is also one of the hardest things to manage without the right tools.

House A-Z is built specifically for homeowners and first-time renovators who want clarity, not chaos. The platform brings together budget tracking, project management, and AI-powered planning in one place, so you can map your renovation phases, track contractor schedules, and catch sequencing conflicts before they cost you money. Users have reported saving up to €20,000 in avoidable errors by using House A-Z to plan their projects properly. Explore kitchen sequencing mistakes as a practical starting point, then visit House A-Z to see how the platform can support your project from planning through to final sign-off.
FAQ
What is the correct order for a home renovation?
The typical renovation sequence runs from planning and demolition through structural and MEP rough-in work, inspections, drywall, finishes, and finally flooring and fit-out. Each phase depends on the completion and sign-off of the one before it.
Why does renovation sequencing affect my budget?
Mechanical systems represent 40 to 60% of renovation cost, and correcting out-of-sequence work in these systems is expensive. Poor sequencing also leads to damaged finishes, failed inspections, and contractor idle time, all of which add direct cost.
What happens if drywall goes up before inspection?
Closing walls before a rough-in inspection passes is a serious error. If corrections are required, the drywall must be removed to access the concealed work. Fixing issues after drywall requires destructive rework, which doubles the cost and extends the timeline.
When should I install flooring during a renovation?
Flooring should be one of the last tasks completed, after all trades have finished their work in the space. Installing it too early exposes it to damage from ongoing construction activity and can result in replacement costs of £800 to £3,000 or more.
How do I keep contractors aligned on renovation sequence?
Share a phased timeline with milestone dates with every contractor at the outset. Confirm that each phase is complete and inspected before the next begins, and document all concealed work with photographs as a shared reference point.