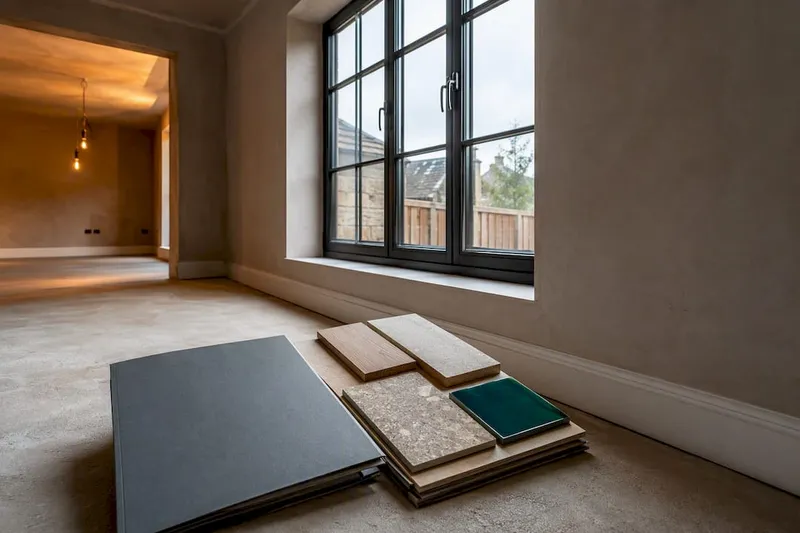
A renovation design brief is a short, structured document that tells architects, designers and contractors what to build, what success looks like, and who decides when it's done. It exists to align everyone on scope, budget and timeline before a single wall comes down. A good one is usually short, names a decision-maker, and turns vague wishes into instructions someone else can price and build from.
TL;DR:
- Clearly define the project scope, budget, and priorities beforehand to prevent misunderstandings and scope creep during construction.
- Gather detailed photos, measurements, and existing plans for each room, clearly labeled, to inform accurate design and cost estimation.
- Record fixed deadlines and exclusions explicitly in the brief, ensuring professionals can provide reliable timelines and accurate estimates without assumptions.
- Use a single point of contact and version control to keep the brief current, allowing for updates and changes to be documented and approved systematically.
- Consider using a planning platform to centralize documentation, budget tracking, and communication, reducing surprises and maintaining clarity from start to finish.
Table of Contents
- What a renovation design brief is and why it matters
- The essential sections every renovation brief needs
- How do I actually write the brief before my first meeting?
- How to phrase scope, budget and timeline so professionals can price accurately
- What photos and documents should you gather first?
- How do you keep the brief current as the project evolves?
- Using a planning platform to keep the brief alive
- Want your brief to stay this organised for the whole project?
- Sources
- FAQ
What a renovation design brief is and why it matters
Think of the brief as your project's single source of truth. Every question your architect or contractor would otherwise have to guess at, or worse, invent an answer for, gets settled here instead. That matters because a well-written design brief states purpose, scope, timeline, budget and deliverables clearly enough that professionals can price accurately and stop coming back with clarifying emails at every stage.
Without one, projects drift. A contractor assumes you want the cheapest tiling because nobody mentioned otherwise. An architect draws an open-plan kitchen when you actually wanted the wall kept for storage. These aren't hypothetical failures; they're the everyday consequence of unwritten assumptions.
Write the brief before your first meeting, ideally with input from those who live in the house. Involve:
- The household (whoever will actually use the space daily)
- Your contractor or builder, once appointed, to sanity-check feasibility
- Your architect or designer, who will refine it into drawings and specifications
The essential sections every renovation brief needs
A renovation brief for a bathroom refresh can be very short and should include clear measurable benefits in professional space design to ensure efficiency and value. A whole-house extension usually needs more structure. Either way, build it around these eight sections.
- Project overview and vision. One paragraph describing what you're doing and why, plus two or three sentences defining what success looks like.
- Space programme. List each room, its function, and its approximate area. An architecture brief typically pairs this with site information and any regulatory constraints tied to the plot.
- Scope and exclusions. State explicitly what's included (new plumbing, replastering) and what isn't (existing flooring stays, garden untouched). Note your expectations for "making good" around the work area.
- Budget. A realistic range with a stated contingency, and a clear note on what the figure covers (labour and materials only, or fixtures too).
- Timeline and milestones. Key dates such as planning submission, build start and practical completion, flagged as fixed or flexible.
- Deliverables, standards and technical constraints. Drawings required, approvals needed, structural or party-wall considerations.
- Design preferences and absolute exclusions. Reference images, materials you love, and anything that's a hard no regardless of cost or trend.
- Decision roles and approval process. Who signs off each stage, and how that sign-off gets recorded.
Keep the whole document concise for most residential projects; complex extensions or listed-building work may need additional technical appendices, but the core brief itself should remain focused enough that nobody skims past the important parts.
How do I actually write the brief before my first meeting?
Work through this checklist in order, and you'll have a usable brief within a weekend rather than dragging it out over months of half-finished notes.
- Write a one-line project summary and list your top three priorities. If you can't compress the project into one sentence, you don't know it well enough yet.
- Walk every room involved and note current use, storage gaps and daylight patterns. Do this at different times of day if light matters to the design.
- Sort your wants into "must-have" and "would like" columns. Mark anything genuinely non-negotiable.
- Collect photos from opposite corners of each room, plus any existing plans. If you have no measured drawings, say so explicitly rather than leaving a gap.
- Set a realistic budget band and note fixed constraints, such as a mortgage-linked spending cap or a lease restriction.
- Draft a simple timeline with milestones, distinguishing dates that are truly fixed from ones that could shift.
- Decide who signs off approvals in your household and how you'll record decisions, whether that's a shared document, an email thread or a planning app.
Pro Tip: Photograph rooms from the doorway and from the opposite corner. Those two angles tell an architect more about proportions and light than a dozen close-up shots of a single feature.
How to phrase scope, budget and timeline so professionals can price accurately
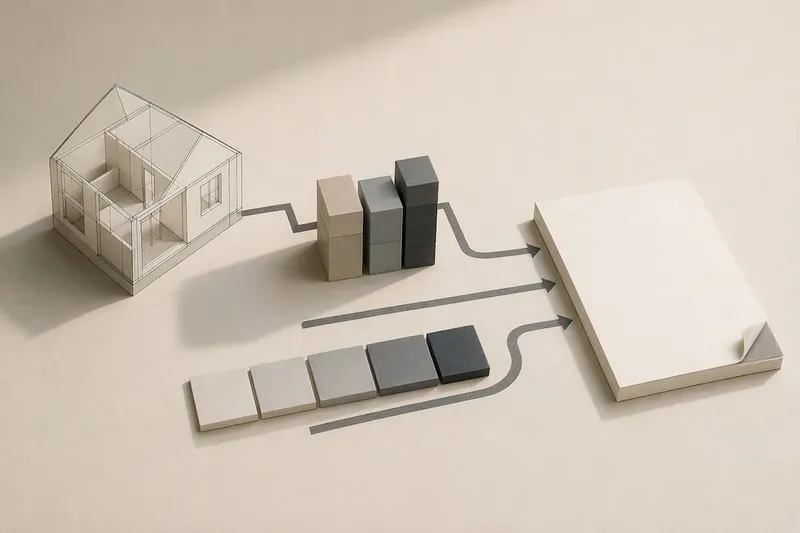
Vague budgets produce vague quotes. State a budget realistically with contingencies to give a contractor room to price without guessing whether you'll balk at the first invoice. Explicitly recording contingencies and fixed exclusions at this stage avoids unrealistic proposals and the late-stage change orders that derail budgets further down the line.
For timelines, list the milestones that matter most:
- Feasibility study or initial design concept
- Planning submission (if permission is needed)
- Build start date
- Practical completion
Mark each as hard (a fixed date, such as moving out of rented accommodation) or flexible. This single distinction changes how a contractor programmes their trades, since hard constraints separated from soft preferences let them price with confidence rather than padding every estimate against uncertainty. Finally, document exclusions and "making good" expectations in writing: does the contractor repaint the whole room, or only patch where the new work meets the old? Our planning and timelines guide covers realistic milestone spacing in more depth if you're mapping this out for the first time.
What photos and documents should you gather first?
Assemble these before your first meeting, and label everything clearly by room:
- Photos from opposite corners of each room, external elevation shots, and close-ups of any problem areas (damp, cracks, dated wiring)
- Approximate room dimensions, and the location of fixed utilities such as boilers, stopcocks and consumer units
- Existing plans or surveys, or a clear note stating "no measured drawings available" if you have none
- Planning restrictions, lease terms or building management rules that affect what you can change
- Reference images and supplier datasheets for anything you intend to keep, such as a kitchen island or bathroom suite
Visual boards work well for this stage. Templates such as those on Milanote accept photos and rough dimensions as a perfectly sufficient starting point, which matters if you can't commission a measured survey before your first design conversation.
How do you keep the brief current as the project evolves?
Nominate a single point of contact and use versioned filenames, such as "Brief_v2_postfeasibility," so nobody works from an outdated copy. A brief isn't static: expect to firm up requirements at milestones like feasibility and concept sign-off, then lock that version before moving to the next stage.
- Record every change request as a costed variation, not a casual conversation
- Capture the date and name of whoever approved each change
- Attach comments, photos and receipts to the relevant version rather than a separate email chain
Pro Tip: Once a milestone version is signed off, treat it as fixed. Reopening "settled" decisions three weeks later is the single biggest cause of budget creep on residential jobs.
Using a planning platform to keep the brief alive
A brief that lives in a folder gets forgotten the moment building work starts. Some planning platforms consolidate budget tracking, design suggestions and project management in one place, so the document you wrote early on stays visible and editable later. AI agents can flag a missing constraint or an unrealistic budget line before you've committed to it on paper, rather than after a contractor has already priced the wrong version.
— Azai
Want your brief to stay this organised for the whole project?
House A-Z is the alternative to juggling spreadsheets, email threads and a folder of half-updated PDFs. It keeps your design brief, budget and timeline in one shared space that your contractor and designer can actually see, rather than relying on whichever version happens to be attached to the last email. There's a free plan to start with, and if you'd rather have guided support turning your notes into a working brief, House A-Z's agents page covers managed help for exactly that. Either way, the goal is the same: fewer revisions, fewer surprises, and a document that stays accurate from the first sketch to the final snag list.
Sources
- How to write a design brief in 8 steps (ClickUp)
- Renovation brief writing preparation checklist (Build Design Hub)
- Architecture design brief: section-by-section template (Illustrarch)
- Writing a scope of work (HubSpot)
FAQ
What are the five parts of a design brief?
Most briefs cover project overview, space programme, scope and exclusions, budget, and timeline, though longer projects often add deliverables and design preferences as separate sections.
What is an example of a design brief?
A simple example states the project in one sentence, lists rooms with their function and area, gives a budget range with contingency, sets key milestones, and names who approves each decision.
What are the main specifications a design brief should cover?
Beyond the core five, a fuller brief also specifies deliverables and drawing standards, technical or regulatory constraints, design preferences and hard exclusions, so seven sections in total is a common structure.
What should an interior design brief include?
An interior brief needs the space programme with room functions, a budget range including contingency, a realistic timeline with fixed versus flexible dates, and clear preferences plus absolute no-items.
What's the difference between a design brief and a scope of work?
The brief captures vision, budget and outcomes; a scope of work then defines the specific tasks, deliverables and responsibilities needed to execute that brief on site.