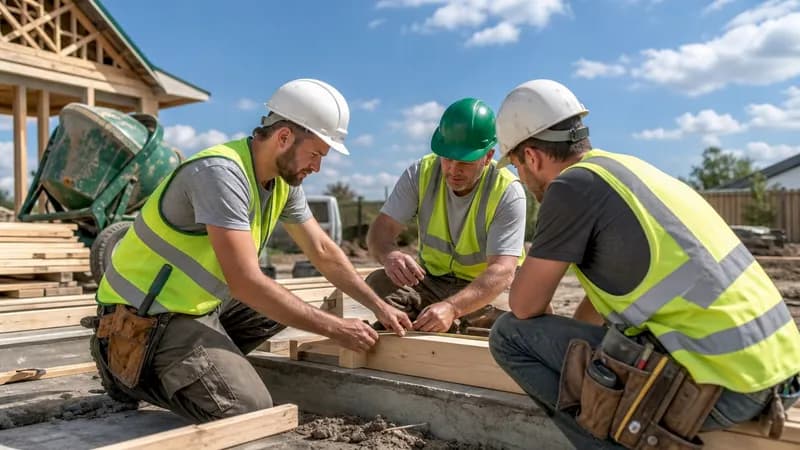
New home build stages are the sequential construction phases that take a project from an empty plot to a finished, habitable home. Most residential builds follow between 5 and 9 defined stages, and semi-custom homes typically take 7 to 10 months from groundbreaking to handover. Understanding each stage before you start means you can plan your budget accurately, make decisions at the right time, and hold your builder to account at every milestone. This guide breaks down every phase of the new home building process, explains where inspections sit within the sequence, and gives you the practical knowledge to stay in control from day one.
1. What are the standard new home build stages?
The stages of home construction follow a fixed sequence because each phase depends on the one before it. You cannot frame a house without a foundation, and you cannot close walls without passing rough-in inspections. Here is the standard sequence most residential builds follow:
- Planning, design, and approvals: Finalise floor plans, engage an architect or designer, and submit for planning permission and building permits.
- Site preparation: Clear vegetation, level the ground, and install temporary services such as water and electricity.
- Foundation: Excavate, pour footings, and construct the foundation slab, basement, or crawl space.
- Framing: Erect the structural timber or steel frame, including walls, floors, and roof structure.
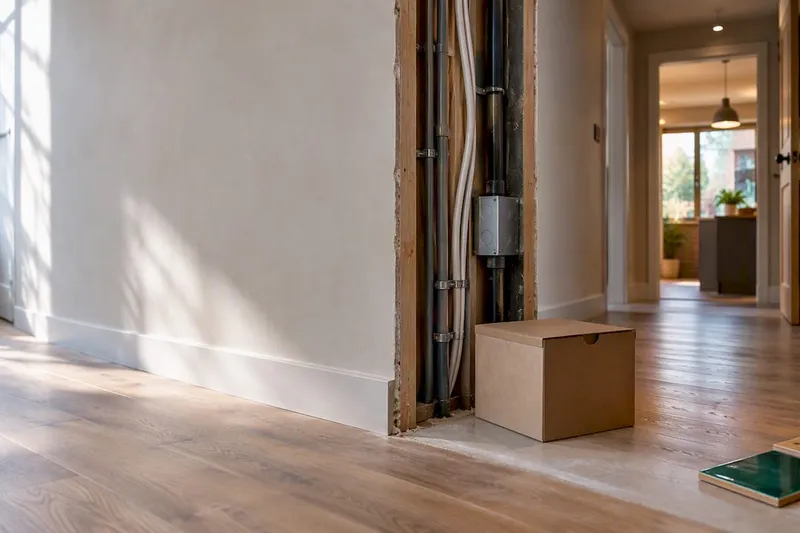
- MEP rough-ins: Install the rough plumbing, electrical wiring, and HVAC ductwork before walls are closed.
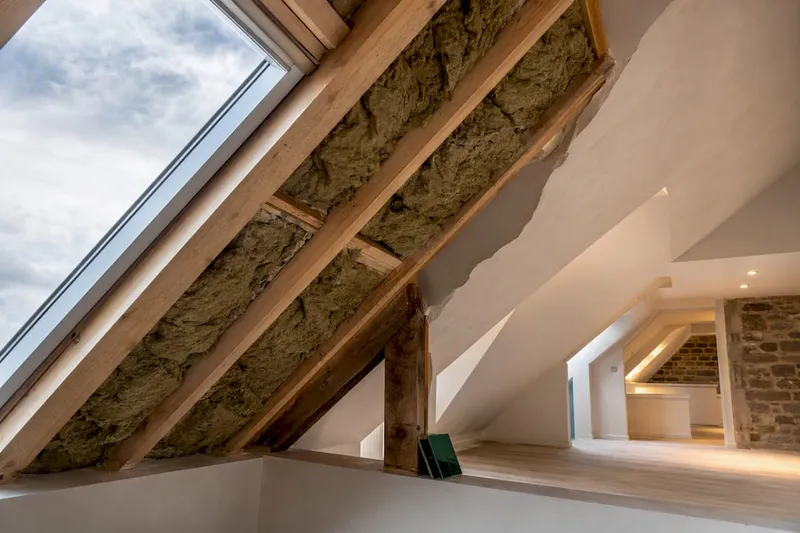
- Insulation and drywall: Fit insulation batts or spray foam, then hang and finish drywall (plasterboard).
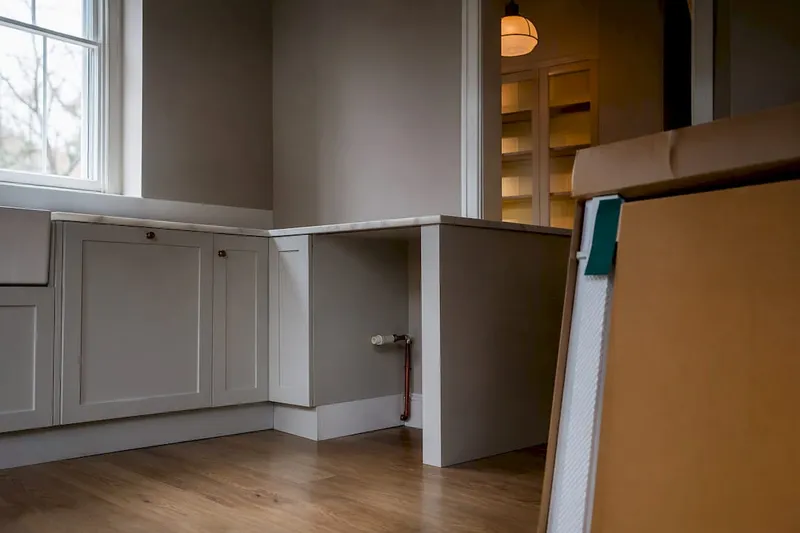
- Interior finishes: Install flooring, cabinetry, tiling, fixtures, and paintwork.
- Exterior work: Complete cladding, roofing, windows, doors, driveways, and landscaping.
- Final inspection and walkthrough: Obtain the certificate of occupancy and complete the punch list before handover.
Each of these construction phases for new homes carries its own inspection requirements, material lead times, and decision deadlines. Missing a decision at the framing stage, for example, can delay the entire MEP rough-in schedule by weeks.
Pro Tip: Print this list and use it as a running tracker. Ask your builder which stage you are in at every site visit, and note the date each phase begins and ends. This simple habit gives you a clear record if disputes arise later.
2. How inspections and permits align with each build stage
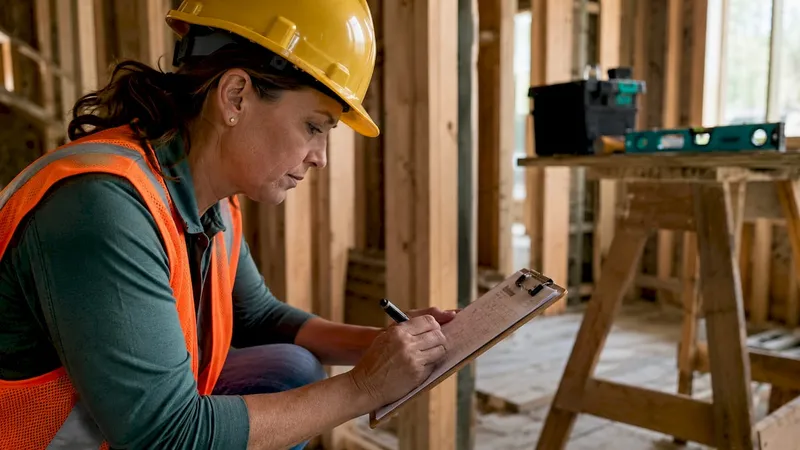
Permit and inspection sequencing is not bureaucratic formality. Inspections prevent concealment of work before it has been verified, which protects both structural safety and your long-term investment. The sequence runs as follows:
- Site plan and permit approval: No groundwork begins until the local authority approves your building permit application.
- Footing and foundation inspection: The inspector checks excavation depth and reinforcement before concrete is poured.
- Framing inspection: The structural frame is reviewed before any insulation or internal linings are installed.
- Rough-in inspection (MEP): Plumbing, electrical, and HVAC rough-ins each require individual sign-off before insulation goes in. In some counties, these are three separate inspections scheduled across 3 to 5 business days each.
- Insulation inspection: Some jurisdictions require a separate check of insulation coverage and R-values before drywall is hung.
- Final inspection: A comprehensive review of all completed work, leading to the certificate of occupancy.
Permitting and design delays represent the biggest scheduling risk early in any project, because no physical construction can begin until approvals are granted. A permit application that takes six weeks instead of two can push your entire build calendar back by a month or more. Refer to the House A-Z building permit requirements guide for a detailed breakdown of what to submit and when.
Pro Tip: Attend every inspection in person, or ask your project manager to send you timestamped photos immediately after each one. Inspectors occasionally note verbal observations that do not appear in the written report. Being present means you hear everything.
3. Practical decisions to make at each stage
The new home building process demands that you make the right decisions at the right time. Decision lock milestones such as floor plan sign-off, finish selections, and long-lead item orders act as gating points that control both inspections and costs. Change anything after these points and you will pay a premium, often in both money and time.
Here is where your attention is most needed at each phase:
- Design stage: Lock your floor plan completely before permits are submitted. Changes after submission require amended drawings and restart the approval clock. Use the House A-Z home layout planning guide to stress-test your layout before committing.
- Pre-framing: Order windows, doors, and structural steel early. These are long-lead items that can take 8 to 12 weeks to arrive. A delayed window order holds up framing completion.
- Pre-rough-in: Confirm all fixture and fitting specifications with your plumber and electrician. Moving a bathroom drain after rough-in is one of the most expensive changes you can make on a build.
- Pre-drywall: Walk the site with your builder and check every wall cavity. This is your last opportunity to add extra power points, data cabling, or blocking for future fixtures such as wall-mounted televisions.
- Pre-handover: Review the quality control checklist for every build phase before signing off on practical completion.
Stages in a build often overlap. Exterior cladding and landscaping frequently run in parallel with interior finishing work. This means you may be making decisions about two or three phases simultaneously, so clear communication with your builder is non-negotiable. The House A-Z guide on communicating with contractors covers how to structure those conversations effectively.
Pro Tip: Create a shared document or use a project management tool where every decision is logged with a date and the name of the person who approved it. Verbal agreements on a building site are forgotten quickly. Written records protect everyone.
4. How long does each stage take?
Custom home builds typically take 12 to 18 months from initial design through to move-in, with construction alone running 8 to 14 months. Semi-custom and volume builds are faster, but the individual stages still follow broadly similar durations. The table below gives realistic ranges for each phase.
| Stage | Typical duration | Key variables |
|---|---|---|
| Planning, design, and permits | 4 to 12 weeks | Council processing times, design complexity |
| Site preparation | 1 to 2 weeks | Ground conditions, access, weather |
| Foundation | 2 to 4 weeks | Foundation type, soil conditions, curing time |
| Framing | 3 to 6 weeks | House size, prefabricated vs. site-built |
| MEP rough-ins | 4 to 8 weeks | Inspection scheduling, trade availability |
| Insulation and drywall | 2 to 4 weeks | House size, drying time for wet plaster |
| Interior finishes | 6 to 12 weeks | Specification complexity, material lead times |
| Exterior work | 2 to 6 weeks | Weather, landscaping scope |
| Final inspection and closeout | 1 to 3 weeks | Punch list length, council availability |
Weather is the most unpredictable variable across all construction phases for new homes. Concrete cannot be poured in freezing conditions, and timber framing should not be left exposed to prolonged rain. Build a contingency of at least four weeks into any schedule you present to your lender or removals company. The House A-Z article on managing construction delays explains how to structure that buffer without compromising your overall programme.
Pro Tip: Ask your builder for a Gantt chart or programme at the start of the project, not halfway through. A builder who cannot produce a basic schedule at contract signing is a builder who is not planning your project properly.
5. Preparing for the final stages and project closeout
The final stages of the new home building process are where many first-time builders lose focus, assuming the hard work is done. The closeout phase is an evidence-driven process that goes well beyond a single walkthrough. Closeout involves verifying permit approvals, managing punch-list corrections, and collecting all project documentation before you release final payment.
The final walkthrough typically takes 2 to 3 hours and covers up to 47 specific checklist items. Rushing this step is one of the most common and costly mistakes first-time builders make. Here is what to cover:
- Certificate of occupancy: Confirm the local authority has issued this document. Without it, the building is not legally habitable.
- Punch list: Record every defect, incomplete item, or non-conforming finish in writing. Agree a rectification deadline with your builder before you hand over final payment.
- Warranties and manuals: Collect written warranties for structural work, roofing, appliances, and mechanical systems. These documents are your recourse if problems emerge after move-in.
- Lien waivers: Obtain signed lien waivers from your builder and all subcontractors. This confirms all trades have been paid and protects you from future claims against your property.
- Meter readings and service connections: Record opening meter readings for electricity, gas, and water on the day you take possession.
The House A-Z final walkthrough guide provides a room-by-room checklist you can print and carry on the day. Do not attend the walkthrough alone. Bring an independent building inspector if your budget allows, particularly for structural and waterproofing items that are difficult to assess without specialist knowledge.
Key takeaways
A successful new home build depends on understanding each construction phase before it begins, making decisions at the correct milestones, and attending every inspection to protect quality and compliance.
| Point | Details |
|---|---|
| Follow the sequential stages | Each of the 5 to 9 build phases must be completed and inspected before the next begins. |
| Lock decisions early | Floor plans, finishes, and long-lead items must be confirmed before the relevant stage starts to avoid costly changes. |
| Attend inspections actively | Being present at framing and rough-in inspections lets you catch issues before drywall conceals them permanently. |
| Build in schedule contingency | Add at least four weeks of buffer to your programme to absorb weather, permit, and material delays. |
| Treat closeout as a formal process | Collect the certificate of occupancy, punch list sign-off, warranties, and lien waivers before releasing final payment. |
What I have learned from watching first-time builders navigate each stage
Having worked closely with people going through their first build, the pattern I see most often is this: builders arrive at the project energised and well-prepared for the early stages, then lose momentum somewhere between the MEP rough-in and interior finishes. That middle section of the build is unglamorous. The house looks like a construction site for weeks, decisions pile up, and the excitement of the design phase feels distant. That is precisely when costly mistakes happen.
The builders who come out of the process with the fewest regrets are those who treat every inspection as a personal milestone rather than an administrative hurdle. Framing and rough-in inspections are genuinely your best opportunity to catch problems before they become permanent. Once drywall goes up, fixing a misrouted pipe or a missing fire block costs ten times what it would have cost at rough-in.
I also think the industry underestimates how much the plumbing rough-in phase shapes the long-term liveability of a home. Decisions made in that two-week window, about drain locations, hot water system placement, and pipe sizing, affect every shower you take for the next thirty years. Treat it with the same attention you give to choosing your kitchen finishes.
My honest advice is to use a checklist for every stage, attend every inspection you can, and never sign off on a stage until you are satisfied. Your builder works on multiple projects. You are building one home. That asymmetry means the responsibility for quality control sits more with you than most people realise.
— Azai
FAQ
How many stages does a new home build have?
Most residential builds follow between 5 and 9 sequential stages, from planning and design through to final inspection and handover. The exact number depends on the build type, with custom homes typically having more defined phases than volume builds.
What is the longest stage in the home building process?
Interior finishes is usually the longest single construction phase, taking 6 to 12 weeks depending on specification complexity and material availability. Custom joinery, tiling, and bespoke fixtures all extend this stage significantly.
Can build stages overlap?
Yes. Exterior cladding, landscaping, and some interior finishing work frequently run in parallel once the building is weathertight. However, inspection-dependent stages such as framing and MEP rough-ins must be completed and approved sequentially before the next phase begins.
When should I attend site inspections?
Attend or arrange photo documentation for the framing inspection and all MEP rough-in inspections. These are the stages where problems are easiest to correct and hardest to detect once drywall is installed.
What documents should I collect at project closeout?
Collect the certificate of occupancy, signed punch-list completion confirmation, warranties for all structural and mechanical work, appliance manuals, and lien waivers from your builder and all subcontractors before releasing final payment.