There are three broad ways to keep a basement dry: stop water at the wall with a barrier, build the structure itself to resist water, or accept that some water will arrive and give it a safe route out. In the UK these are written into the standard as Type A, Type B and Type C. Which one suits your home depends far less on taste than on where the water is coming from, how high the water table sits and what you want the room to become.
This guide walks you through each option, compares interior and exterior approaches honestly, flags the mistakes that cause repeat leaks and shows how to plan the work so you are not caught out by the budget.
TL;DR
- UK practice follows BS 8102 and its three protection types: Type A (barrier), Type B (structurally integral) and Type C (drained cavity).
- Diagnose the water source first. Surface run-off, rising groundwater and a failed drain each call for a different fix.
- Interior systems manage water that has already got in. Exterior systems try to stop it entering, which matters most for masonry walls.
- Whatever you choose, the water needs a reliable way out, and the ground around the house must slope away from it.
- Get at least two independent surveys and put every quote, survey note and warranty into one place before you commit.
Table of Contents
- Start with the water, not the product
- The three UK protection types explained
- Interior vs exterior waterproofing
- Fix the outside first
- Don't forget where the water goes
- What about new builds and extensions?
- What does basement waterproofing cost?
- A quick way to choose
- Where the real money is lost
- Our perspective: treat waterproofing as a project, not a purchase
- Plan your basement project in one place
- FAQ
- Sources
Start with the water, not the product
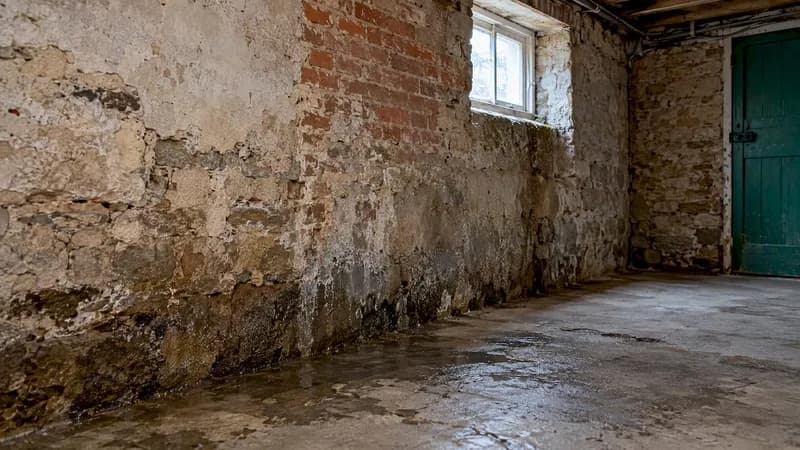
Most wet basements are not a failure of a waterproofing product. They are a failure to understand the source. Before comparing systems, work out which of these you are dealing with:
- Surface water: rain running towards the house because of poor ground levels, blocked gullies or a leaking downpipe.
- Groundwater pressure: water in the soil pressing on the walls and floor, often worst after prolonged rain or in the wet months.
- Seepage at joints: damp appearing where the wall meets the floor or along construction joints.
- Condensation or humidity: moisture that looks like a leak but comes from warm, damp air meeting cool masonry.
One US industry guide makes the point well: the choice between interior and exterior systems should be a diagnosis of the water's source, not a preference. That is advice any UK surveyor would endorse. A damp meter reading on its own does not tell you which of the four problems above you have, so look at the pattern: does it appear after rain, at floor level only, or all year round?
If you suspect structural movement, cracks wider than a hairline or a failing retaining wall, call a chartered structural engineer before anyone sells you a membrane. Waterproofing a wall that is moving only hides the problem.
The three UK protection types explained
The trade body for the sector describes three main methods of protecting residential basements from ground water, defined in BS 8102. Think of them as three philosophies.
Type A: barrier protection (tanking)
A barrier keeps water out by coating or lining the wall and floor. Typical forms include cementitious slurry, liquid-applied membranes and sheet membranes. It can be applied on the inside face or, during excavation, on the outside.
Strengths: it is thin, so you lose very little floor area, and it suits sound masonry or concrete. Weaknesses: it relies on the bond to the substrate. If the wall is crumbling, salt-laden or under strong water pressure, the coating can fail and water goes straight through. Detailing at junctions, pipes and the wall to floor joint is where most problems start.
Type B: structurally integral protection
Here the structure itself is the waterproofing: watertight concrete with carefully designed joints, waterstops and often additives, sometimes combined with a membrane. This is mainly a new-build or major-extension option, such as a new basement dug under an existing house. You cannot retrofit it into an old brick cellar, but if you are building from scratch it deserves serious thought, with an engineer designing it.
Type C: drained cavity protection
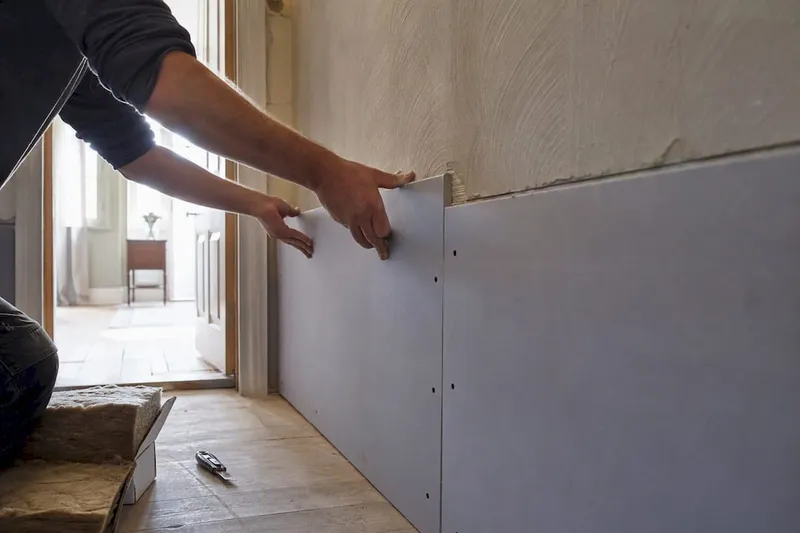
A Type C system accepts that some water will reach the wall. A studded cavity drain membrane is fixed to walls and floor, channels collect water behind it, and the water runs to a sump where a pump (or, where levels allow, a gravity outlet) removes it. The finished dry lining sits in front of the membrane.
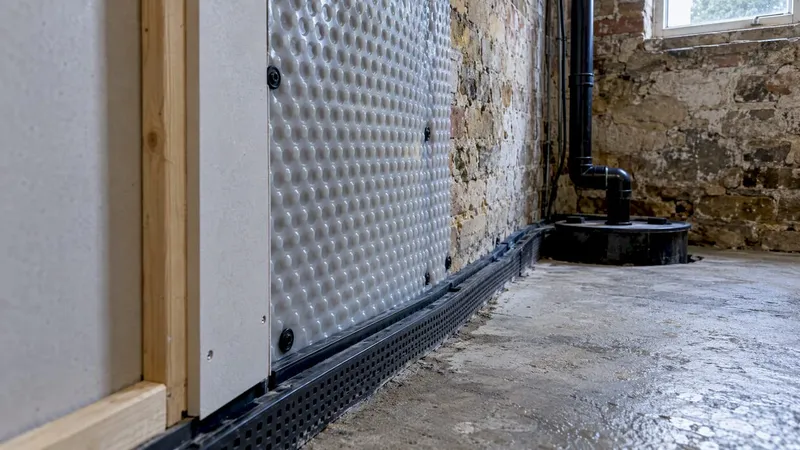
Strengths: it is forgiving of imperfect old walls, tolerant of damp masonry and the most common retrofit in existing UK cellars. Weaknesses: it needs power and a working pump, ideally with a battery backup, and it needs servicing. It also costs you a few centimetres of space around the room.
If you want to see how these types interact, the 2022 revision of the standard is described by trade bodies as favouring combined protection for higher-risk situations, so do not be surprised if a designer proposes, for example, a barrier plus a drained cavity in the same room.
Interior vs exterior waterproofing
Outside the UK standard's language, you will often see the choice framed as interior versus exterior. They overlap with the types above: exterior work is usually Type A applied from outside, while most interior retrofits are Type C.
| Interior systems | Exterior systems | |
|---|---|---|
| What it does | Manages water that has already entered | Stops water reaching the wall |
| Typical work | Cavity membrane, channel, sump and pump | Excavate, repair wall, apply membrane, add drainage, backfill |
| Disruption | Indoors, little outside impact | Heavy digging, garden, paths and sometimes neighbours affected |
| Best for | Floor or joint seepage, hydrostatic pressure, limited outside access | Porous masonry walls, where you can reach the whole wall face |
| Ongoing upkeep | Pump testing, servicing, eventual replacement | Little, if installed properly |
| Limits | Depends on mechanical parts and power | Often impossible where the wall abuts a boundary, patio or a neighbour |
The same US guide explains that interior drainage is typically more economical and effective for pressure under the slab, while external membranes are better for masonry walls because they protect the porous material itself. A Canadian homeowner guide adds that exterior waterproofing installed correctly can last 30 to 50 years, while interior systems rely on components such as sump pumps that need monitoring and replacing. Those are North American figures, so treat them as indicative and ask any UK installer for the guarantee in writing, and for what it covers.
The masonry caveat
A warning worth repeating: interior and exterior systems are not interchangeable. A Kansas State University extension publication notes that for masonry foundations, trapping water in the wall with only an interior system can speed up the decay of mortar joints because the wall stays saturated. In an old Victorian cellar with soft lime mortar, ask the surveyor how the wall will be allowed to behave, and whether water is being dealt with before it reaches the masonry.
Fix the outside first
The cheapest waterproofing is the water that never reaches the wall. Before spending on membranes, check the following.
- Ground levels. Soil, patios and paths should fall away from the house. For reference, the US model residential code asks for a minimum fall of 6 inches within the first 10 feet from the foundation, roughly 150 mm over 3 metres. That is a US rule, not a UK requirement, but it is a sensible yardstick for a garden.
- Backfill settling. Soil around an older house sinks over the years and can reverse the slope. The same Kansas State publication flags topping up soil to maintain the outward slope as a commonly missed job and a driver of recurring leaks.
- Gutters, downpipes and gullies. Make sure they are clear, joined to a drain and not discharging beside the wall.
- Drains. Have a CCTV survey if you suspect a cracked or blocked drain near the basement.
The Kansas State publication goes further, saying that more than 90 per cent of wet basement cases are linked to improperly installed or failed footing drainage. It is a US extension-service finding, not a UK statistic, but the lesson travels: drainage at the base of the wall is where many problems begin.
Don't forget where the water goes
A drainage system is only as good as its outlet. The same extension guide stresses that collected water must have a reliable place to discharge, and that gravity systems discharging to daylight are more dependable than pumps because they do not rely on electricity during storm power cuts.
In a UK terrace, a gravity outlet is rarely possible. So if your design relies on a pump:
- ask for a twin-pump or backup-pump arrangement and a battery or alarm;
- confirm where the discharge pipe goes and that you have permission to connect to it, as discharging into the foul sewer or onto a neighbour's land can be a problem;
- put annual pump testing in your calendar, and keep the commissioning paperwork.
What about new builds and extensions?
If you are digging a new basement, the water strategy is part of the design from day one. For reference, the ENERGY STAR builder requirements in the US call for a capillary break beneath basement slabs and exterior damp-proofing on below-grade walls as a minimum. This is a US voluntary programme, but it shows the layered thinking: a break under the slab, protection on the wall and drainage around the footing, not one product doing everything.
In the UK, a new basement is a job for a structural engineer and a waterproofing designer working to BS 8102, often with Type B concrete plus a second line of defence. If you are still deciding whether a basement is right for your plot, our guide to foundation types: slab, crawl space or basement lays out the trade-offs.
What does basement waterproofing cost?
We are not going to give you a single number, because anyone who does without seeing your walls is guessing. Costs swing with the method, the area, access, the height of the water table, how much plaster or render has to come off and whether a pump and sump are needed. Exterior work adds excavation, which is often what makes it the dearest option.
What you can do is compare like with like:
- Ask each surveyor to state the protection type, the product, the area covered and the guarantee length and terms.
- Ask whether a pump, backup and discharge route are included.
- Ask for the design to be signed off against the standard, and who holds the liability.
- Compare quotes from at least two firms, ideally one of them independent of the installer, such as a chartered surveyor or structural engineer.
A cheaper quote that leaves out the sump, the outlet or the making good is not cheaper.
A quick way to choose
Use this as a first-pass filter, then confirm with a professional survey:
- Old cellar, damp walls, no outside access: a drained cavity (Type C) is usually the practical route.
- Sound masonry or concrete, low water pressure, small floor area to lose: a barrier system (Type A) may be enough, with careful detailing.
- Porous masonry walls, full access to the outside face: exterior work deserves a quote, combined with proper footing drainage.
- New basement or large extension: designed structural waterproofing (Type B), usually with a second layer.
- Mixed signs, high water table or habitable space: a combined approach, designed by a specialist.
If the room will be living space, rather than storage, aim for the higher end of protection. A damp store is an annoyance. A damp bedroom or home office is a health and finishing problem.
Where the real money is lost
The expensive mistakes in basement projects are rarely about the membrane. They are about sequence and paperwork.
- Finishing before drying. Plastering, flooring or stud walls installed before the waterproofing is proven.
- Ignoring services. Pipes and cables passing through the membrane need proper sealing. Our note on plumbing rough-in heights helps you plan where services will run before the walls are lined.
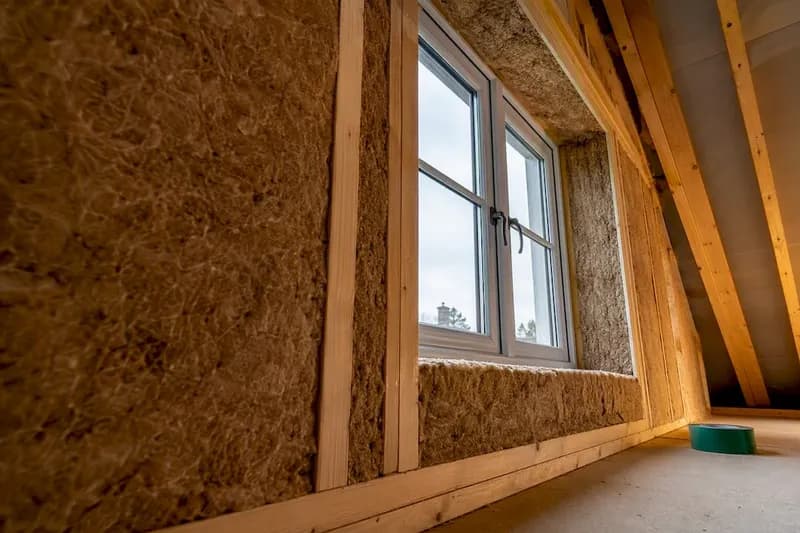
- Insulation clashes. Cold, damp walls and the wrong insulation can trap moisture. See our piece on sustainable insulation options before you specify wall linings.
- Lost guarantees. A warranty that needs yearly servicing is void if no one services it.
- No maintenance plan. Pumps, gutters and gullies need regular attention, which is why we also wrote about post-renovation maintenance.
Our perspective: treat waterproofing as a project, not a purchase
We built House A-Z for people who are doing this for the first time, and basements are where first-timers feel most exposed. The advice arrives in jargon, the quotes are not comparable and one wrong decision sits behind a finished wall for years.
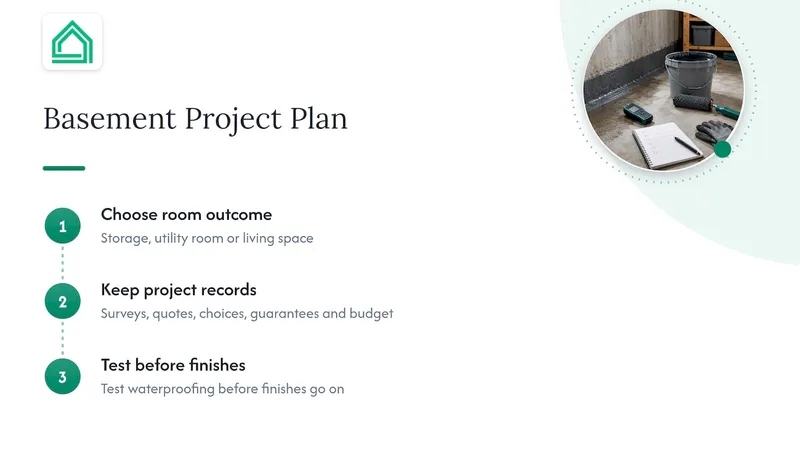
Our view is simple. First, decide the outcome you want from the room before you talk to a waterproofing specialist: storage, a utility room or a proper living space. That single decision changes the protection level you should ask for. Second, keep every survey, quote, product choice and guarantee in one place, with the budget alongside, so you can compare options line by line and see how waterproofing affects the rest of the job: electrics, plumbing, insulation, flooring. Third, sequence the work so the waterproofing is tested before finishes go on.
That is exactly where we think planning software earns its keep: a single project with the budget, room layouts and the contractor conversation together, rather than a folder of PDFs and a spreadsheet nobody trusts. If a basement conversion is on your list, our step-by-step basement remodel planning guide pairs well with this article.
— Azai
Plan your basement project in one place
If you are weighing waterproofing quotes alongside the rest of a basement project, House A-Z brings budget tracking, room mapping, project management and contractor collaboration into one workspace. You can start on the Free plan, move to Pro at €29 per month, or look at Enterprise from €99 per month if you manage projects professionally. See the plans and pricing to find the fit, or meet our AI agents, which turn your budget, preferences and timeline into personalised suggestions.
FAQ
What is the cheapest way to waterproof a basement?
The cheapest fix is usually outside the building: correct ground levels, clear gutters, working downpipes and sound drains. If water still gets in, a barrier coating on sound walls is generally less costly than excavating for exterior work, but only if the wall and water pressure suit it. A failed coating costs far more than a correct system the first time.
Can I waterproof a basement 100 per cent?
No honest installer should promise absolute certainty. Systems are designed to a performance level, and a combination of barrier, drainage and a working outlet gives the best margin. Ask for the design basis, the guarantee terms and the maintenance schedule in writing.
Is interior or exterior waterproofing better?
Neither wins in every case. Interior drainage tends to suit pressure and seepage at the floor, while exterior membranes protect porous masonry because they keep water out of the wall. Access matters too: in many UK terraces, digging around the whole wall is simply not possible.
Can I do basement waterproofing myself?
You can handle the outside basics, such as gutters, gullies and ground levels. Tanking, cavity drains and sumps are different: poor detailing at junctions is the usual cause of failure, and the work often needs design to BS 8102. For habitable rooms, use a qualified specialist and keep the guarantee.
Sources
- Types of waterproofing, TBIC
- Interior vs. Exterior Waterproofing: Which Is Better?
- Basement Waterproofing Explained, Homeowner.ca
- MF2809 Dry Basements and Crawl Spaces, Kansas State University
- Chapter 4 Foundations: New Hampshire Residential Code 2024, UpCodes
- National Water Management System Builder Requirements, ENERGY STAR