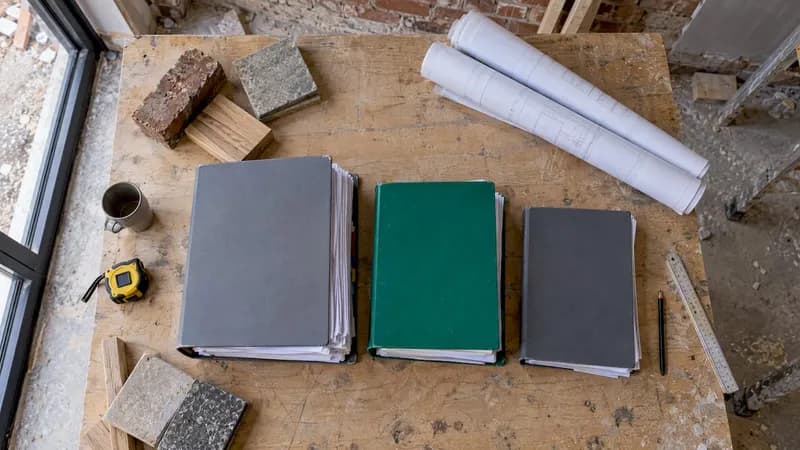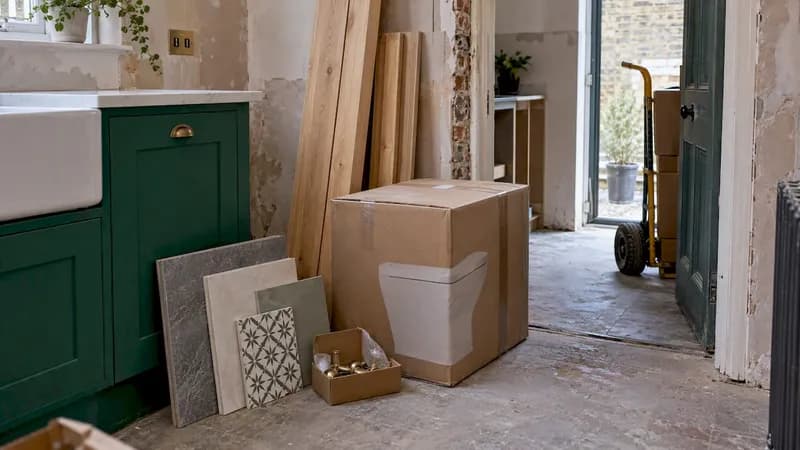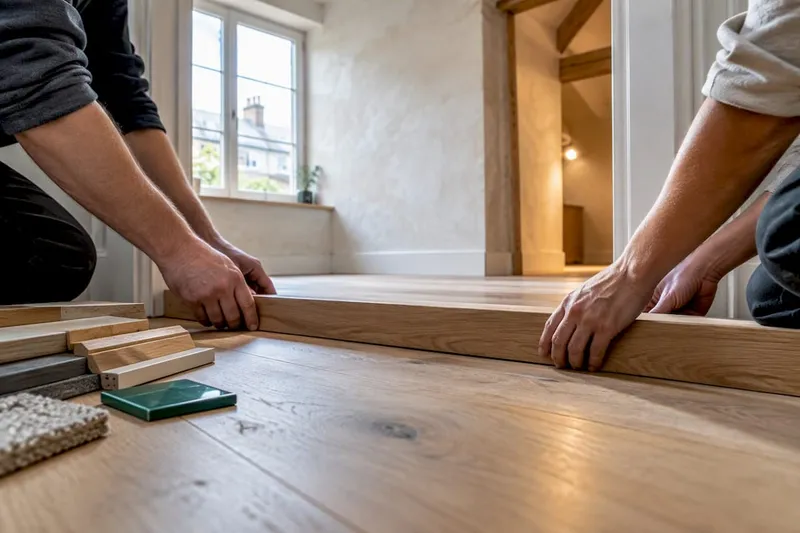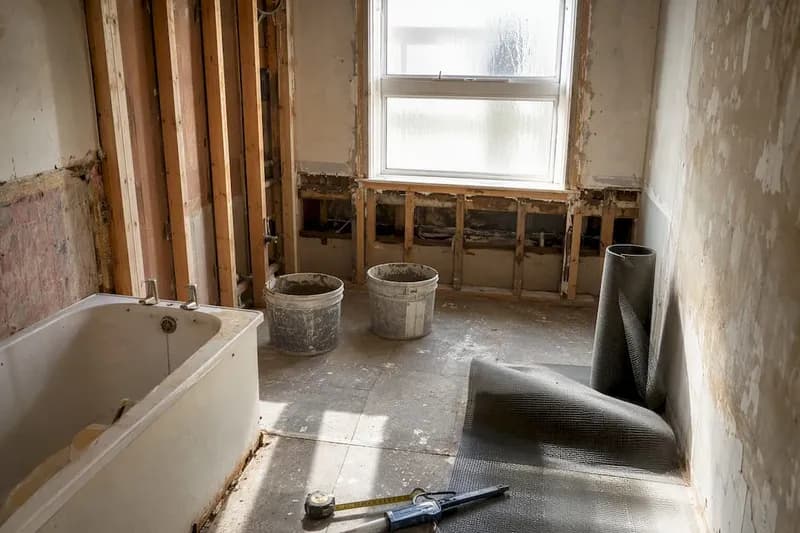
Follow this sequence and you will avoid the two mistakes that derail most projects: tiling before waterproofing has cured, and demolishing a room before your vanity, tiles and glass have been ordered.
- Plan and lock every selection — tile, vanity, shower system, countertop, fittings
- Confirm your budget and contingency, including permit costs
- Demolish the existing bathroom and protect the rest of the house
- Rough-in plumbing and electrics, then pass inspection
- Repair the subfloor and set falls for correct drainage
- Waterproof the shower and floor, then flood-test and cure
- Tile the shower floor, then the shower walls, then the main floor
- Install and level the vanity, then template the countertop
- Measure and fit glass, install final fixtures, connect the toilet last
- Paint, silicone and fit trims, lighting and accessories
- Complete a punch-list walkthrough before calling the job finished
The construction window itself typically runs six to twelve weeks, but the total project, from first consultation to final walkthrough, usually stretches to ten to eighteen weeks once you add design time and selections. The single biggest threat to that schedule is waiting on a custom vanity, imported tile, or frameless glass that was not ordered until after demolition began.
Key Takeaways
Bathroom remodels succeed when materials are locked before demolition, waterproofing cures fully before tiling, and every long-lead item is ordered against a written date.
| Point | Details |
|---|---|
| Lock selections first | Choose tile, vanity, countertop, and glass before demolition to avoid multi-week stoppages. |
| Respect the tile order | Tile the shower floor first, then walls, then the main floor, to set drain elevation correctly. |
| Never skip cure times | Waterproofing must flood-test and cure fully, and grout needs 24 to 72 hours, before tiling or water use. |
| Budget with contingency | Hold back 15 to 20% of your budget for hidden plumbing, subfloor, and electrical issues. |
| Use structured planning tools | House A-Z centralises selections, lead-time alerts, and budget tracking so schedule risks surface early. |
Table of Contents
- Bathroom remodel steps: planning and design before demolition
- What happens during demolition and site preparation?
- Plumbing and electrical rough-in: what needs confirming before walls close
- Substrate, structural repairs and waterproofing come before tile
- In what order should tiles be laid?
- Fixtures, vanity, and glass: getting the fit-off order right
- Painting, silicone, and the finishing details
- How long does a bathroom remodel actually take?
- Building a realistic bathroom remodel budget
- Common bathroom remodel mistakes and how to catch them early
- How House A-Z supports each stage of your remodel
- What the standard advice on bathroom remodels gets wrong
- Plan your remodel with House A-Z
- Sources
- FAQ
Bathroom remodel steps: planning and design before demolition
Nothing in a bathroom remodel is as expensive as a decision made too late. Once demolition starts, the clock is running on skilled labour standing idle while you wait for a tile sample or a vanity to arrive. Lock these choices before a single tile is pulled off the wall.
- Tile — floor, shower floor, and shower walls, including trim pieces and thresholds
- Vanity and countertop — style, dimensions, and whether it is stock, semi-custom, or fully custom
- Shower system — valve type, showerhead, and any niche or bench that affects waterproofing
- Toilet, taps, and lighting — fixtures that determine rough-in positions
- Glass — whether you want a frameless shower screen, which cannot be ordered until tiling is finished
Lead times punish indecision. Stock tile might ship in three to seven days, while imported or speciality tile can take two to six weeks. Semi-custom vanities typically take several weeks to arrive; fully custom units require longer lead times. That is why the smartest renovators order the slowest-moving items on day one of planning, not the week before they are needed.
Set your budget with a contingency held back for the surprises hidden behind old tile and inside old walls. Rotten subfloor, outdated wiring, and undersized drain pipes are common enough that skipping this buffer is one of the fastest ways to stall a project midway through.
Check whether your local authority requires permits for plumbing relocation or electrical work, and book any required inspections into your schedule now rather than waiting until rough-in is finished and the inspector's diary is full. A simple selections list mapped against a week-by-week Gantt window, the kind House A-Z's project plan and Gantt template is built for, turns a vague wish list into a schedule you can actually hand to a contractor.
Pro Tip: Get every lead time confirmed in writing from your supplier before you set a demolition date. A verbal "should be about a month" has a habit of becoming ten weeks once you are three weeks into a gutted bathroom.
What happens during demolition and site preparation?
Demolition is short, loud, and disruptive, but it rarely takes longer than two to three days for a standard bathroom strip-out: removing the bath or shower, vanity, toilet, tiles, and any non-structural partitions.
- Seal doorways with plastic sheeting and run negative-air ventilation to stop dust migrating through the house
- Protect flooring and stairwells in adjoining rooms with hardboard or heavy-duty film before any material leaves the room
- Photograph every wall and floor cavity before it gets covered again, in case a dispute over scope arises later
- Arrange a skip or licensed waste collection in advance rather than discovering on demolition day that nobody can take tile debris
Old bathrooms have a habit of hiding problems that nobody budgeted for. Corroded pipework, soft or rotten subfloor timber, and, in older properties, asbestos-containing tile adhesive or backing board are the three most common discoveries. If you suspect asbestos, stop work immediately and get it tested before demolition continues. Everything else, rot and dated plumbing included, simply needs pricing and folding into your contingency, which is exactly why that 15 to 20% buffer exists rather than sitting unused.
Plumbing and electrical rough-in: what needs confirming before walls close
This is the point where invisible decisions become permanent. Once plasterboard or cement board goes up, moving a drain three inches costs real money and real time.
- Drain and supply lines get set to the exact position your shower, vanity, and toilet require, based on the fixtures you already chose
- Cable routes are run for lighting, extractor fans, and any heated towel rail or underfloor heating
- Blocking goes into the stud wall for grab bars, heavy mirrors, or wall-hung vanities before the wall is closed
- GFCI protection is confirmed on every circuit near water, per your local electrical code
- Heights are checked against the actual fixtures, not generic standards, since a taller-than-average shower valve or a wall-hung toilet frame changes rough-in dimensions
This is also the moment to walk through the room with your plumber and electrician and physically confirm shower head height, vanity light position, and outlet placement before anyone closes a wall. An inspector will typically check rough-in plumbing and electrical work before it is covered, so schedule that inspection now rather than treating it as a formality you can slot in later.
Pro Tip: Ask your plumber to isolate the bathroom's water supply on its own valve during rough-in. It shortens the water-off window for the rest of the house and makes later fixture swaps far less disruptive.

Substrate, structural repairs and waterproofing come before tile
This is the step homeowners most often try to rush, and it is the one with zero room for shortcuts. According to the sequencing used across professional bathroom remodelling processes, tile simply cannot go down until waterproofing is applied and fully cured.
- Repair or replace any damaged subfloor timber before anything else touches the floor
- Set the correct fall, typically around 1:50, toward the shower drain so water cannot pool
- Use cement board or a comparable tile backer on wet walls; standard plasterboard has no place behind a shower
- Apply a waterproofing membrane across the shower floor, walls to the required height, and any adjoining floor area
- Flood-test the shower pan, holding water for 24 hours minimum, before covering it with tile
Waterproofing curing often looks like nothing is happening, and that stalled feeling is exactly why homeowners get anxious during this stage, even though it is arguably the most valuable few days of the entire project. A membrane that has not properly cured is the single most common cause of the leaks that show up in the ceiling below a year or two later. Ask your contractor for written confirmation, ideally a waterproofing certificate, once the flood test passes. It is worth far more than a verbal assurance if you ever come to sell the property.
In what order should tiles be laid?
Tile the shower floor first, then the shower walls, then the main bathroom floor. That sequence exists for a practical reason, not tradition: the shower floor sets the drain elevation and slope that everything else needs to match.
- Shower floor goes down first, establishing the exact height the drain and fall require
- Shower walls follow, meeting the floor tile at a consistent, level line
- Main bathroom floor is tiled last, once the shower work sets the datum for grout lines and movement joints
Before any adhesive goes on, dry-lay a set-out plan so cut tiles land in corners and behind fixtures rather than staring you in the face from the doorway. It takes twenty minutes with tape on the floor and saves you from looking at a sliver of tile every time you walk in for the next decade.
Grout typically needs 24 to 72 hours to cure before the area can get wet, depending on the product, so factor that into your no-shower window rather than assuming you can use the bathroom the day grouting finishes. Large-format tiles need a flatter substrate and more working time per sheet, which usually means a slower, more careful install than smaller tiles. If you are using a prefabricated mosaic shower tray, check the manufacturer's waterproofing instructions separately. Some systems integrate their own membrane and do not need the same standalone waterproofing described above.
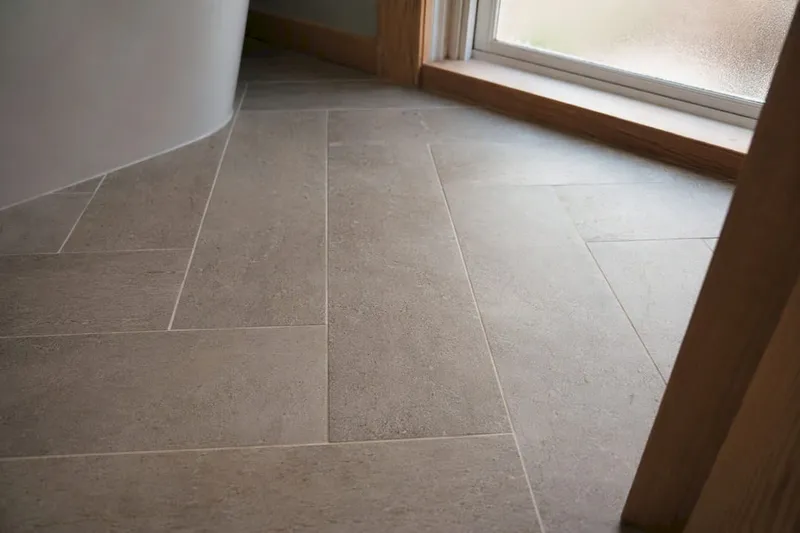
Pro Tip: Order 10% more tile than your measurements suggest. Batch numbers change between deliveries, and matching a discontinued tile six months later is close to impossible.
Fixtures, vanity, and glass: getting the fit-off order right
Vanities go in and get levelled before anyone measures for a countertop, because the countertop fabricator needs the vanity's exact final position, not the position on your floor plan. Templating typically happens once the vanity is set, with fabrication and installation following one to three weeks later depending on the material and shop workload.
- Vanity is installed and levelled first, giving the countertop fabricator a fixed reference point
- Countertop gets templated on-site, then fabricated and installed once the material and edge profile are cut
- Frameless glass is measured only after tile and grout have fully cured, since tile thickness and wall plumb both affect the glass dimensions
- Tubs and shower valves are connected and tested before more fragile items go in
- Toilets go in last among the major fixtures, reducing the chance of chips or cracks from other trades working around them
Cover new countertops and vanity tops with cardboard or protective film the moment they are installed. Painters, electricians finishing trim work, and glass installers are still moving through the room after this point, and a dropped tool on a stone countertop is an expensive way to end a project.
Painting, silicone, and the finishing details
Paint generally comes after tile and major fixtures, not before, because sanding, grouting, and fitting work throws dust and scuffs that would ruin a freshly painted wall.
- Paint the ceiling and walls once tiling and countertop installation are finished, then handle any touch-ups after fixtures go in
- Apply silicone sealant at the tile-to-tub, tile-to-vanity, and corner joints; treat it as ongoing maintenance rather than the waterproofing itself, since the membrane behind the tile does that job
- Fit final electrical trims, mirrors, towel bars, and accessories once paint is dry
- Walk the room with a punch list, checking silicone lines, grout consistency, door and drawer alignment, and that every light and outlet works, before signing off
How long does a bathroom remodel actually take?
Duration depends heavily on scope, and the gap between a cosmetic refresh and a full gut renovation is larger than most homeowners expect going in.
| Phase | Typical duration | Bathroom usable? |
|---|---|---|
| Design and pre-construction | 6 weeks | Yes |
| Demolition | 2–3 days | No |
| Rough-in plumbing and electrical | 3–5 days | No |
| Substrate, waterproofing and cure | 5–7 days | No |
| Tiling and grout cure | 5–10 days | No |
| Fixtures, countertop, glass fit-off | 1–3 weeks (glass and countertop often bottleneck here) | Partially |
| Finishes and punch list | 2–4 days | Nearly |
On-site construction commonly runs six to twelve weeks, while other contractor-sourced estimates put the build phase at 20 to 30 working days on average. Add design and selection time and a realistic total project length lands somewhere between ten and eighteen weeks from first consultation to final walkthrough. The variable that stretches this most reliably is a fixture or material ordered late, not the labour itself. Book long-lead trades, tile suppliers, and glass installers as early as your design is locked, and get every delivery date confirmed in writing before you demolish anything. House A-Z's planning and timeline templates are built specifically to flag those lead times against your working schedule.
Building a realistic bathroom remodel budget
Cost overruns rarely come from the big-ticket items you already priced. They come from the things nobody remembered to list.
- Permit fees, disposal charges, and temporary facilities (a portable toilet if this is your only bathroom) rarely make it onto a first-draft budget
- Get every supplier's lead time confirmed in writing, not just quoted verbally, since a written date is what you can actually hold a contractor to
- Hold back 15 to 20% of your total budget as contingency, weighted toward plumbing, subfloor, and electrical, the areas most likely to hide a nasty surprise
- Structure payments as a draw schedule tied to milestones, for example deposit, post-rough-in, post-tile, and final completion, rather than paying a large sum upfront
- Review common hidden costs before you finalise a number, since the items people forget are remarkably consistent from project to project
House A-Z's budget tracking exists precisely for this stage: centralising every quote, lead time, and draw payment in one place instead of across three spreadsheets and a text thread with your contractor.
Common bathroom remodel mistakes and how to catch them early
Most bathroom failures trace back to one of four decisions, and every one of them is checkable if you know what to ask.
- Ask for waterproofing coverage photos and a flood-test confirmation before tile goes down, since inadequate membrane coverage is invisible once tiled over
- Lock every material selection before demolition; a late decision on tile or a vanity is the single most common cause of a multi-week work stoppage
- Check the shower floor with a level or a marble before tiling begins; water should run cleanly toward the drain with no flat spots
- Request a written waterproofing certificate, workmanship warranty, and photos of any concealed pipework before final payment
Pro Tip: Take a phone photo of every inspection stage, rough-in, waterproofing, flood test, timestamped and stored somewhere you can find it. If a leak appears eighteen months from now, that record settles the question of whose work caused it.
What the standard advice on bathroom remodels gets wrong
Most bathroom remodel guides treat the order of work as a formality, a nice-to-know checklist rather than the thing that actually determines whether your project finishes in ten weeks or twenty-two. That is backwards. The sequence is the schedule. Every phase in this guide exists in a fixed order because the physics of waterproofing cure times and the realities of supplier lead times leave no room to improvise.
What gets underestimated most is how much damage a single late decision does. Homeowners obsess over tile colour and taps, then treat the vanity or glass order as something to sort out "closer to the time." That single habit is responsible for more multi-week stoppages than any plumbing failure or subfloor surprise. The trades rarely cause the delay. The paperwork and the parts do.
If you take one thing from this guide, make it this: build your selections list and your lead-time calendar before you book a single trade. A remodel with a good schedule and mediocre tile choices finishes faster and cheaper than a remodel with beautiful tile and no schedule at all.
Sources
Sequencing and cure-time guidance draws on Timber Design + Build's remodelling process, Eternity Bathrooms' week-by-week guide, Thornapple Construction's timeline breakdown, and BuildWithInspiration's tiling sequence guide. For planning tools, see House A-Z's project plan template and renovation topics hub.
- Bathroom Remodeling Process: What to Expect from Demo to Final Walkthrough | Timber Design + Build
- Bathroom Renovation Process Guide - Eternity Bathrooms
- Bathroom Remodel Timeline — What to Expect (Week-by-Week) | Thornapple
- Bathroom Remodel Timeline 2026: Week-by-Week Guide
FAQ
In what order should you renovate a bathroom?
Plan and lock materials first, then demolish, rough-in plumbing and electrics, waterproof and cure, tile the shower floor then walls then main floor, fit vanity and countertop, install glass and fixtures, then finish with paint and silicone.
What are the steps involved in renovating a bathroom?
The core steps are design and selections, demolition, rough-in, substrate repair and waterproofing, tiling, fixture and countertop fit-off, glass installation, and final finishes with a punch-list walkthrough. Tools like House A-Z's Gantt templates help sequence each phase against real supplier dates.
What is the hardest part of a bathroom remodel?
Waterproofing and its cure time cause the most anxiety, since the room appears to sit idle for days while the membrane cures and gets flood-tested. Skipping or rushing this stage is also the leading cause of leaks that surface months or years later.
What is the typical timeline for a bathroom renovation?
On-site construction usually takes six to twelve weeks, while total project time, including design and selections, commonly runs ten to eighteen weeks. Material lead times for custom vanities, speciality tile, and frameless glass are the most frequent cause of delay beyond that range.