The kitchen work triangle connects the sink, cooktop and refrigerator as three points of an imaginary triangle designed to minimise wasted steps. Treated as a guideline rather than a strict rule, it remains genuinely useful for compact and medium kitchens, though most designers now pair it with zone-based thinking for islands, open-plan layouts and multi-cook households.
TL;DR:
- The kitchen work triangle is less effective for open-plan kitchens and households with multiple cooks, where zones often replace the traditional triangle.
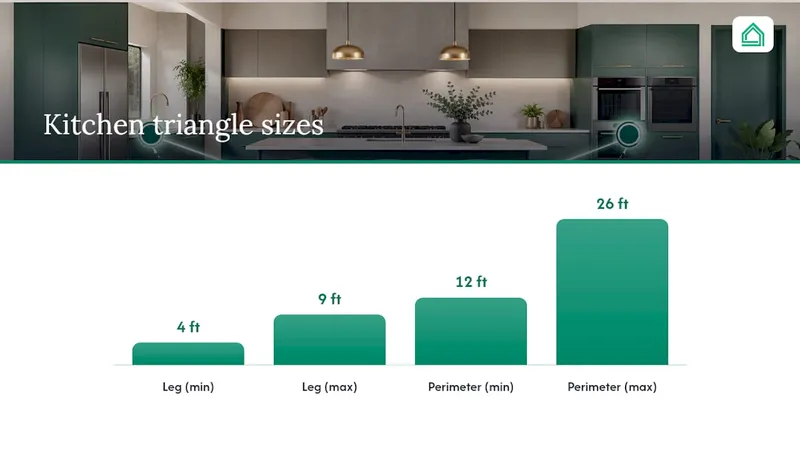
- Proper measurement from the center-front of appliances is crucial, with recommended leg lengths between 4 and 9 feet, and total perimeter around 12 to 26 feet.
- Islands that contain a sink or cooktop should be integrated into the triangle, maintaining at least 36 inches of clearance for functionality.
- Using planning tools like AI-based layout mapping can help identify costly errors early, potentially saving up to €20,000 during renovation.
- For complex layouts, pairing tools with professional designers remains wise, but simple measurements and guidelines still ensure functional kitchen zones.
Table of Contents
- What is the kitchen work triangle and how do you measure it?
- Where the kitchen work triangle idea actually came from
- Why the triangle struggles in today's open-plan kitchens
- Adapting the triangle for islands and multi-cook kitchens
- How to test and adjust your own kitchen layout
- How planning tools catch triangle mistakes before they cost you
- The triangle is a shortcut, not a straitjacket
- Plan your layout before you commit to a renovation
- Where to check the numbers yourself
- Sources
- FAQ
What is the kitchen work triangle and how do you measure it?
The three points are simple: sink, cooktop (or hob), and refrigerator. These are the appliances you move between most while cooking, and the triangle formed by connecting them is meant to keep that movement short without cramming the workflow into a single cramped corner.
Measurement matters more than most homeowners realise. According to the NKBA kitchen planning guidelines, each leg is measured from the centre-front of the appliance or sink, not the edge of the cabinet or countertop. Get this wrong and your numbers will be off before you have even started comparing them to the standard.
The accepted ranges, per NKBA guidance, are:
- Each leg should fall between 4 ft and 9 ft (1.2 to 2.7 m).
- The total perimeter, all three legs added together, should sit roughly between 12 ft and 26 ft (3.7 to 7.9 m).
- No major walkway or through-traffic route should cut across any leg of the triangle.
- Islands or cabinetry shouldn't intrude too far into the triangle's open space, since that defeats the point of keeping the path clear.
Those ranges give you a surprising amount of room to work with, and that flexibility is exactly why the triangle has survived as long as it has.
Where the kitchen work triangle idea actually came from
The concept isn't a modern marketing invention. It traces back to research at the University of Illinois School of Architecture in the 1940s, when researchers were studying how to make kitchens cheaper to build and more efficient to use at the same time.
Their work leaned heavily on earlier time-and-motion studies, most notably those of Lillian Moller Gilbreth, who had already spent decades analysing how people move through workspaces to eliminate unnecessary steps. Kitchen trade bodies adopted the triangle soon after, and it became a default planning shorthand for the rest of the century. That's a long run for a rule built on 1940s efficiency research and post-war construction budgets.
Why the triangle struggles in today's open-plan kitchens
The triangle was built for a world of enclosed, single-cook kitchens. Most homes now don't look like that, and the rule shows its age when it meets an open-plan layout, a sprawling island, or two people cooking dinner at once.
Kitchen design outlets have begun saying so outright: recent commentary has flagged the kitchen work triangle as officially out of step with how contemporary households actually cook. The alternative gaining ground is a zones approach, which splits the kitchen into functional areas instead of three fixed points:
- Prep zone, centred on counter space and often a secondary sink.
- Cooking zone, built around the hob, oven and nearby storage.
- Cleanup zone, anchored by the main sink and dishwasher.
- Serving or social zone, which acknowledges that kitchens now double as entertaining space.
Zones make more sense than a single triangle when your kitchen has more than three genuine work areas, when a walkway has to pass through the middle of the room, or when the household simply prioritises hosting over solo efficiency. Design guides also note that households with more than one regular cook do better duplicating key surfaces rather than forcing two people through one triangle.
Pro Tip: If you're torn between the triangle and zones, measure your triangle anyway. Even in a zoned kitchen, keeping the sink, hob and fridge within reasonable reach of each other prevents the worst of the extra walking.
Adapting the triangle for islands and multi-cook kitchens
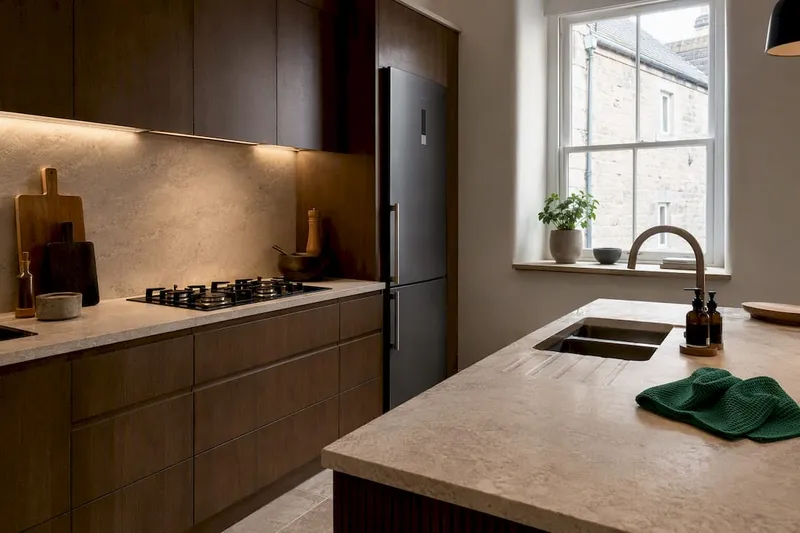
An island changes the maths the moment it holds a sink or a cooktop. At that point it stops being furniture and becomes a working vertex, which means it needs to be measured as part of the triangle rather than sitting outside it.
Clearance is where most island plans go wrong. Guidance from The Spruce's island planning advice recommends:
- Keep primary walkways around the island between 36 and 48 inches (0.9 to 1.2 m), depending on how many people use the kitchen at once.
- Account for appliance swing, meaning open oven or dishwasher doors, when checking that clearance.
- Add extra depth if the island includes seating, since diners need leg room on top of the walkway itself.
For quick reference: a galley kitchen naturally produces a tight, efficient triangle because the two run's proximity does the work for you. An L-shaped kitchen often needs an island to complete the triangle at all. A U-shaped layout usually has the triangle built in along its three walls. Island kitchens are the trickiest, precisely because the island can be a vertex, a landing zone, or purely social space depending on what sits on it.
How to test and adjust your own kitchen layout
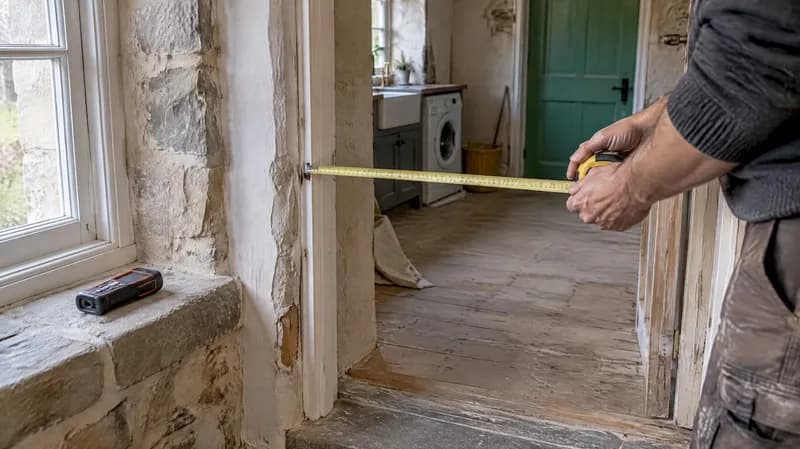
Measuring your own kitchen against the triangle takes about fifteen minutes and a tape measure, and it's the fastest way to spot a problem before you commit to a renovation.
- Mark the centre-front point of your sink, hob and fridge door, either with a pencil dot or a piece of tape on the floor.
- Measure each leg between those points, then add them together for the total perimeter.
- Compare against the standard ranges: legs of 4 to 9 ft, perimeter of roughly 12 to 26 ft.
- Walk the space and note anywhere a main walkway crosses a leg, or where an open appliance door blocks the path.
- Decide on adjustments: minor issues (a fridge door that swings the wrong way) might just need re-hanging hardware, while a triangle that's badly oversized often means moving an appliance or adding a second prep sink.
Pro Tip: If one leg comes out well over 9 ft, don't assume you need to gut the kitchen. Sometimes moving the fridge a single cabinet width solves the whole problem.
When plumbing or wiring has to move to hit these numbers, the cost implications are real, and that's usually where a proper budget breakdown earns its place before demolition starts.
How planning tools catch triangle mistakes before they cost you
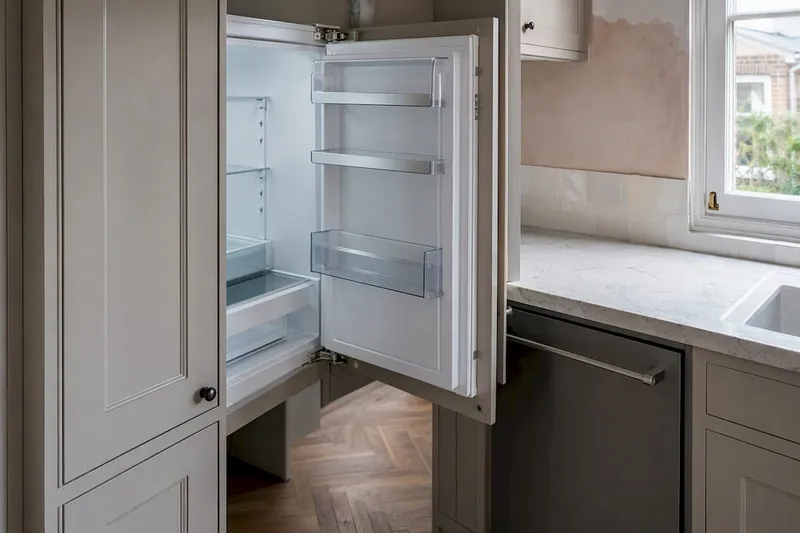
Most triangle mistakes aren't spotted on paper. They're spotted mid-renovation, when a fridge door hits a cabinet or an island leaves too little room to open the dishwasher, and by then the fix costs far more than it would have on a plan.
House A-Z's room mapping and clearance checks let you place the sink, hob and fridge digitally and see the resulting triangle and aisle widths before a single wall comes down. Its AI-powered suggestions flag legs that fall outside the standard ranges, and its budget tracker keeps the cost of any appliance move visible alongside the layout change. Clients using the platform have reported avoiding errors worth as much as €20,000 simply by catching layout problems on screen instead of on site. For straightforward layouts, a planning tool like this is often enough; for complex multi-cook kitchens or structural changes, pairing it with a professional designer still makes sense.
The triangle is a shortcut, not a straitjacket
The kitchen work triangle earns its keep in small and medium kitchens, where it remains the fastest route to genuinely good ergonomics without overthinking the layout. It struggles once you add a second cook, a serving island, or an open-plan living space that turns the kitchen into a social hub rather than a solo workstation. In those cases, zones do more useful work than a single triangle ever could. Either way, the goal underneath the rule hasn't changed: prioritise usable counter space and clear landing zones next to every appliance, and the triangle mostly takes care of itself.
— Azai
Plan your layout before you commit to a renovation
There are other routes to getting your layout right, from hiring a kitchen designer outright to sketching it yourself on graph paper. House A-Z gives you a faster middle ground: you map your actual room, place the sink, hob and fridge, and see your triangle legs and clearance widths calculated instantly, with AI-powered suggestions flagging anything that falls outside the standard ranges before you spend a penny on demolition. It won't replace a designer for a complex structural reroute, but for testing whether your island fits, whether your fridge door clears the counter, or whether moving the hob three feet actually helps, it catches the expensive mistakes on screen instead of on site. Head to the House A-Z homepage to map your kitchen and test your layout before you pick up a hammer, or explore House A-Z's agent support if you want extra guidance alongside the tool.
Where to check the numbers yourself
For the exact measurement standard, go straight to the NKBA kitchen planning guidelines. For layout examples matched to kitchen shape, see House A-Z's guide to kitchen layout options.
Sources
- NKBA kitchen planning guidelines — NKBA knowledge base (PDF)
- Kitchen work triangle — Wikipedia
- The kitchen triangle – an expert guide | Homes & Gardens
- Kitchen island planning guide — The Spruce
FAQ
Why is the kitchen work triangle considered outdated?
It was designed for enclosed, single-cook kitchens, and struggles with open-plan layouts, large islands and households where more than one person cooks at once, which is why many designers now favour zone-based layouts instead.
What is the triangle rule in the kitchen?
It states that the sink, cooktop and refrigerator should form a triangle where each leg measures 4 to 9 ft and the total perimeter falls roughly between 12 and 26 ft, with no major walkway crossing through it.
What is the new kitchen trend replacing the work triangle?
Zone-based design, splitting the kitchen into prep, cooking, cleanup and serving areas, is the trend gaining traction for open-plan and multi-cook households that outgrow a single triangle.
What are the ideal dimensions for a kitchen work triangle?
Each leg should fall between 4 ft and 9 ft (1.2 to 2.7 m), with a total perimeter of roughly 12 to 26 ft (3.7 to 7.9 m), measured from the centre-front of each appliance.
Does an island count as part of the work triangle?
Only if it holds a sink or cooktop. In that case, it becomes a working vertex and should be measured as part of the triangle, with 36 to 48 inches of clearance maintained around it.