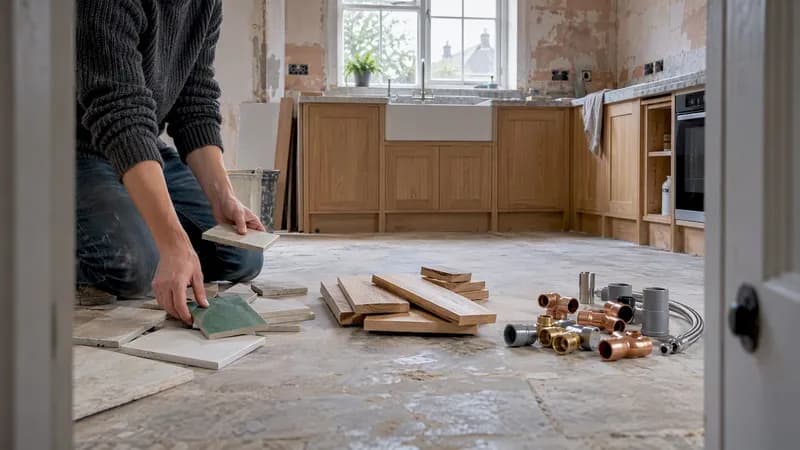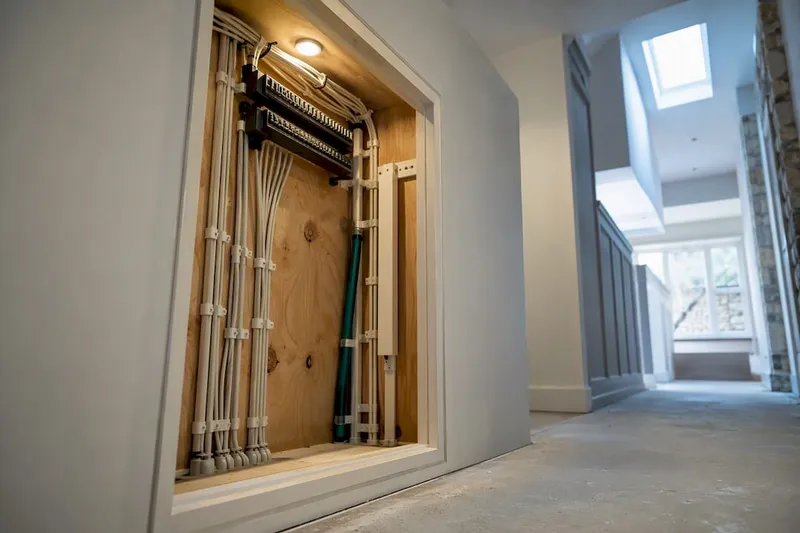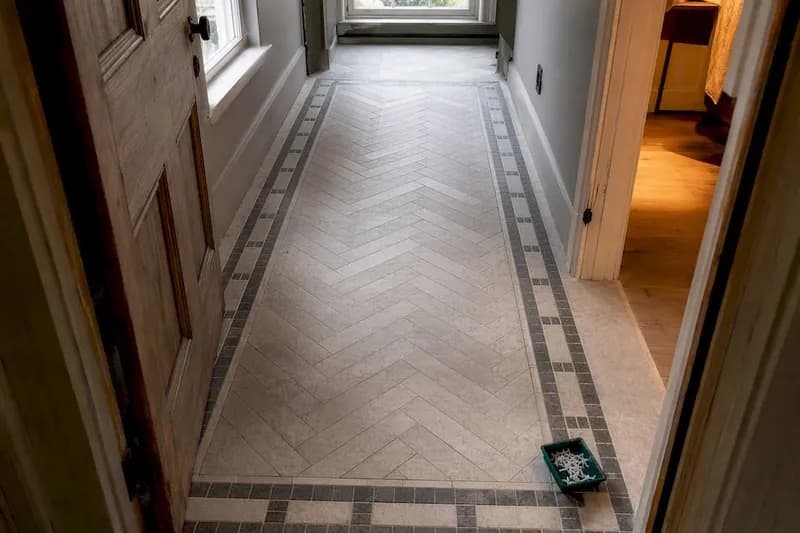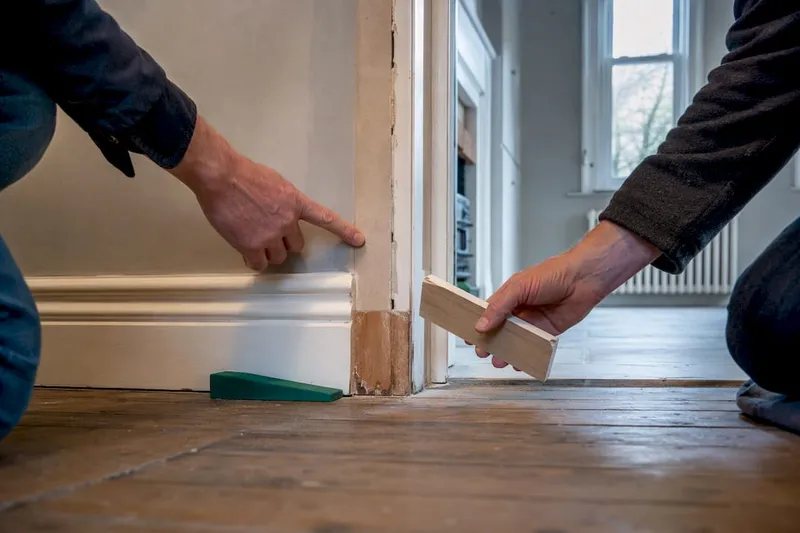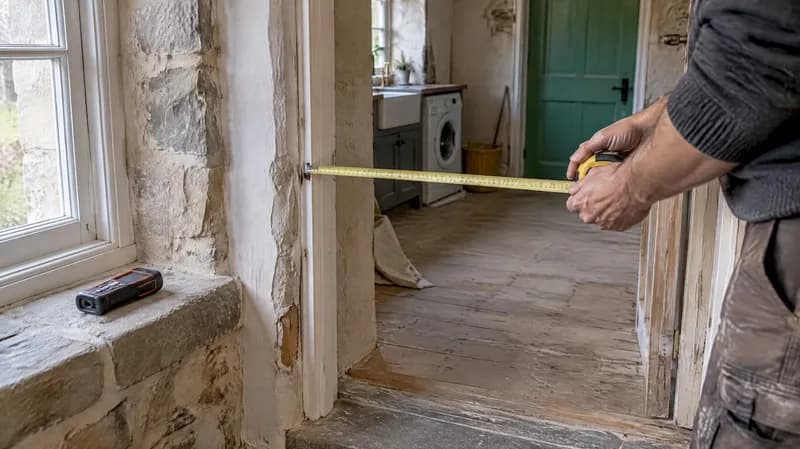
Room mapping creates a contractor-ready, accurately scaled plan so you avoid costly on-site mistakes. It means measuring your space, drawing it to scale, and testing furniture and fixture placement before a single wall comes down. Done well, it turns guesswork into a plan everyone can trust. Start with the tape measure, not the paint swatches.
TL;DR:
- Professional surveys take 1 to 3 hours on site and produce plans accurate to roughly ±5 mm, which are essential for structural changes.
- Laser measurers and LiDAR phone scanning speed up the process and improve accuracy compared to tape measures alone, especially for complex remodels.
- Accurate measurement and drawing of walls, doors, and windows, along with proper scaling, prevent costly mistakes like misaligned cabinetry and incorrect fixture placement.
- Testing layout with tape mock-ups, 2D plans, or 3D previews helps identify functional issues before construction begins, saving potential expenses up to €20,000.
- DIY mapping suffices for non-structural updates, but projects involving plumbing, load-bearing walls, or permits benefit from professional confirmation of measurements.
Table of Contents
- What room mapping involves for a remodel
- Tools and methods for measuring and mapping a room
- Step-by-step: measure and draw your room to scale
- Clearances and accessibility rules that prevent layout mistakes
- How to test and visualise your layout before you build
- Real-world outcomes: what accurate mapping prevents
- Finding the right balance between DIY mapping and a professional check
- Room mapping made simple with House A-Z
- FAQ
- Sources
What room mapping involves for a remodel
Room mapping follows a clear arc: survey, draw, place fixtures, test, then share. You measure the shell first, translate those numbers into a scaled drawing, position cabinets or fixtures on paper, walk the layout in real life, and finally hand a clean version to your contractor.
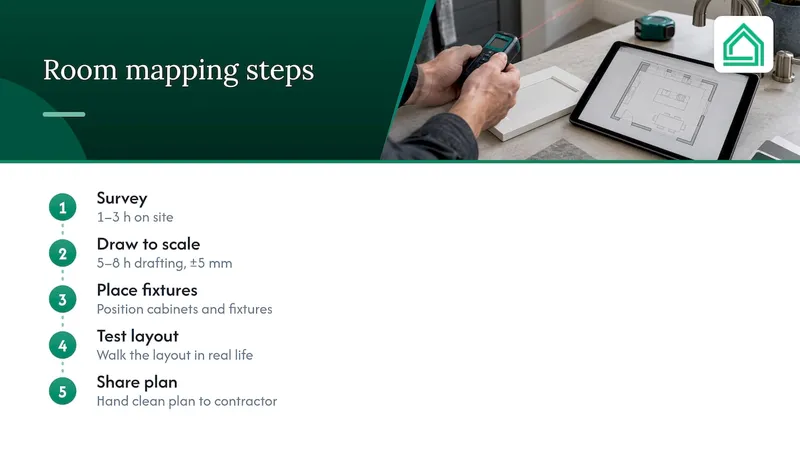
For most homeowners, a professional measured survey takes about 1 to 3 hours on site and 5 to 8 hours of drafting, aiming for roughly ±5 mm accuracy on the final drawings. A DIY sketch will never hit that precision, and it doesn't need to for early planning. It does need to be square, consistent, and honest about where the walls actually sit.
Permit applications and anything touching structure, such as moving a load-bearing wall or altering plumbing stacks, call for professional drawings rather than a homeowner sketch. Everything short of that, including most cosmetic and layout-driven remodels, can start with your own measurements.
Tools and methods for measuring and mapping a room
The right tool depends on your budget, your patience, and how precise the project demands you be. A guest room refresh tolerates a much looser measurement than a kitchen full of built-in cabinetry.
- Masking tape and a tape measure: nearly free, slow, and prone to small errors if you measure alone or skip diagonal checks.
- Laser distance measurer: fast, single-person friendly, typically accurate to a few millimetres over normal room distances.
- LiDAR-based phone scanning: captures a full room shape in minutes and exports a rough 3D model, though it can struggle with clutter or reflective surfaces.
- 2D and 3D planning apps: let you turn raw measurements into a scaled, shareable drawing without hand-drafting.
A single-room replan, such as swapping furniture in a bedroom, suits a tape measure and graph paper. A kitchen or bathroom remodel, where cabinets, appliances, and plumbing all need to align, benefits from a laser measurer paired with a planning app, since the margin for error shrinks considerably once fixed utilities are involved.
For a deeper walkthrough of each method, our guide on measuring a room accurately covers the practical trade-offs between tape, laser, and LiDAR in more detail.
Step-by-step: measure and draw your room to scale
The shell-first method works because it fixes the permanent parts of a room, the walls, doors, and windows, before anything movable enters the picture. Furniture shifts; structure doesn't.
- Measure the perimeter. Record each wall length at a consistent height, typically around waist level, to avoid skirting boards and crown moulding.
- Note door and window offsets. Measure from the nearest corner to the edge of each opening, plus the opening's own width.
- Check the diagonals. Measure corner to corner across the room; matching diagonals confirm a square room, while a difference of more than a few centimetres signals the room isn't a true rectangle and needs all four walls remeasured.
- Choose your scale. A common imperial choice is 1/4 inch representing 1 foot, while metric plans often use 1:50. Either way, convert every raw measurement to that scale before drawing a single line.
- Draw the shell first, then add fixed elements like radiators, sockets, and vents before placing anything movable.
Pro Tip: Measure twice at different heights on long walls. A wall that bows even slightly can throw off cabinet fitting later.
A straightforward DIY sketch with tape and graph paper usually takes about half an hour per room for a basic layout, which is plenty of time to also note ceiling height and any sloped sections. Keep your tolerance realistic: a few millimetres won't matter for a furniture layout, but it matters enormously once cabinetry or tiling is involved.
Clearances and accessibility rules that prevent layout mistakes
Getting the room's outline right is only half the job. Clearances decide whether the finished layout actually works day to day.
- Kitchen clear floor space: plan for roughly 30 by 48 inches at each activity centre, with counter-to-counter clearance generally falling between 40 and 52 inches.
- Work-zone width: NKBA guidance recommends about 48 to 52 inches of width in primary kitchen work zones, with wider turning circles where mobility aids need to pass.
- Circulation paths: aim for generous hallway and doorway widths rather than the bare minimum, since narrow paths age poorly as household needs change.
- Bathroom ventilation and swing clearance: factor in door swing and fixture spacing together, not as separate checks, since a vanity placed too close to a swinging door is a common and avoidable error.
NKBA planning guidelines note that clear floor spaces at activity centres can overlap, which means a well-planned kitchen often needs less total floor area than a rigid sum of each clearance would suggest.
Our breakdown of the kitchen work triangle goes further into these dimensions for anyone remodelling a kitchen specifically.
How to test and visualise your layout before you build
A scaled drawing tells you the numbers work. Standing in the actual space tells you whether the layout feels right, and the two checks catch different problems.
- Tape or cardboard mock-ups: mark cabinet edges, door swings, and walking paths directly on the floor, then walk through daily routines to catch pinch points.
- 2D plans: best for confirming dimensions, clearances, and fixture placement against the numbers you measured.
- 3D previews: more useful for sightlines, how a kitchen island reads from the doorway, or whether a new layout blocks natural light.
- Photo mock-ups and app exports: give contractors a shared reference point that avoids the back-and-forth of describing a layout verbally.
Sightlines matter more than most homeowners expect, particularly once lighting is factored in. Our guide to lighting plan layouts looks at how light sources interact with furniture placement once your room map is in place.
Real-world outcomes: what accurate mapping prevents
A precise room map catches the mistakes that cost the most to fix after the fact, misaligned cabinetry, wiring run to the wrong wall, tile ordered for the wrong footprint. Homeowners using room mapping tools have reported avoiding errors worth up to €20,000 by catching layout conflicts before construction began, rather than during it.
Pro Tip: Export your scaled plan in a format your contractor can open directly, and share it early. A plan reviewed before demolition is worth far more than one reviewed after.

Finding the right balance between DIY mapping and a professional check
A careful DIY plan is often enough for furniture layouts, paint decisions, and non-structural remodels. Where plumbing, load-bearing walls, or permits enter the picture, a professional survey earns its cost. Treat your own measurements as a strong first draft, then get a contractor to confirm the dimensions that actually carry risk. A clear, scaled plan, whoever draws it, is still the cheapest insurance your project will ever buy.
— Azai
FAQ
Is there an app where you can redesign your room?
Yes, several apps let you redesign a room digitally, ranging from simple 2D sketch tools to full 3D previews. House A-Z includes room mapping and layout tools alongside AI-driven design suggestions within its Free and Pro plans, detailed on our pricing page.
What is the 70/30 rule in interior design?
Definitions of this rule vary across design sources, and it isn't covered by the measurement and clearance guidance this article draws on. Rather than rely on a fixed ratio, focus on the clearance and work-zone dimensions from NKBA and Fair Housing guidance covered above, since those numbers are the ones that actually get verified on site.
Can ChatGPT redesign my room?
General-purpose chat tools can offer design suggestions and ideas in words, but they cannot measure your room or produce a scaled, contractor-ready plan on their own. A dedicated room mapping tool or a measured survey remains the reliable route to an accurate layout.
Can I take a picture of my room and redesign it?
Photo-based mock-ups can help you visualise finishes, colours, and furniture placement, and several apps support this. They work best alongside an accurate scaled plan rather than instead of one, since a photo alone won't confirm clearances or wall squareness.
Sources
- Fair Housing accessibility guidance (chapter summary)
- NKBA design and planning guidelines (4th ed.)
- How to measure a room and sketch a floor plan · The Blueprint Primer