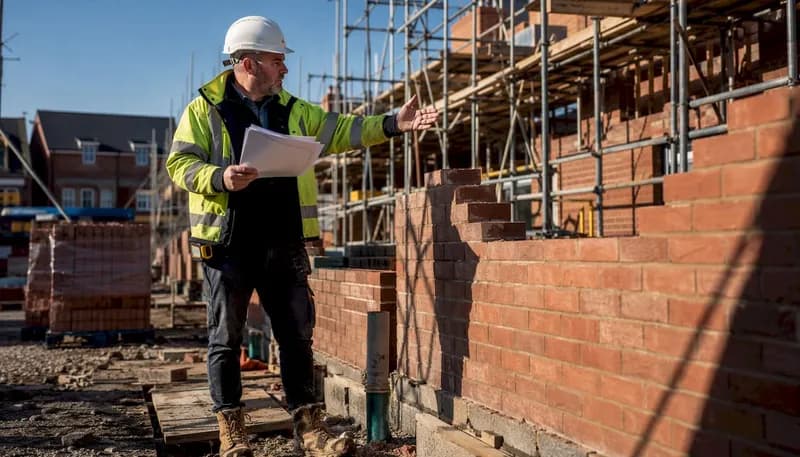
Construction stage inspections are the statutory site checks that confirm your work complies with Building Regulations at each critical point before it is covered up. Your first action is straightforward: confirm whether you will use Local Authority Building Control (LABC) or a registered Approved Inspector, then log your first inspection notification as a milestone in your project plan. The Building Safety Regulator oversees the whole framework, and tools like House A-Z make it practical to track every hold point from commencement to completion certificate.
Table of Contents
- Why do stage inspections exist, and when are they required?
- What does the stage-by-stage inspection checklist look like?
- LABC or approved inspector: which route suits you?
- Who is responsible for scheduling inspections, and what are the notice periods?
- What happens if you miss or fail an inspection?
- How do you manage inspections inside a planning tool?
- What are the typical fees and timescales for domestic projects?
- What should you prepare before the inspector arrives?
- Key takeaways
- The part first-time builders most often underestimate
- How House A-Z helps you stay on top of every inspection
- Useful sources and further reading
Why do stage inspections exist, and when are they required?
Stage inspections exist to enforce Building Regulations, protecting the safety, thermal performance, structural integrity, and drainage of every building in England and Wales. They are a legal requirement, not an optional quality check, and they are entirely separate from planning permission. Planning permission controls what you can build; Building Regulations control how it must be built.
The Building Safety Regulator, established under the Building Safety Act 2022, provides oversight of the building control profession and sets the standards that both local authority officers and private Approved Inspectors must meet. Any domestic project involving structural work, an extension, a loft conversion, or significant drainage changes will almost certainly require staged inspections.
A common misconception is that private building control is less rigorous than a local authority. In reality, Approved Inspectors apply the same Building Regulations and are subject to professional oversight. The difference lies in administrative efficiency and inspector availability, not regulatory standards.
Building control officers do not inspect everything on every visit. They rely on a combination of site visits, specialist certificates, and photographic evidence. Missing a key stage can mean being ordered to expose completed work.
What does the stage-by-stage inspection checklist look like?
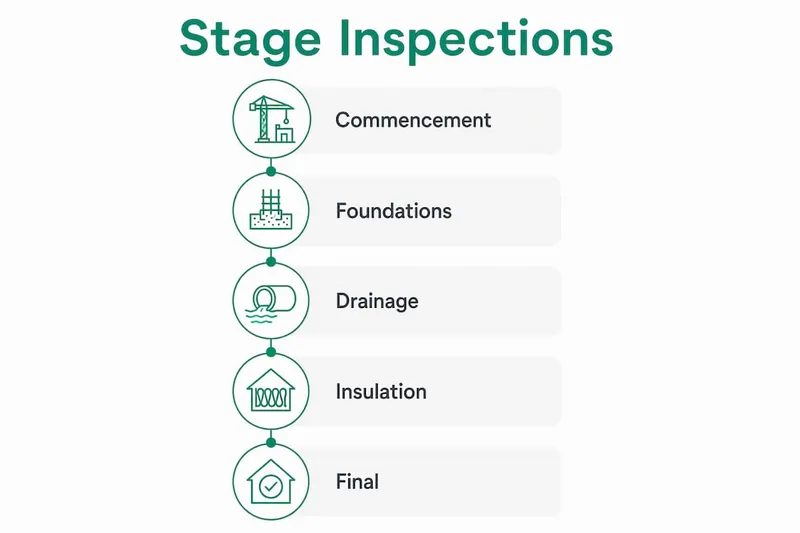
Most domestic projects follow a similar sequence. The key principle is to book each inspection just before the relevant work is covered up. Below is the core sequence you will encounter on a typical extension or new build.
- Commencement — Submit a Notice of Starting Work at least two days before work begins, as required under Regulation 16(3) of the Building Regulations 2010. Have approved drawings and structural calculations on site.
- Excavation — Before any concrete is poured. Inspector checks trench depth, ground conditions, and bearing capacity.
- Foundations — During or just after the concrete pour. Checks cover concrete mix, reinforcement placement, and delivery tickets.
- DPC and oversite — After the damp-proof membrane and insulation are laid, before the oversite concrete is poured. Inspector verifies DPC continuity and levels. In radon-affected areas (parts of Nottinghamshire and Derbyshire, for example), a radon barrier must be installed and documented before the slab is poured.
- Drainage — After drainage is laid and before backfilling. Drainage failures found after backfilling can cost £3,000–£8,000 to excavate and reinstate.
- Structural elements — Steelwork, floor joists, and roof structure before any boarding or covering. Structural engineer's calculations must be approved before work starts.
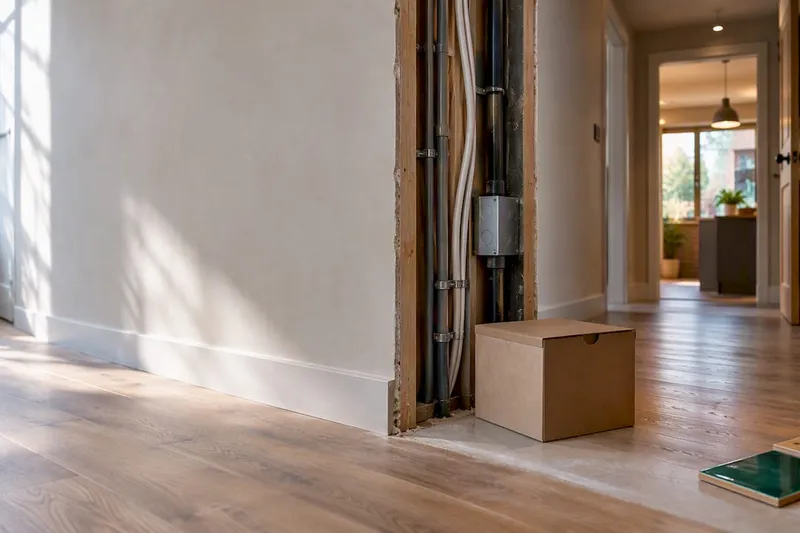
- First fix — Electrical cables, plumbing runs, and ventilation routes before plasterboard goes up.
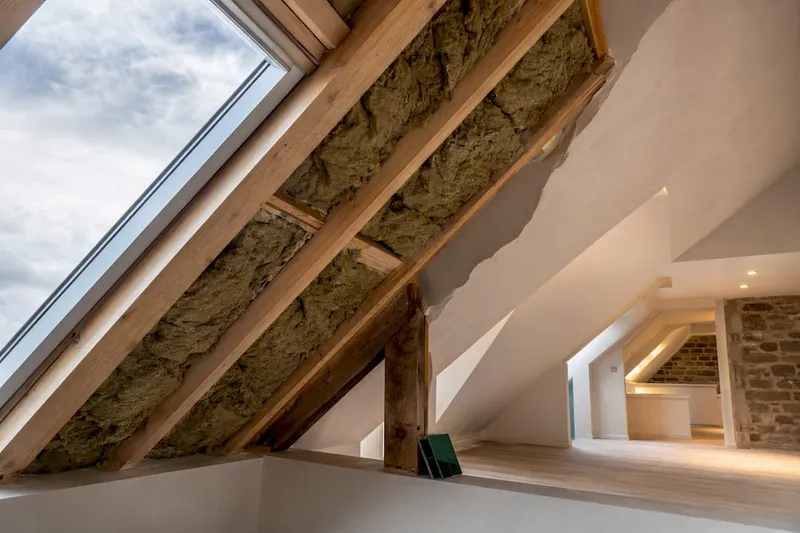
- Insulation and pre-plaster — Inspectors verify insulation continuity against Part L requirements, fire stopping, and ventilation. Gaps and compression are the most common fail points.
- Completion — All works finished, all certificates assembled, completion notice submitted within five days of finishing.
| Stage | When to book | Key evidence to have ready |
|---|---|---|
| Commencement | Before major work starts | Approved drawings, structural calculations |
| Excavation | Before concrete is poured | Ground investigation notes, trench photos |
| Foundations | During or just after pour | Concrete delivery tickets, reinforcement photos |
| DPC and oversite | Before slab is poured | DPC continuity photos, radon barrier certificate if required |
| Drainage | Before backfilling | Drainage layout drawing, pressure test result |
| Structural elements | Before covering | Engineer's calculations, padstone photos |
| First fix | Before plasterboard | Cable routing photos, duct run records |
| Insulation | Before closing walls | Insulation specification, continuity photos |
| Completion | End of project | All certificates, completion notice |
Pro Tip: Photograph every stage before it is covered. Take one wide shot showing context, one close-up of the specific element, and one shot of any delivery ticket or certificate alongside the work. Date-stamp all images and label them by stage inside your project folder.
LABC or approved inspector: which route suits you?
Both LABC and Approved Inspectors enforce the same Building Regulations; the practical differences come down to availability, continuity, and fee structure. For a first-time builder, understanding those differences helps you choose the route that keeps your programme moving.
Local authority building control carries statutory enforcement powers and is often the default for straightforward residential projects. Council officers tend to have strong local knowledge of ground conditions, drainage patterns, and planning precedents in your area. Fee schedules are published and predictable. The trade-off is that staffing pressures in many councils mean inspection slots can be harder to book quickly, and you may see different officers at different stages.
Private Approved Inspectors can often return plan checks in one to two weeks and offer more flexible inspection slots, including evenings and weekends in some cases. This matters when your start date is fixed and your trades are booked. The continuity benefit is real too.
"Using a single approved inspector throughout a project can simplify technical queries and preserve design intent, whereas LABC routes sometimes send different officers at different stages." — Harper Latter Architects
One practical note: not every project type is eligible for private building control, so confirm eligibility before committing. If you are unsure which route fits your project, the building approvals guide on the House A-Z blog covers the application process in detail.
Who is responsible for scheduling inspections, and what are the notice periods?
Legal responsibility for notifying building control sits with the owner, not the contractor. Confirm at the outset who will book each stage and keep a written record of every notification.

Most inspectors require 24–48 hours' notice; in busy areas this can extend to 72 hours or more. Treat each inspection as a critical-path milestone in your project schedule. If the drainage inspection is delayed by 48 hours, the backfilling is delayed, and so is everything that follows. Project guidance is clear: owners should not rely solely on builders to notify building control and should coordinate through their own project-management records.
Pro Tip: Log every notification in your planning tool with a timestamp, the name of the person who made the booking, the booking reference, and a screenshot of any confirmation email. Assign a named owner to each inspection milestone so nothing falls through the gaps.
What happens if you miss or fail an inspection?
Missing an inspection before covering work is one of the most expensive mistakes on a domestic project. If the local authority is not notified at a required stage, it can issue a written notice requiring the work to be opened up for inspection. That means breaking out fresh concrete, lifting floors, or opening ceilings.
If you discover you have covered work without an inspection, act immediately:
- Pause all cover-up work on related elements.
- Contact your building control officer or Approved Inspector and explain the situation.
- Supply photographic evidence taken before covering, if available.
- Arrange any remedial exposure the inspector requires.
- Re-notify for the re-inspection and record the new booking reference.
Drainage problems found after backfilling illustrate the cost clearly: reinstatement typically runs to £3,000–£8,000. Missed foundation or steel inspections carry similar or greater exposure. Beyond direct costs, delays cascade through your programme and can affect construction finance arrangements tied to stage completions.
How do you manage inspections inside a planning tool?
Using a planning tool turns inspection stages into schedulable, evidence-backed milestones that prevent hold-point failures. The template below gives you the fields to create for each inspection event in House A-Z or any comparable SaaS tool.
| Field | What to record |
|---|---|
| Stage name | e.g. Drainage inspection |
| Expected notice period | 24–48 hours (confirm with your inspector) |
| Responsible person | Named owner who makes the booking |
| Booking reference | Inspector's confirmation number or email |
| Evidence folder | Link to date-stamped photos and certificates |
| Re-inspection flag | Yes / No, with date if triggered |
The workflow runs: create the milestone → notify building control → receive confirmation → carry out inspection → upload evidence → mark signed off. Keeping this sequence inside a single tool means your completion certificate is a matter of assembling documents rather than chasing missing items. House A-Z supports this with shared access for trades and inspectors, so everyone sees the same record.
What are the typical fees and timescales for domestic projects?
Inspection fees are a small fraction of total build costs, but a missed inspection can cost far more than the fee itself. The figures below are indicative only; always check your local authority's published fee schedule or confirm with your Approved Inspector.
- Simple internal alteration (e.g. removing a non-load-bearing wall): typically two to three inspection visits.
- Rear extension with drainage and structural changes: commonly six to eight visits across the full programme.
- Small new build: eight to ten visits or more, depending on complexity.
Notice windows of 24–48 hours apply at most stages. Allow two to three days' buffer around critical stages in your programme to absorb any re-inspection. A completion certificate is issued following a satisfactory final inspection; this document is required when selling or remortgaging, so keep it with your title deeds.
What should you prepare before the inspector arrives?
Do these five things before you call the inspector, and the visit is far more likely to go smoothly.
- Clear access and safe conditions — the inspector must be able to reach the relevant work safely.
- Drawings and structural calculations on site — approved plans must be available for reference.
- Certificates and delivery tickets — concrete mix notes, steel delivery records, and any specialist certificates relevant to the stage.
- Relevant tradesperson present — having the responsible trade on site means questions can be answered immediately.
- Work fully exposed — never partially cover elements before the inspector has signed off.
Pro Tip: For insulation and pre-plaster stages, photograph the full wall or ceiling run in one wide shot, then take close-ups at junctions, around pipes, and at any penetrations. Label images with the room name and date. Inspectors checking Part L compliance will want to see continuity at every edge.
For drainage stages, confirm with your surveyor whether a pressure test is required before booking, and have the test result ready on the day. Utility connection approvals, covered in the water and drainage connections guide, can affect what the inspector needs to see at this stage.
Key takeaways
Stage inspections, managed as critical-path milestones with documented evidence at every stage, are the single most reliable way to protect your build programme and your completion certificate.
| Point | Details |
|---|---|
| Confirm your building control route early | Choose LABC or an Approved Inspector before work starts and log the decision in your project record. |
| Notice periods are critical-path items | Most inspectors require 24–48 hours' notice; block these in your schedule before booking trades. |
| Never cover work before inspection | Covering foundations, drainage, or steels without sign-off can force costly exposure and remedial works. |
| Evidence folders protect you | Date-stamped photos and certificates per stage make the completion certificate straightforward to obtain. |
| House A-Z tracks every hold point | Use House A-Z to schedule milestones, store evidence, and share records with trades and inspectors in one place. |
The part first-time builders most often underestimate
Most first-time builders spend their energy on design decisions and contractor selection, which is understandable. What tends to catch them out is the administrative discipline that inspections demand: the right notice given at the right time, to the right person, with proof that it happened.
The good news is that this is entirely manageable. The inspection process is not designed to trip you up; it is designed to confirm that the work is safe before it disappears behind plasterboard. Builders who treat each inspection as a scheduled project event, rather than an interruption, consistently report fewer delays and fewer disputes with trades. Consistent record-keeping also protects resale value and satisfies mortgage lenders and insurers who may ask for the full inspection history years after completion.
The practical shift is small: move your inspection notifications out of a mental checklist and into a timestamped, shared project record. That single change removes most of the risk.
Useful sources and further reading
- Building Regulations guidance (GOV.UK) — the primary legal text for England and Wales
- Building Safety Regulator — oversight of building control professionals and the Building Safety Act 2022
- LABC (Local Authority Building Control) — find your local building control team and published fee schedules
- Milton Keynes City Council inspection schedule — a clear example of a published local authority inspection sequence
- BookaBuilderUK home renovation inspection checklist — practical stage-by-stage guidance based on live UK projects
- House A-Z blog — guides on permits, approvals, draw schedules, and project registers for UK builders
Always check your local authority's current fee schedule and confirm your Approved Inspector's registration with the Building Safety Regulator before work starts. This article is general information, not legal or professional advice; confirm the current requirements with your building control body or a qualified professional for your specific project.