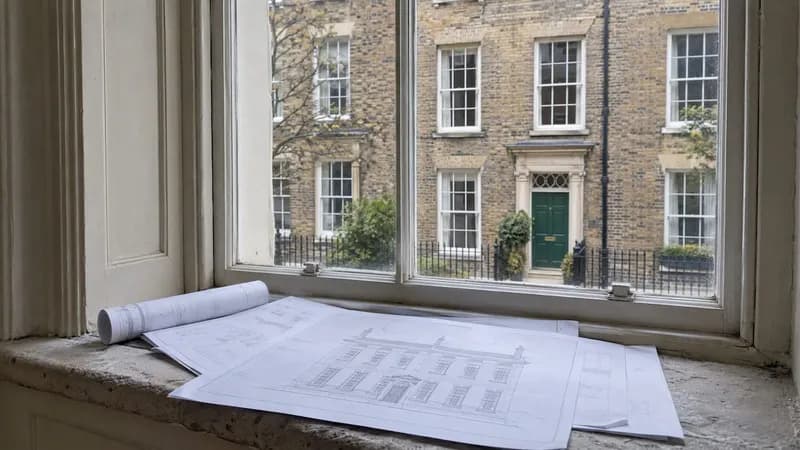
A rental make-ready checklist is the list you work through between one tenant leaving and the next one moving in, so the home is safe, repaired, spotless and properly documented. The order matters as much as the items: inspect first, repair second, paint third, lay or clean floors fourth, deep-clean last, then walk the property and sign it off. Below you will find that sequence, the tasks for every room, the safety checks UK landlords must not skip, and a handover routine that protects you if a deposit is ever disputed. The same list works for a flat, a terrace or a spare room you let out.
TL;DR
- Work in a fixed order: inspect and photograph, repair, paint, floors, deep-clean, final walk-through. Later trades can damage earlier finishes, so skipping the order creates rework.
- Safety comes before cosmetics. In England, your landlord's safety responsibilities include a Gas Safe annual check, safe electrics, smoke alarms on every storey and escape routes kept clear.
- Compare the empty property against the move-in record, room by room, and separate normal wear and tear from damage before you spend anything.
- Verify, don't assume: a repair list says what workers should do, a checklist confirms the result actually exists.
- Finish with a joint walk-through, dated photographs, a signed record and a keys inventory.
Table of Contents
- What a make-ready checklist is for
- The order of work that saves time and money
- Step one: inspect and document before you touch anything
- Safety and compliance checks to finish before move-in
- Repairs: fix it, then fix it properly
- Paint, walls and flooring
- Room-by-room cleaning standard
- Appliances, outdoor space and the rest
- Final inspection and handover
- A printable skeleton you can copy
- Our perspective
- Plan your next turnover in one place
- FAQ
- Sources
What a make-ready checklist is for
Think of the gap between tenancies as a small, fast project with a start date, a hard finish date and several people involved: you, a handyman or two, a cleaner, perhaps a gas engineer. Every extra empty day costs rent, so the aim is a short turnaround that still leaves nothing to chance.
The idea is simple. A make-ready is preparing a vacant home for a new resident, from notice to final quality-control approval. The checklist is the tool that stops it being a muddle of half-remembered jobs. It also separates two things that often get blurred: the scope of work (what people will do) and the verification (whether the required condition now truly exists, including function, cleanliness, access and documentation). We build the first and then tick off the second.
A good checklist is also reusable. Keep one master version, copy it for each turnover and note exceptions. Over a few lets you will see which problems keep coming back (a sticking window, a tired extractor fan) and can fix them before they cost you a void week.
The order of work that saves time and money
The order below is the heart of the page. It follows the sequence that turnover practitioners describe: repairs before paint, paint before flooring, cleaning last, because each later trade can scuff or soil what the earlier one finished.
- Inspect and photograph (day 1). Collect all keys and access devices, remove anything left behind, and walk every room with the original inventory in hand.
- Scope and schedule. Turn each finding into a job with an owner and a day. Book the trades that have lead times first: gas engineer, electrician, carpet fitter.
- Repair. Walls, doors, locks, hardware, plumbing, electrics, alarms, seals.
- Paint and touch up. Fill nail holes, then paint walls, ceilings and woodwork as needed.
- Floors. Replace, repair or professionally clean carpets and hard flooring.
- Deep-clean. Top to bottom, appliances included.
- Final walk-through and punch list. Fix the small misses, photograph the finished rooms and sign off.
A realistic turnaround for a light refresh can be tight. One published example lays out a five-day unit turn running from move-out inspection through repairs, painting, flooring and cleaning to a final walk and sign-off. A UK flat that needs a gas safety visit, a new carpet and a repaint may well take longer, so build in a buffer for tradespeople who arrive late.
Step one: inspect and document before you touch anything
Before you pick up a brush, record what is there. The aim is evidence: what has changed since the tenant moved in, and why.
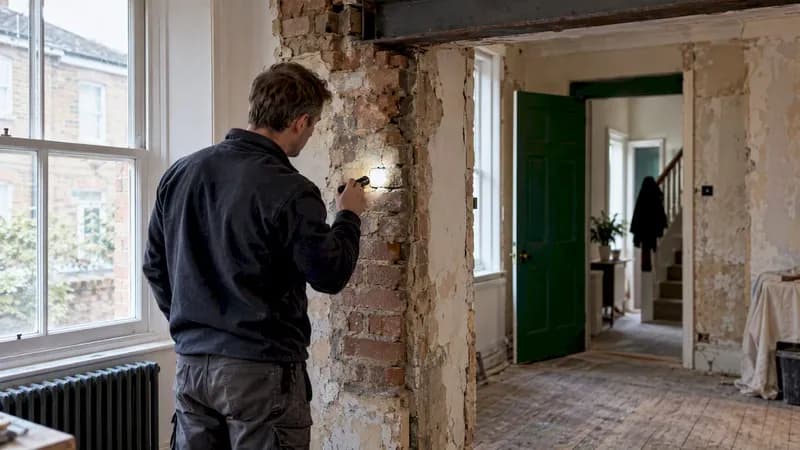
Compare the empty property with the move-in record, photograph every room, separate resident damage from wear and tear and open a job for each finding. In the UK, the tenancy deposit rules mean a clear, dated inventory is what carries the weight if a deduction is challenged, so a thorough check-out against the check-in is your best protection.
A good inspection form covers the whole property. One public-sector example records condition and cost to correct for entrances and halls, living and dining rooms, kitchens, bedrooms, bathrooms and equipment such as heating, hot-water heaters and alarms. Adapt that logic to your own property.
For each room, note:
- Walls, ceilings and floors: marks, holes, stains, cracks, signs of damp.
- Doors and locks: do they close, latch and lock?
- Windows: open, close, lock, seals intact?
- Lights, sockets and switches: all working, none cracked or scorched?
- Fixtures and fittings: handles, shelves, blinds, curtain rails.
- Anything the tenant left behind.
We suggest photographing wide, then close up on any defect, with the date visible in your phone's metadata. Store the photos in one place, by room, so you can find them in a year.
Safety and compliance checks to finish before move-in
This section is where the checklist stops being cosmetic. Cleaning a home that has a faulty boiler flue is polishing the wrong thing.
For England, the government's guidance says a landlord must have a registered engineer do an annual gas safety check on each appliance and flue and give the tenant a copy of the record before they move in or within 28 days of the check. The same page says the electrical system and any appliances you supply must be safe, and that you must provide a smoke alarm on each storey and a carbon monoxide alarm in any room with a solid fuel burning appliance. It also says you must make sure escape routes are accessible at all times and that any furniture and furnishings you supply are fire safe.
Rules differ in Scotland, Wales and Northern Ireland and they change, so check the official guidance for the nation your property is in, and talk to a qualified electrician or a Gas Safe registered engineer about anything you are not certain of. Do not attempt gas work yourself.
A practical safety block on your checklist might read:
- Gas safety record current and ready to hand over (if there is gas).
- Electrics tested by a qualified electrician if there is any doubt about condition; no exposed wiring, cracked sockets or scorched fittings.
- Smoke alarm on every storey, tested; carbon monoxide alarm where required, tested.
- Heating and hot water working; boiler or water heater free of leaks and signs of damp.
- Under-sink plumbing and traps free of leaks; toilet firm and sealed.
- Locks working; consider changing them if keys went missing, and log every key and fob you hand over.
- Fire safe furnishings if you supply any, and escape routes clear.
- Extractor fans and ventilation clean and running, particularly in bathrooms.
Detector testing is worth doing in front of the tenant. One county housing authority's rental-condition form asks for smoke alarms, carbon monoxide alarms and fire extinguishers to be tested in the tenant's presence, with the testing procedure explained and recurring checks assigned to the tenant. That is a US form, but the habit is a good one anywhere: it proves the device worked on day one and teaches the tenant to keep testing it.
Repairs: fix it, then fix it properly
Work through the repair stage in one pass. Typical items include drywall or plaster patches, doors, locks, cabinet hardware, plumbing and electrical items, detectors, filters, caulk and grout, all of which sit in the repair stage before painting begins.
A few UK-flavoured prompts:
- Damp and mould. Look behind furniture marks, around window reveals and in bathroom corners. Treat the cause (a leak, poor ventilation), not just the stain, or it will be back through the fresh paint.
- Windows and doors. Check handles, hinges, locks and seals. A window that will not close is both a security and a heating issue.
- Sealant. Cracked or mildewed sealant around the bath or shower should be cut out and redone. Re-caulking tub or shower seams is a standard turnover job, as is checking the toilet seal for leaks and clearing slow drains.
- Kitchen. Run the dishwasher and washing machine for a cycle, check fridge and freezer temperatures, look under the sink for leaks and test sockets. Those are routine kitchen checks in turnover guidance.
Keep a running punch list on paper or in your phone. Each item gets a name, a date and a tick only once you have checked the result with your own eyes.
Paint, walls and flooring
Fill nail holes and patch scuffs before you paint. For living rooms and bedrooms, patching nail holes, completing paint touch-ups and cleaning or polishing flooring are on nearly every checklist, alongside checking window locks and screens.
Some judgement calls:
- Neutral beats clever. A calm, light finish photographs well, suits most furniture and is easy to touch up between tenants.
- Touch-up or full coat? If you can see roller edges after touching up, repaint the whole wall. A patchwork wall looks worse than an old one.
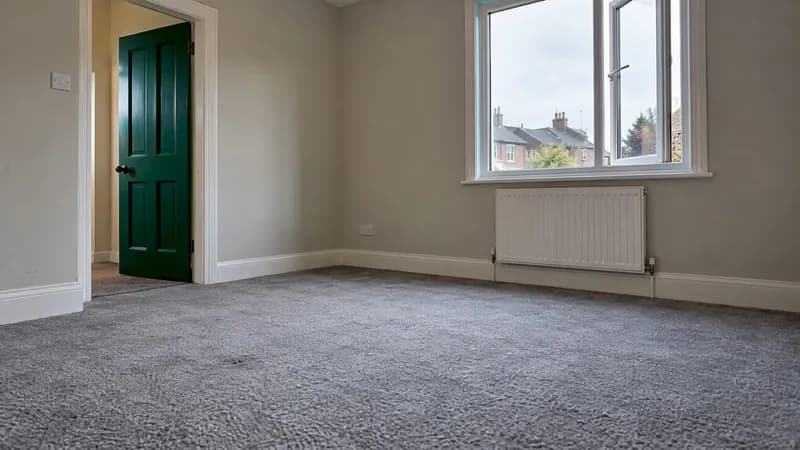
- Carpets. Professionally clean a carpet that is merely tired. Replace it if it is stained, smells or has been damaged. Do this after painting so drips do not land on a clean carpet.
- Hard floors. Repair deep scratches, re-seal where needed and keep furniture pads on the shopping list.
Painting and flooring are the two jobs where a budget can drift. If you are tracking turnover costs across several lets, a simple estimate-versus-actual routine like the one in our guide to tracking a renovation budget keeps surprises small.
Room-by-room cleaning standard
Cleaning is the last stage before the walk-through, and it is the one tenants judge first. Deep-clean rather than wipe over.
Kitchen
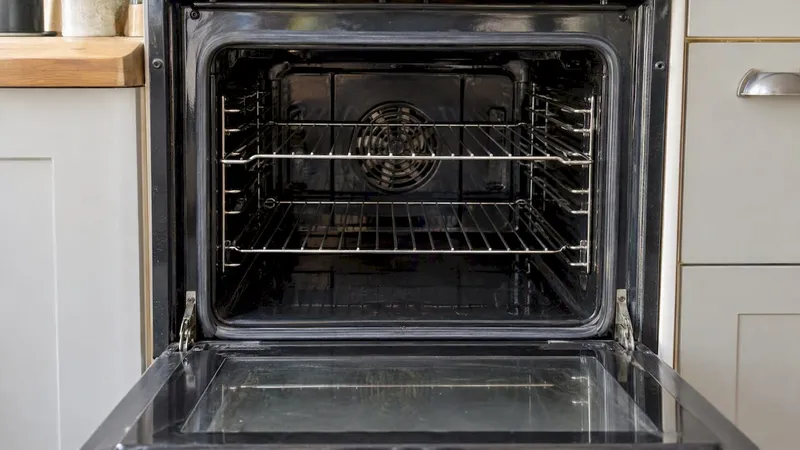
Clean oven interior and racks, fridge and freezer interiors and drawers, microwave, cabinet insides and outsides, worktops, splashbacks, sink, taps, switches, socket covers and floors. Elite turnover checklists also list cabinet interiors and exteriors, countertops, backsplashes and sinks among the cleaning tasks. Defrost the freezer if it was left running or switched off, and leave doors ajar if the appliance will be off.
Bathroom
Descale taps and shower heads, clean the toilet fully including under the rim and base, scrub tile and grout, wipe the extractor fan cover and mirror cabinet, and clean the floor last. Unblock plugholes and check that the toilet flushes properly.
Living areas and bedrooms
Dust ceilings corners, light fittings, skirting boards and window sills, clean glass and window tracks, vacuum or mop floors, and clear cobwebs and hair. Open the windows to clear stale smells, and tackle the cause of any odour rather than masking it with fragrance.
Hallway, storage and extras
Wipe doors and handles, clean radiators and the tops of wardrobes, empty and wipe built-in cupboards, and check the loft or cellar for items left behind.
Finish with a whole-property walk. Look for missed corners with a torch, and re-check anything that was repaired late in the day.
Appliances, outdoor space and the rest
If you supply appliances, list each one with make, model and condition, and test it. Check hob rings, oven and grill, extractor, washing machine and any heating controls. Mechanical checks in longer make-ready lists include coils, drain lines, controls and burner flames for heating and cooling equipment: in the UK, leave anything involving gas to a Gas Safe registered engineer.
Don't forget outside. A student housing checklist asks tenants to document patios or decks, outside lights and taps, gutters, roof, yard, fences, mailbox, driveway and pavements at move-in. For a UK let, the equivalent covers the front path, bins area, fences, gate, outside tap, shed and garden. Photograph it in season so the tenant is clear about the standard they are expected to keep.
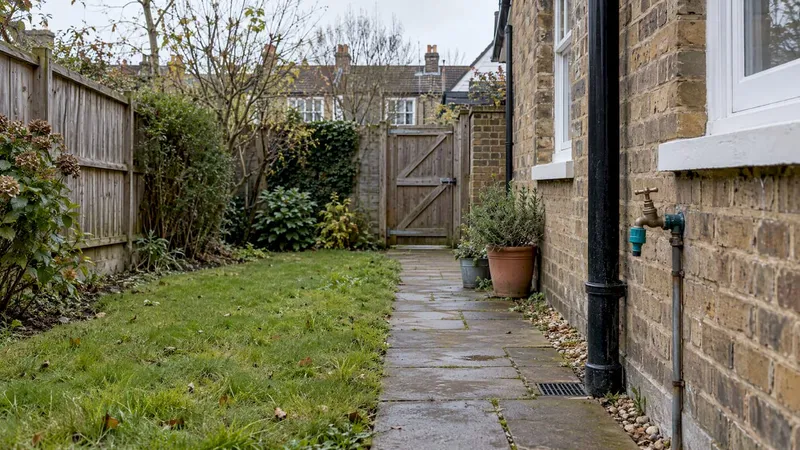
If the property has paved areas such as a driveway or patio, they need upkeep too: for one example of how simple maintenance routines keep a porous surface clear, see rubber paving upkeep. Note which surfaces you expect the tenant to sweep and which you will look after.
Final inspection and handover
This is the stage most landlords rush, and it is the one that decides whether the next tenancy begins cleanly.
Verification should be against the original scope, with the punch list cleared, locks changed if needed, lease-ready photographs taken and the maintenance record closed. Then, at move-in:
- Walk the property with the tenant. Move room to room together and agree the condition.
- Record existing marks. Written descriptions and timestamped photographs are the standard way to document pre-existing damage; both parties sign and keep copies.
- Hand over keys and access devices with a numbered list.
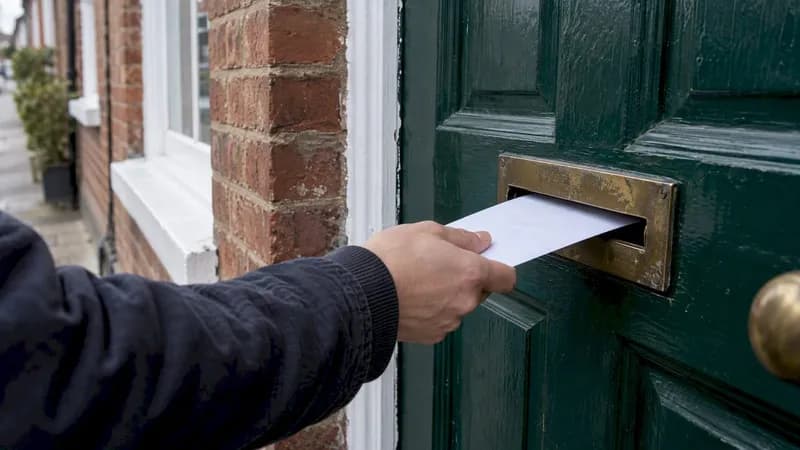
- Give the paperwork. In England that includes the gas safety record where applicable. Add contacts for repairs and emergencies, how rent is paid, how utilities are set up, and any house rules.
- Demonstrate alarms and the stopcock, fuse board and boiler controls. It saves a stressful phone call later.
For the wider handover logic after a build or big refurbishment, our renovation handover checklist covers the documents and warranties worth keeping together. If you need to book contractors or visits around your void window, booking inspections without wasted trips is a useful routine, and if you hire people to do the repair stage, our contractor onboarding checklist explains how to check references first.
A printable skeleton you can copy
| Stage | Core tasks | Done when |
|---|---|---|
| Inspect | Collect keys, remove leftovers, compare to move-in record, photograph | Every room photographed, findings listed |
| Safety | Gas record, electrics, alarms, heating, hot water, escape routes | Records filed, alarms tested |
| Repair | Walls, doors, locks, windows, plumbing, sealant, extractor fans | Punch list items ticked after checking |
| Paint | Fill, patch, repaint, touch up | Finish even in daylight |
| Floors | Clean, repair or replace | No stains, smells or loose edges |
| Clean | Kitchen, bathroom, living areas, bedrooms, hall, windows | Torch test passed |
| Handover | Walk-through, photos, signed record, keys, paperwork | Copies held by both parties |
Our perspective
We built House A-Z for people who are new to building and renovating, and the same chaos shows up in turnovers: a list in one app, quotes in a spreadsheet, photos on three phones and a contractor waiting on an answer. In our view, a make-ready only works when the plan, the budget and the evidence live in one place. Then a late carpet fitter or an unexpected boiler fault changes the schedule rather than derailing it.
We also think the verification step deserves as much care as the work. Writing down what "done" looks like for each room, before anyone starts, is the cheapest way we know to avoid expensive mistakes. Plain-language prompts, real product prices and a shared view for partners and contractors turn that habit into something you will actually keep up.
— Azai
Plan your next turnover in one place
If you manage a rental alongside everything else, you can keep your checklist, budget and contractor tasks together in House A-Z. The Free plan covers basic planning, Pro is €29 per month, and Enterprise starts from €99 per month for professional contractors and property businesses. See the plans and pricing or meet the AI agents that help with budgets and timelines. Once the tenant is in, our home maintenance schedule keeps the property in shape.
FAQ
How long should a make-ready take?
A light refresh with cleaning, touch-up paint and checks can take a few days, and one published example of a unit turn runs over five days. Anything needing a new carpet, a gas engineer or an electrician takes longer, so book those trades first. Always add a buffer for delays.
What is the difference between a make-ready and a check-out inspection?
The check-out inspection records what condition the property is in when the tenant leaves and separates damage from normal wear. The make-ready is everything you do afterwards to get the property ready for the next tenant. The first feeds the second.
Do I need a gas safety certificate before a new tenant moves in?
If the property has gas appliances in England, the government says a registered engineer must carry out an annual check and the tenant must receive a copy of the record before moving in or within 28 days of the check. Check the rules for Scotland, Wales or Northern Ireland separately.
Should I take photographs at handover?
Yes. Take dated photographs of every room and any existing damage, and have both sides sign the written record. It gives you and the tenant a shared reference if something is disputed later.
Sources
- Private renting: your landlord's safety responsibilities, GOV.UK
- Move in Move Out Inspection Condition Report, Los Angeles County
- Condition of Rental Property Checklist, Larimer County
- Move-In Checklist, Miami University
- The multifamily make-ready guide
- The rental make-ready checklist landlords actually use
- Apartment turnover checklist for landlords
- Complete apartment make-ready checklist
- Make ready check list
- Multifamily unit turnover playbook
- Tenant move-in process
- Apartment make-ready checklist: the five-day unit turn
- Clean rubber paving upkeep