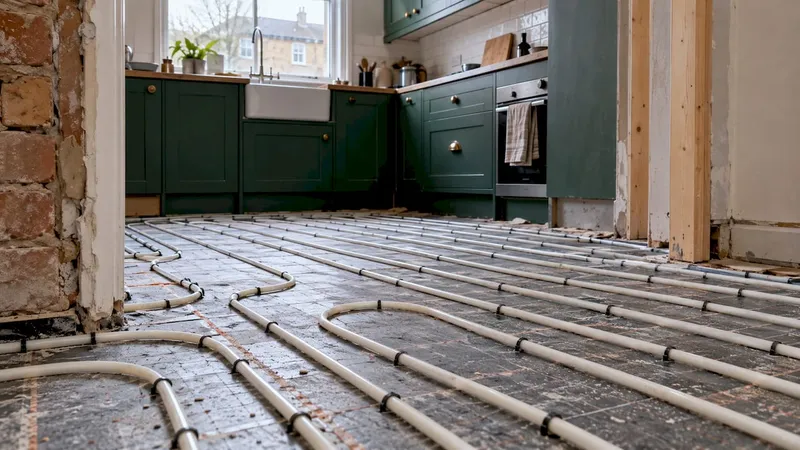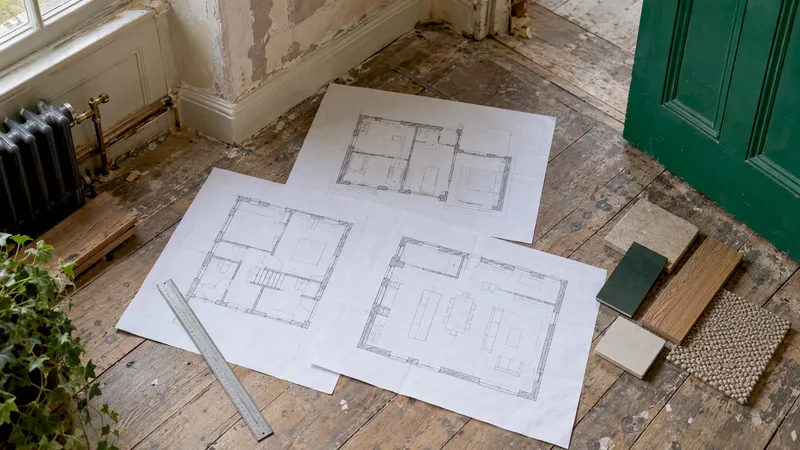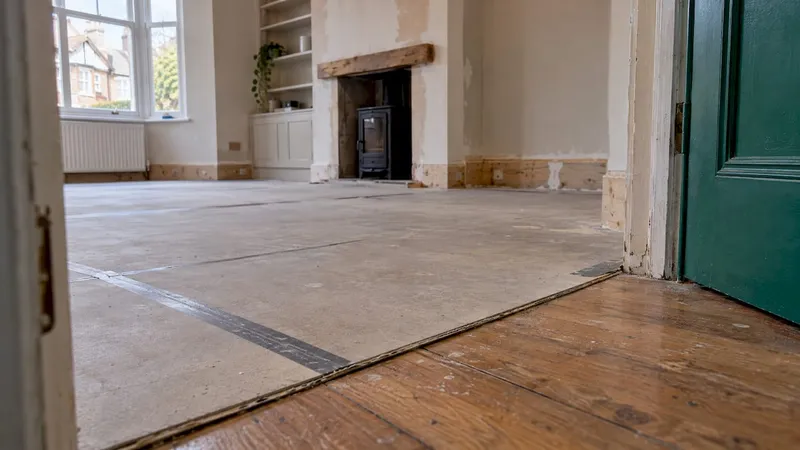
Protecting finishes during a renovation comes down to four decisions made before the first tool comes out: which surfaces are staying, what covers each one, how the cover is fixed without harming what is underneath, and who checks it while work goes on. Get those right and most scratches, paint drips and dust films never happen. Treat protection as a planned line in your budget and schedule, which is how House A-Z lets you handle it alongside everything else on the project.
This guide is for first-time builders and renovators, couples making the decisions together, and anyone who has to keep a house usable while trades work in it. It covers floors, stairs, doors, windows and existing features, plus dust, inspection and removal.
TL;DR
- Decide the protection plan before work starts: list the finishes that stay, map the routes workers will take, and name one person who checks the covers.
- Match the cover to the surface. Breathable floor paper and board suit hardwood, canvas suits painting areas, and plastic is for furniture and fixtures, not for walking on.
- Clean the floor first, tape the cover to itself rather than to the finish, and extend it beyond the work area.
- Dust travels through gaps, so seal doorways, vents and windows as well as covering surfaces.
- Lift and inspect covers regularly, and photograph before and after so any damage is easy to settle.
Table of Contents
- Make a protection plan before the first day
- Choose the right cover for each surface
- How to lay and secure floor protection
- Protect doors, windows, walls and original features
- Control dust, because covers alone cannot
- Inspect while the work is running
- Remove protection and check the finishes
- Why we plan protection as part of the project
- Keep protection on the plan with House A-Z
- FAQ
- Sources
Make a protection plan before the first day
The cheapest damage is the damage that never happens, and it is prevented on paper first. A practical guide to protecting flooring during construction recommends matching the plan to the scope of work and the floor type. That means identifying which floors are vulnerable to moisture, scuffs or sharp tools, mapping work zones, entry points and pathways, scheduling protection for the whole build phase, and giving one person the job of keeping it intact and removing it at the right time.
For a home project, turn that into a short list:
- Walk the house and list every finish that is staying. Floors, stairs, skirting, doors, windows, worktops, tiles, fireplaces, original joinery.
- Trace the route. Where do materials come in, where do they go, and where does the waste leave? Those paths take the heaviest traffic and need the toughest cover.
- Note the messy jobs and their order. Demolition, plastering, sanding and painting each threaten different surfaces. Finish dusty work before delicate finishing starts nearby, as Egnatia Construction advises.
- Agree who is responsible. Tell every trade what is protected and that covers stay put. Put the plan in writing in the same place as the schedule.
- Budget for it. Board, paper, tape and film are consumables, and some will need replacing mid-project. In House A-Z the materials can sit as items in your budget and be tracked with the rest of the project, so they do not turn into surprise spending.
Before you cover anything, take dated photos of each room. A three-phase photo record protects owners and contractors alike if there is a disagreement about what was damaged and when.
Choose the right cover for each surface
No single product protects everything. Hard floors, carpet, stairs and freshly laid surfaces each need something different. The table below pulls together the pairings suggested by Rock Your House.
| Surface | Suggested protection |
|---|---|
| Hardwood | Breathable floor paper, topped with hardboard or heavy-duty protection board in traffic paths, held with low-tack floor-safe tape |
| Tile | Heavy drop cloths, plus hardboard along the main paths |
| Luxury vinyl plank | Protection board or a film made for hard floors |
| Carpet | Self-adhesive carpet film, removed within the maker's advised time |
| Sealed or stained concrete | Canvas drop cloths or board |
| Stairs | Fitted stair pads, or board secured on each tread |
A few points sit behind that table.
Hardwood needs to breathe
Wood moves with moisture. Egnatia Construction warns that sealing wood under impermeable plastic for long periods can trap moisture and cloud the finish, cause discolouration or affect how the wood moves. Start with a clean, dry floor, lay a non-staining underlayment beneath the durable layer so grit is not ground in, and keep the cover breathable.
The same point appears in contractor guidance from Ram Board: protection board is breathable, but covering materials that have not yet cured can slow curing, so check moisture readings on wood floors before you cover them.
If your floors include underfloor heating, keep it in mind when choosing covers, and these radiant floor heating checks show what to look at if the system misbehaves during works.
Canvas or plastic for painting areas
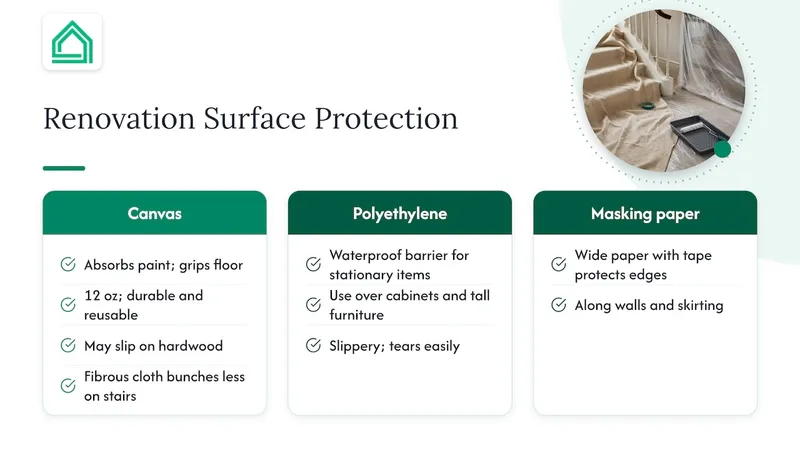
Painters tend to combine materials. According to Painters Solutions, heavy canvas drop cloths of 10 to 12 ounces grip the floor and absorb paint on contact, while thin polyethylene (one mil or thicker) forms a barrier over stationary furniture and cabinets. Wide masking paper with tape protects the edges along walls and skirting.
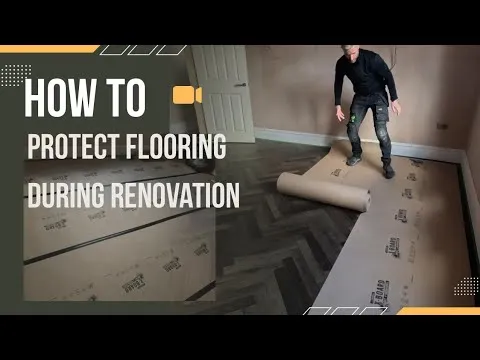
The warning that matters most for safety: Fine Homebuilding's drop-cloth comparison says plastic is lightweight and waterproof but dangerously slippery on hardwood and carpet, and tears easily. A 12-ounce canvas cloth is durable and reusable, though it can also slip on hardwood and may not lie flat. A fibrous cloth behaves better on stairs because it is less likely to bunch up. Use plastic for hanging over upper cabinets, light fittings and tall furniture, and put something grippy where people walk.
Heavy loads and appliances
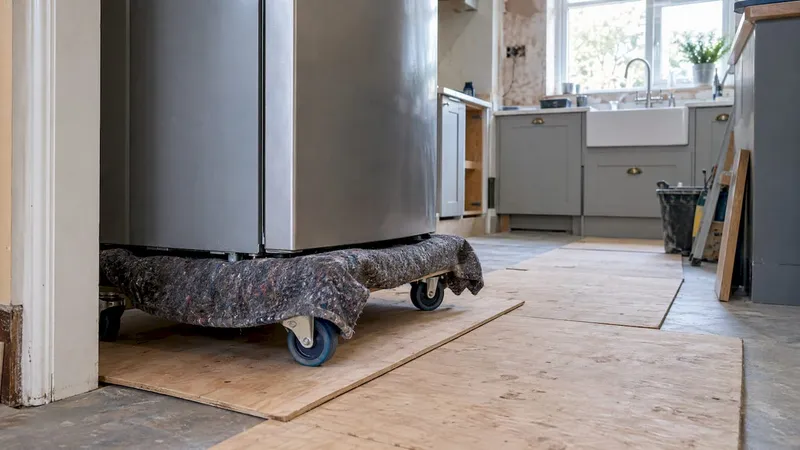
When you move appliances, Fine Homebuilding suggests a blanket-covered dolly, and setting them on plywood in the storage area to protect that floor too. Floorify adds that heavy objects should be lifted rather than slid, using furniture rollers or lifting devices, with plywood or mats where they travel.
If new tiles are part of the job, read our note on tile ordering mistakes before the boxes arrive, because stored stock needs protecting too.
How to lay and secure floor protection
Most protection failures are installation failures. Follow this sequence.
- Clean first. DG Floors puts it plainly: trapped dirt acts like sandpaper. Vacuum, then check for grit. Ram Board's guide adds that debris or raised nail heads under a board can cause the very scratching you are trying to prevent.
- Lay the base layer. Paper, felt or film suited to the surface goes down first. A professional workflow described by Fine Homebuilding covers hardwood with a lightly adhesive felt, then hardboard for maximum protection or rolled cardboard for a cheaper, easier-to-clean option.
- Overlap seams. DG Floors recommends overlapping seams by at least two inches (about 5 cm).
- Tape the cover, not the floor. Ram Board advises taping seams and edges to stop spills, paint and grout getting through, and taping to the protection itself, never directly onto the finished floor. Use painter's tape or product-specific tape: DG Floors notes duct tape leaves adhesive residue, and Floorify says to avoid aggressive tapes on delicate surfaces.
- Extend beyond the work area. DG Floors suggests at least 12 inches (about 30 cm) beyond the immediate zone, because paint spatter and dust travel farther than expected. For drywall work, include adjoining rooms.
- Secure edges and transitions. Loose edges are trip hazards as well as weak points.
- Add a doormat zone. A taped tarp or towel at the work-room doorway catches debris and gives people somewhere to wipe their feet, according to Fine Homebuilding's jobsite guide. Floorify also suggests clean walking mats at every entrance.
Where you can, use a layered approach on hallways and walkways: Fine Homebuilding recommends painter's cloth tarps along these routes and rosin paper under sheets of Masonite, thin plywood or other paneling on finished floors, so debris trapped beneath is held off the surface.
Protect doors, windows, walls and original features
Floors get the attention, but joinery, wallpaper and decorative finishes are often harder and more expensive to repair.
- Artwork and wallpaper in adjacent rooms: Fine Homebuilding advises covering them with 3-mil poly held with painter's tape, and never applying tape directly to art, wallpaper or any surface that is difficult to repair.
- Taping choices: painter's tape is fine for up to about two weeks. For longer projects or semigloss-painted trim, the same source suggests a no-residue tape, and says duct tape should only be layered over painter's tape because on its own it pulls paint off.
- Delicate or period surfaces: timber, stone, plaster and polished finishes each need a cover suited to them, and aggressive tapes belong nowhere near them.
On heritage properties, protection also touches the permit side. Our guide to historic home renovation permits explains why complete plans matter.
Control dust, because covers alone cannot
Dust finds every gap. Egnatia Construction notes that it migrates through gaps around doors, duct openings and shared circulation paths, so surface coverings alone cannot solve the problem. Isolate the work zone as well.
TRc Home Improvements sets out a thorough method, written for a bathroom but useful for any room:
- Use 6-mil polyethylene sheeting and seal the doorway first, hanging it from the top of the frame to the floor and overlapping at least 12 inches on each side, held with painter's tape.
- Cover windows completely and seal vents and extractor fans.
- Create a single access point, with a 3-foot plastic-sheeted anteroom as a buffer.
- Seal from the top down: ceiling penetrations, then outlets and switches, then skirting boards.
For air quality, the same source recommends a HEPA air purifier in the work room, run during demolition and for at least two to three hours after work ends each day. Clean daily with a HEPA-filter vacuum on horizontal surfaces, then damp-mop with microfibre. Never dry-sweep, because it kicks settled dust back up.
Moisture is the other threat. Floor Chem Depot suggests a vapour barrier beneath protective sheets where water is present, with ventilation, and keeping indoor humidity generally below 60% relative humidity for wood products.
Drywall is the dustiest stage for most interiors, so extend cover into neighbouring rooms before drywall taping and finishing begins and keep doors sealed while the work runs.
Inspect while the work is running
Protection is not a one-off job. Egnatia Construction points out that covers shift, collect dust, get wet and tear at corners, and recommends inspecting after demolition, large deliveries, rough inspections and any work involving water, adhesives, sanding or paint. Replacing a layer costs far less than refinishing a custom floor or replacing selected stone.
A simple routine:
- Weekly walk-round: look for lifted seams, tears, trapped debris and standing water.
- Every two to three weeks: lift a section and look underneath, as Ram Board advises, checking for moisture, movement or damage. Replace compromised sections and note the inspection.
- After wet trades: check straight away, especially over hardwood, as DG Floors recommends.
If you are living in the house during works, our survival guide to living at home during renovation covers the daily logistics, and the temporary kitchen setup guide helps you keep food preparation away from protected surfaces.
Remove protection and check the finishes
Do not rush the reveal. Egnatia Construction advises removing protection carefully and methodically, then inspecting each room under proper light, paying attention to reflective surfaces, edges and transitions. Record and address any issue before furniture goes back or final handover makes access difficult.
Roll up and carry covers rather than dragging them across the protected surface, as Ram Board suggests. Then photograph each room again and compare with your starting photos. Keep the results with your other paperwork: our handover checklist covers the documents that protect warranties, and the post on insurance during renovation is worth reading before work starts.
Why we plan protection as part of the project
Most damaged finishes are not down to bad luck or bad trades. They happen because nobody owned the plan. Protection sat in someone's head, the schedule moved, and the cover came off before the last messy job.
We built House A-Z for people doing this for the first time, who are often juggling spreadsheets, messages and half a dozen apps. Putting budget tracking, project management, product tracking and contractor collaboration in one place means the protection plan sits next to the schedule and the costs, so everyone works from the same picture.
Our AI agents work in plain language and use your budget, preferences and timeline to point out where a mistake could get expensive. A floor that costs thousands to refinish is worth a few pounds of board and a line in the plan.
Azai
FAQ
What do painters use to cover floors?
Most combine materials. Heavy canvas drop cloths absorb drips and are less slippery than plastic, rosin paper or contractor paper protects hard floors on longer jobs, and plastic sheeting goes over furniture or beneath heavier cloth as a moisture barrier. Low-tack painter's tape holds edges without leaving residue.
Can I use plastic sheeting to protect a hardwood floor?
Not as the main cover. Plastic is slippery underfoot and, if left sealed for long periods, can trap moisture against the wood. Breathable floor paper topped with board is the usual choice, with plastic kept for furniture and fixtures.
How far should floor protection extend?
At least 12 inches (about 30 cm) beyond the immediate work area, because spatter and dust travel farther than you expect. For drywall work, include adjacent rooms.
Which tape is safe on finished surfaces?
Tape the protection to itself where you can. Where tape must touch a surface, use low-tack painter's tape or a product-specific tape, and avoid duct tape, which leaves residue. Do not put tape on wallpaper, artwork or other surfaces that are hard to repair.
How often should I check floor protection?
Walk the site weekly and lift a section every two to three weeks to look underneath. Check straight away after wet work, deliveries or heavy traffic, and replace damaged sections immediately.
Sources
- Protect Flooring During Construction: A Practical Guide
- How to Protect Existing Finishes During Renovation
- How To Protect Home During Renovation
- The Complete Floor Protection Guide for Contractors
- How to Choose Surface Protection Products for Painting
- What's the Difference: Painting Drop Cloths
- Prepping the Jobsite for Tile Installation
- How can I best protect my floor during a renovation?
- Pro Indoor Job Site Surface Protection and Dust Control
- Temporary Floor Protection: Protect Floors During Renovation
- How to Minimize Bathroom Renovation Dust
- Drywall Taping and Finishing
- Radiant floor heating checks