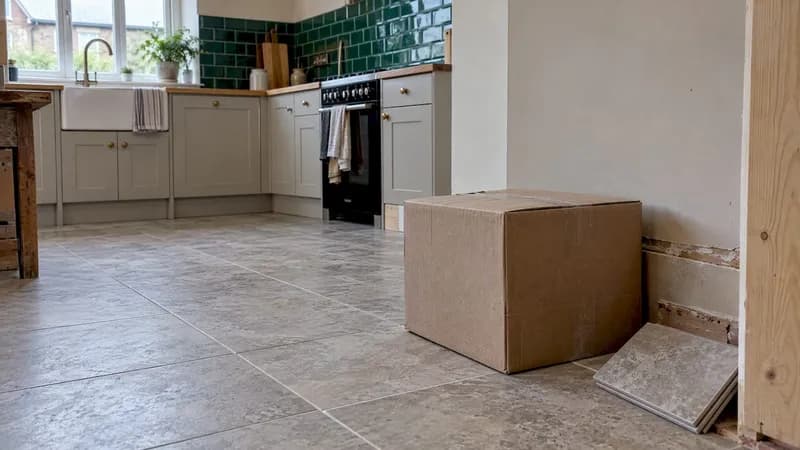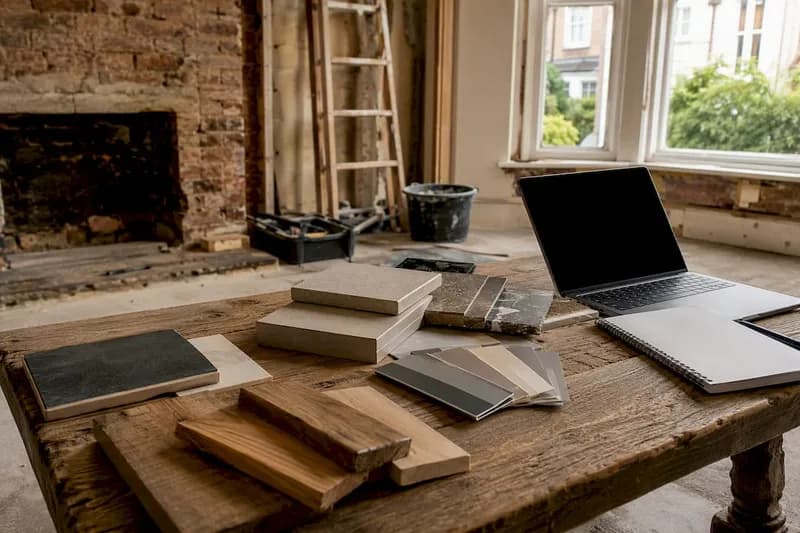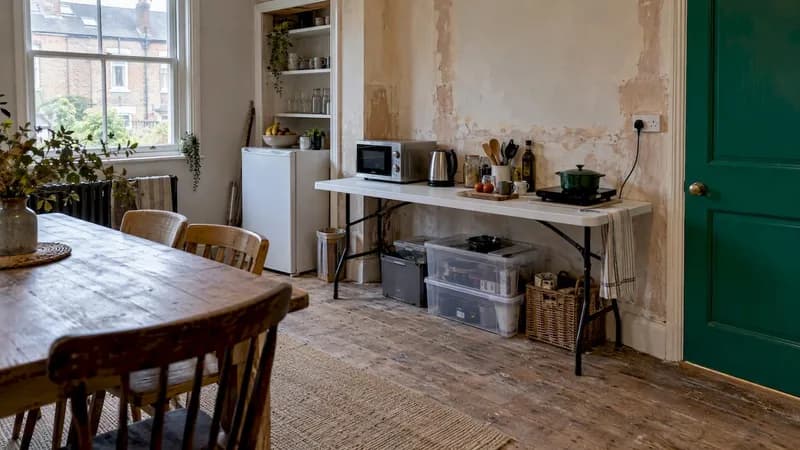
A good temporary kitchen is a small, separate service area in a room away from the building work, with one power socket per heavy appliance, a flat surface, a way to wash up and a fridge. Get those five things sorted before the old kitchen comes out and you can live well at home for weeks. Leave it to the first morning of the strip-out and every meal becomes a scramble.
This guide walks you through choosing the spot, the kit worth buying, cooking and washing up without a hob or sink, the safety checks that matter in a UK home, and how to keep the cost sensible.
TL;DR
- Pick a room away from the dust, with a socket, a flat surface and easy access to water. A dining room, utility room or garage often works.
- Build around a microwave, a kettle, a single-ring induction hob or air fryer, a mini fridge and a folding table.
- Cook in batches before the work starts, freeze in labelled portions, and wash up in a tub.
- Plug cooking appliances straight into the wall, keep the fridge at 5°C or below, and seal off dust.
- Agree the plan with your builder before work begins, and keep the setup until your new appliances are connected and tested.
Table of Contents
- Why the plan belongs in your pre-construction conversation
- Choosing where to put your temporary kitchen
- Keeping dust out of your temporary kitchen
- The equipment that earns its place
- Cooking without a kitchen
- Washing up and food storage
- Safety: power, fire and food
- Keeping it affordable, and knowing when to stop
- Our perspective
- Plan the whole renovation in one place
- FAQ
- Sources
Why the plan belongs in your pre-construction conversation
Most people treat the temporary kitchen as something to sort out when the cabinets are already in a skip. It works much better as a formal item in the conversation with your builder, as one builder's guide to kitchen remodels puts it. Ask three things up front: when will the water be off, when will the power to the kitchen circuits be off, and how many days will you be without a working hob.
Those answers decide how elaborate your setup needs to be. A three-day swap of a worktop is a different job from a ten-week full refit. If you want to see where the gaps in your own project fall, our week-by-week kitchen remodel timeline for UK homes shows when the sink, hob and power typically go out of action, and our kickoff meeting agendas give you the questions to put to the builder on day one.
Choosing where to put your temporary kitchen
Pick a spot away from construction. Dining rooms, utility rooms, garages and spare rooms are the usual candidates, and what they need is simple: an outlet, a flat prep surface and easy access to water. Think of it as a small, separate service area, not a makeshift copy of the room being rebuilt. That mindset keeps you from trying to recreate everything and getting frustrated.
A quick room-by-room check
| Location | Strengths | Watch out for |
|---|---|---|
| Dining room | Table already there, close to the old kitchen | Often shares an opening with the work zone, so dust travels |
| Utility room | Water, a sink and sockets already in place | Space is tight, and the washing machine competes for the sockets |
| Garage | Far from the dust, room for a fridge and freezer | Cold in winter, damp, few sockets |
| Spare bedroom or landing | Quiet, separate | No water, so you carry everything up and down stairs |
| Living room corner | Warm and comfortable | Cooking smells in the room where you relax |
Walk the route from the temporary kitchen to the nearest tap and to the bin. If that route crosses the building site, choose another room. Our guide to choosing an out-of-the-way room with a socket and water access is a good companion when you are weighing up the options.
Sketch it before you buy anything
Draw the space on paper or in a room-mapping tool and mark the sockets. Put the fridge near a socket, the cooking appliances on separate sockets, and the folding table in the middle so you can reach everything within two steps. The same logic behind the kitchen work triangle applies in miniature: keep cold storage, washing and heat close together, and clear of foot traffic.
Keeping dust out of your temporary kitchen
Demolition dust finds food. Hang plastic sheeting across doorways, seal any vents in the room, and run a portable HEPA filter to keep the air cleaner where you prepare food. Zip-up dust doors are cheap and make a big difference to how often you need to wipe down.
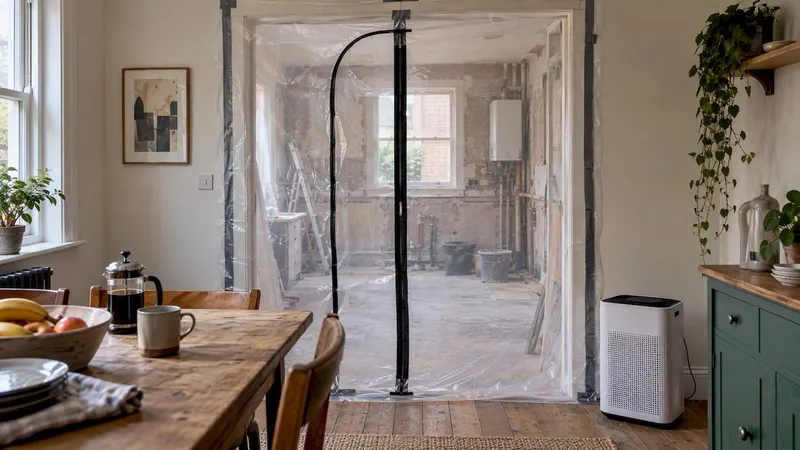
If the dust is travelling through your heating or ventilation ducts, a few quick checks help you spot the problem early. This homeowner checklist for dust coming from vents is a practical place to start. Cover food and clean utensils at all times, and store plates and cups in lidded boxes rather than open shelves.
Older houses add one more consideration. If your home was built before 2000, ask your builder whether an asbestos survey is needed before any strip-out begins, and keep your temporary kitchen well away from the work area until the answer is clear.
The equipment that earns its place
Resist the urge to buy a second kitchen. The core kit, according to a US home-improvement guide to temporary kitchens, is a microwave, a toaster oven or air fryer, an electric kettle, a coffee machine, a hot plate or portable induction cooktop, and a mini fridge or cooler. For supplies, add a folding table, dinnerware and a dish tub. The same source calls the folding table a must-have, because it becomes your counter and prep island.
A sensible starter list
- Heat: a microwave, a single or double induction hob, and an air fryer or compact oven. Pick appliances you will keep afterwards, such as in a garage, a holiday let or a student flat, so they are not a sunk cost.
- Cold: an under-counter fridge, plus a small freezer if you plan to batch cook.
- Prep: a sturdy folding table, one good knife, a chopping board, a colander and a couple of mixing bowls.
- Serving: a small set of plates, bowls, mugs and cutlery. Paper plates for the messiest weeks save washing up.
- Washing: two dish tubs (one wash, one rinse), washing-up liquid, a drying rack, and a tea towel stash.
- Storage: a pantry shelving unit or labelled plastic bins, so nothing lives on the floor.
Keep the setup simple, and only buy or hire what you will use. A good rule is to buy nothing until you have written out your next fourteen dinners and checked what each one needs.
Cooking without a kitchen
The most useful trick is to do the cooking before the work starts. Batch-prepare suitable meals, then freeze them in labelled portions. Stews, curries, chilli, soup, bolognese sauce and lasagne all freeze and reheat well in a microwave or air fryer.
For the rest, choose no-cook meals or simple recipes: salads, wraps, sandwiches, cold pasta salads, overnight oats and bowls of rice and ready-cooked protein. Fill the gaps with a few easy one-pan or air-fryer dinners and, now and then, a takeaway night.
A two-week rhythm that works
- Week before the strip-out: cook double portions of whatever you make, and freeze them flat so they stack and thaw fast.
- First days: eat from the freezer, with fresh salad or fruit alongside.
- Midweek: one air-fryer or induction-hob meal per day at most.
- Weekends: a treat meal out or a takeaway to break the routine.
- Final week: restock the mini fridge with simple ingredients so you are not running on empty when appliances arrive.
Washing up and food storage
With no sink, use a dish tub to wash up in a bathroom or utility sink. Carry dirty crockery in a tub, wash in hot water, and rinse in a second tub if you can. A drying rack by the sink saves clutter on the folding table.
If the water to the whole house will be off for a day or more, plan around it. Fill clean containers before the shutdown, keep bottled water for drinking and cooking, and stock paper plates and wipes for those days. This is also the moment to decide whether staying at home is practical for you. Our survival guide to living at home during renovation covers when staying works and when a short stay with family is easier.
For storage, keep dry goods on shelving or in labelled bins and group them by meal type: breakfast, lunch, dinner, snacks. Label the freezer portions with the date and what is inside so you can find dinner in seconds.
Safety: power, fire and food
A temporary kitchen puts more heat and more current into rooms that were never designed for it. A few habits keep it safe.
Electrics
Plug high-power cooking appliances straight into a wall socket, not an extension lead. Using several high-powered appliances on one lead can exceed its rating and cause fires. A kettle, a microwave and an air fryer together can ask for a lot of current, so spread them across different sockets, and if you are unsure whether a circuit can cope, ask a qualified electrician before you buy the kit. Do not run leads under rugs or across wet floors.
Fire
Keep tea towels, paper and packaging well clear of hot appliances. Never bring a barbecue inside: propane and charcoal grills should never be used in the home. Check your smoke alarm in the room next to the temporary kitchen, and keep a fire blanket within reach if you use an induction hob or deep-fat style air fryer.
Food
In the UK, the Food Standards Agency says your fridge should be between 0 and 5°C and your freezer around -18°C. A cheap fridge thermometer tells you whether the mini fridge is doing its job, and it is worth checking after you first plug it in. Cool cooked food promptly, split it into smaller portions, and refrigerate or freeze it within one to two hours, per the same guidance. Do not overfill a small fridge, as air needs room to circulate.
Keeping it affordable, and knowing when to stop
The cheapest temporary kitchen is the one you plan on paper. Write down the number of meals you need to cook, then decide the minimum kit to cook them. Borrow a microwave or a kettle from family, buy second-hand for anything you will not need afterwards, and hire only where a short-term need is real.
Put the line in your renovation budget rather than letting it creep. Our guide to a 4 step workflow to track your renovation budget shows how to log an item like this alongside the main build, and our kitchen renovation budget breakdown helps you see where small extras tend to add up. If you are curious why the main project costs what it does, read why kitchens are expensive to renovate.
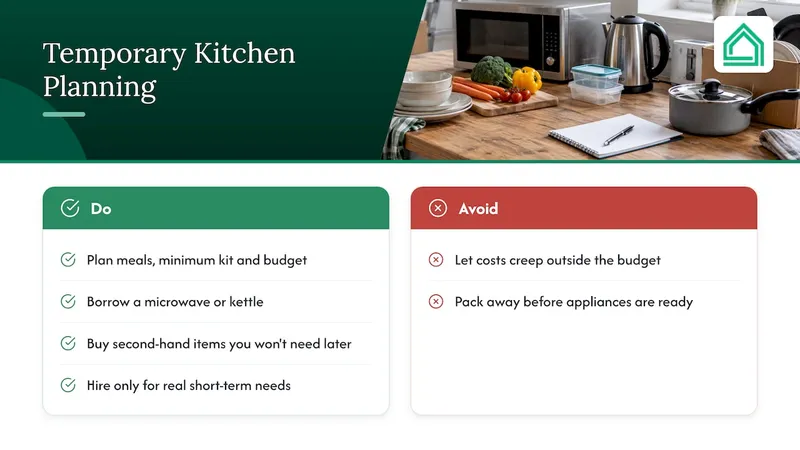
Do not pack the temporary kitchen away when the cabinets go in. You may need it until the permanent appliances are connected, tested and ready for use. Snagging and the final handover can add days, and our handover checklist shows what to confirm before you declare the kitchen finished.
Our perspective
Most temporary kitchen advice reads like a packing list. The real trouble is not the toaster oven, it is that a renovation is a hundred small decisions arriving at the same time, and the temporary kitchen is one more thing to track.
We built House A-Z for first-time builders and renovators who are tired of juggling spreadsheets and half a dozen apps. Our approach is to treat the temporary kitchen as a line in the plan, not a surprise: a budget item, a room on the floor plan, a task on the timeline and a conversation with the builder, all in the same place.
Our AI agents are designed to work in plain language and to give suggestions that reflect your budget, preferences and timeline. Ask how long you are likely to be without a hob, what the temporary setup might add to your costs, or which tasks to settle before the strip-out, and you get a clear starting point instead of a blank page. Our customers tell us that this kind of clarity is how they avoid costly mistakes, with one testimonial describing around €20K in potential errors avoided.
A calm temporary kitchen is a sign of a calm renovation. Plan it early, keep it simple, and spend your energy on the part that matters: the kitchen you will live in for the next twenty years.
Azai
Plan the whole renovation in one place
If you would like the temporary kitchen, the budget, the timeline and your builder's tasks to live in a single workspace, House A-Z has a free plan to start with. Pro is €29 per month and adds the advanced features, and Enterprise starts from €99 per month for contractors and property professionals. See the plans and pricing to find the one that fits your project, or start at House A-Z.
FAQ
How long should I plan to live with a temporary kitchen?
It depends on the size of the project, but plan for the full period from strip-out until the new appliances are connected and tested, not just until the cabinets are in. Ask your builder for a week-by-week schedule and add a few days of slack for snagging.
What is the minimum I need for a temporary kitchen?
A microwave, a kettle, a mini fridge, a folding table, a dish tub and a small set of crockery and cutlery will cover most households. Add an induction hob or air fryer if you want hot cooked meals. Start with this, live with it for a couple of days, and only then buy more.
Can I use an extension lead for my appliances?
It is best to plug high-power cooking appliances directly into wall sockets. If you must use a lead, make sure it is in good condition, rated for the combined load and not covered. Ask a qualified electrician if you are unsure about a circuit.
Where should I wash up without a sink?
Use a dish tub in a bathroom or utility room sink, with a second tub for rinsing if you have space. If the water is off, keep containers of clean water and some paper plates ready.
Sources
- How to Set Up a Temporary Kitchen When Your Real One Is Being Remodelled, Bob Vila
- Surviving a Kitchen Remodel: The Temporary Kitchen Setup, Stel Builders
- How to Plan a Temporary Kitchen During Renovation, FPCON
- How to Live in Your House During a Kitchen Remodel, Fine Homebuilding
- How to chill, freeze and defrost food safely, Food Standards Agency
- Is your extension lead safe?, Homebuilding & Renovating