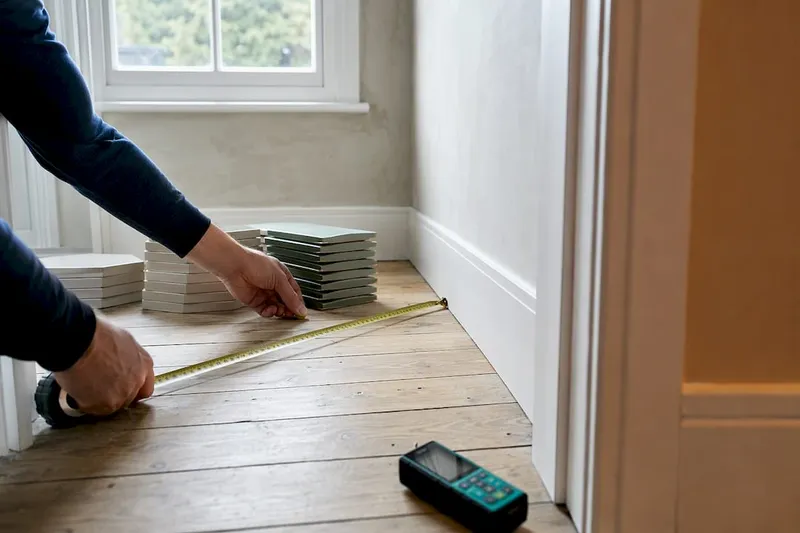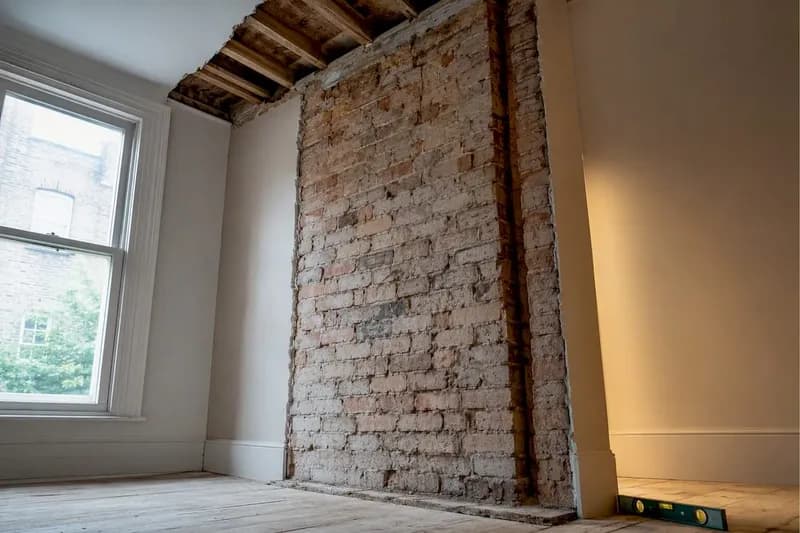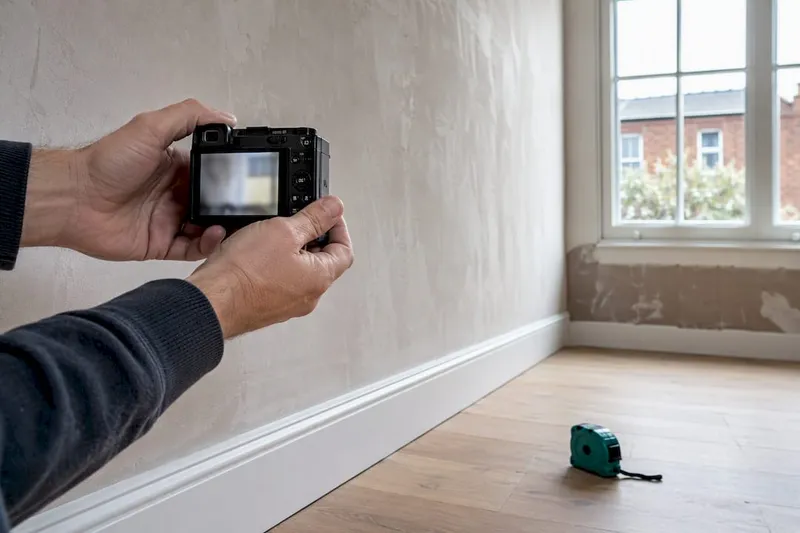
Negative space is the intentional empty area around and between objects in a room or on a plan. For builders and renovators, three things are worth checking on any drawing or site visit: whether circulation routes have enough clear width to move through comfortably, whether proportions between filled and empty areas feel balanced, and whether sightlines from key positions remain unobstructed. Get these right before a single wall goes up, and you avoid the costly rework that comes from discovering a corridor is too narrow or a kitchen island blocks the natural path to the back door.
Table of Contents
- What does negative space mean in practice?
- Why negative space matters for your build or renovation
- How to audit negative space on plans or on site
- Practical spacing rules by room
- Common pitfalls and how to fix them
- Copyable on-site audit template
- Key takeaways
- The detail that changes everything on site
- Plan smarter with House A-Z
What does negative space mean in practice?
Negative space is not simply the absence of something. According to Gestalt psychology, the brain reads figure and ground simultaneously, which means the empty areas in a room carry as much visual weight as the furniture and walls. Designers separate this into two distinct roles.
Active negative space guides the eye and structures layout. A clear hallway sightline from the front door to a garden window is a deliberate compositional choice: the void pulls you through the space and signals where to go. Passive negative space provides aesthetic relief. The open void above a low sofa in an open-plan living room lets the eye rest and makes the ceiling feel higher than it is.
The Japanese concept of ma captures this well. Roughly translated as "purposeful interval," ma describes the breathing room between things that allows each element to be properly appreciated. Thinking in terms of ma helps builders resist the instinct to fill every corner, because the void itself is doing compositional work.
Why negative space matters for your build or renovation
Poor spacing has direct, measurable consequences on a project. Fitted units positioned without accounting for the negative shape between them and the opposite wall can reduce a kitchen walkway to less than 600 mm, making the space uncomfortable and potentially non-compliant with ergonomic guidance from bodies such as RIBA. Remedial work to reposition cabinetry after installation is expensive and disruptive.
Spatial planning accuracy improves significantly when you measure the negative shapes rather than the objects. Focusing on the contours of the space around objects helps you check proportions, distances and angles more reliably than measuring the furniture alone. A practical illustration: a living room with a 3.5 m width and a 900 mm sofa on each facing wall leaves a 1.7 m central void. That void is the negative shape. Measure it, name it, and you immediately know whether it works for circulation and furniture arrangement.

When negative space is fragmented — irregular gaps, misaligned margins, inconsistent offsets — the layout feels noisy and overfilled even when individual items are well chosen. Fixing this at plan stage costs nothing. Fixing it on site costs time, materials, and often a difficult conversation with your contractor.
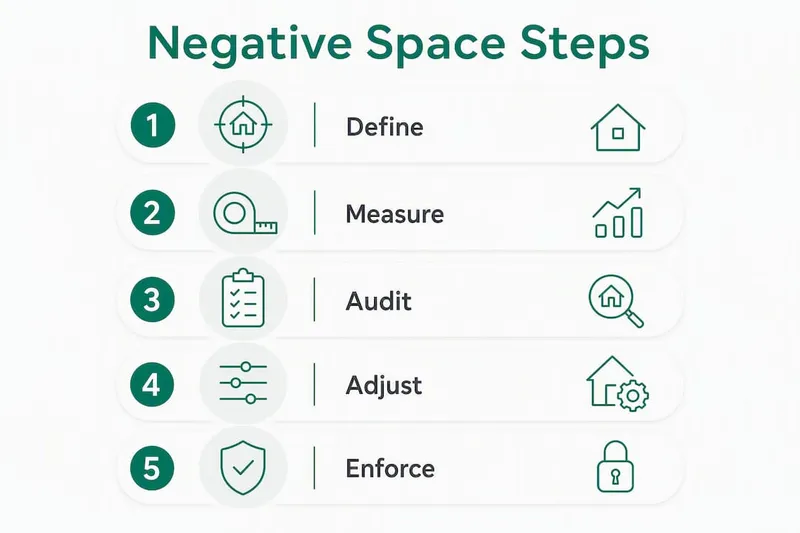
How to audit negative space on plans or on site
A structured audit takes less than an hour on most domestic plans and can be repeated at each stage of a project.
- Trace the negative shapes. On a printed plan, shade or outline the empty areas between walls, fixtures, and furniture. These shapes should be coherent and recognisable, not jagged or irregular.
- Measure key clearances. Record the width of every circulation route (hallways, kitchen walkways, bathroom turning areas). Note these against the heuristics in the next section.
- Check sightlines. Stand at the main entry point of each room (or mark it on the plan) and draw a line of sight to the primary window or focal point. Identify anything that interrupts it.
- Assess margin consistency. Measure the gap between furniture and walls, between fixtures and door swings, and between units and appliances. Inconsistent margins are the most common sign of fragmented negative space.
- Record and annotate. Note each measurement directly on the plan. Use the template in Section 7 to keep findings organised.
Checklist items to record:
- Circulation widths at every pinch point
- Offset between furniture and nearest wall or fixture
- Door swing clearances and overlap with adjacent items
- Window reveal depth and the void in front of each window
- Alignment of gaps across the room (do margins match on opposite sides?)
Pro Tip: Try the Sargent exercise: instead of looking at the objects in a room or on a plan, trace the silhouettes of the empty spaces around them. This trains your eye to perceive proportions and relationships more accurately, and it transfers directly to plan annotation and on-site checks.
Practical spacing rules by room
These are heuristics drawn from ergonomic guidance and design practice. They are not statutory minima; always verify project-specific requirements against current Building Regulations and any applicable RIBA guidance.
"The negative spaces between shapes and masses are carefully considered by designers, since they can be adjusted to enhance the action and character of the positive images. They can be as important to the design as time intervals in music." — Encyclopaedia Britannica
Hallways and circulation routes: A clear width of 900 mm is a widely used rule of thumb for comfortable single-person movement. Two people passing comfortably typically requires 1,200 mm. A hallway at 850 mm feels tight; at 1,000 mm it reads as generous without wasting floor area.
Kitchens: A minimum 1,000 mm between facing units is the standard heuristic for a working kitchen with one person; 1,200 mm allows two people to work simultaneously without obstruction. Kitchen layout decisions made at plan stage are far cheaper to adjust than after cabinetry is installed.
Living spaces: Allow at least 450 mm between a sofa and a coffee table for comfortable seated reach, and 750 mm between the coffee table and the opposite seating for easy passage. Furniture scale relative to the room's negative shapes determines whether a space reads as balanced or cramped.
Bathrooms: A 700 mm clear zone in front of a WC and 600 mm beside a basin are common ergonomic benchmarks. Thresholds and door swings need particular attention: a door that opens into a 750 mm bathroom clearance immediately reduces usable negative space to near zero.
Thresholds and door openings: Interior doors act as focal points and frame the negative space beyond them. A door positioned to reveal a sightline to a window or garden creates a sense of depth; one positioned to face a blank wall closes the view and makes the space feel smaller.
Common pitfalls and how to fix them
Most first-time builders and renovators share the same instinct: when a layout feels unresolved, add something. A shelf here, a unit there. This almost always worsens the problem by fragmenting negative space further.
Common mistakes:
- Irregular margins: gaps of 50 mm on one side and 200 mm on the other create visual noise even when both are technically usable.
- Inconsistent spacing: units aligned to different reference points produce a layout that looks unplanned.
- Overfilling: too many pieces of furniture reduce circulation to single-file routes and eliminate the passive negative space that makes a room feel calm.
- Sightline obstructions: a tall bookcase or island positioned across a natural sightline cuts the perceived depth of a room in half.
Quick fixes:
- Remove one element and reassess. The negative shape that opens up often resolves the problem without adding anything.
- Re-align items to a single reference line (wall face, grid line, or centre axis) to create consistent margins.
- Establish a spacing system: choose one increment (e.g. 150 mm or 300 mm) and apply it as the minimum gap between all items in a room. Consistency turns fragmented voids into coherent ground.
Before: A bedroom with a wardrobe 80 mm from one wall and 220 mm from the other, a bed offset from centre, and a bedside table blocking the window reveal. The room feels busy despite having only three pieces of furniture.
After: Wardrobe flush to one wall, bed centred on the chimney breast, bedside table pulled 150 mm clear of the window reveal. The negative shapes are now regular, the sightline to the window is open, and the room reads as larger.
Copyable on-site audit template
Use this checklist and table on site or when reviewing plans with your architect or contractor. Copy it into a phone note or print it before a site visit.
Checklist:
- Circulation widths measured and recorded at every pinch point
- Door swing clearances checked against adjacent furniture and fixtures
- Sightlines traced from each room entry to primary window or focal point
- Margins between furniture and walls consistent across the room
- Window reveal voids clear of obstruction
- Spacing increment applied consistently (note the increment used)
Sketching protocol: On a plan printout, shade all negative shapes in a single colour. Number each shape. Next to each number, note the measured dimension and whether it meets the relevant heuristic. Flag any shape that is irregular or smaller than the target clearance.
| Room | Key negative-shape issues | Recommended fix | Priority |
|---|---|---|---|
| Hallway | Pinch point at coat storage | Recess hooks or relocate storage | High |
| Kitchen | Walkway below 1,000 mm | Reduce island depth by — | High |
| Living room | Irregular sofa-to-wall margins | Align to 200 mm grid | Medium |
| Bathroom | Door swing overlaps WC zone | Swap to sliding or pocket door | High |
| Bedroom | Sightline to window blocked | Reposition wardrobe to side wall | Low |
Reading architectural plans alongside this template will help you annotate drawings with confidence before your next contractor meeting.
Key takeaways
Negative space is a co-equal compositional element: measure it, name it, and enforce a consistent spacing system to avoid costly remedial work on site.
| Point | Details |
|---|---|
| Define it precisely | Negative space is the intentional empty area around and between objects, not wasted room. |
| Active vs passive roles | Active negative space structures layout and guides movement; passive negative space provides visual relief. |
| Measure negative shapes | Trace and measure the voids on your plan to check proportions and clearances more accurately than measuring furniture alone. |
| Apply a spacing system | Choose one consistent increment and apply it across a room to turn fragmented voids into coherent, professional layouts. |
| House A-Z supports the audit | House A-Z's planning platform includes visual annotation, spacing-rule templates, and AI checks to flag margin and circulation issues before work begins. |
The detail that changes everything on site
The most instructive moment in any renovation is when you stand in a half-built room and realise the layout that looked fine on a drawing feels wrong in three dimensions. That is almost always a negative-space problem: a clearance that read as adequate on paper is too tight when you are actually moving through it, or a void that seemed generous has been eaten by a structural post or a door swing nobody fully modelled.
The practical lesson is straightforward. Before finalising any layout, trace the negative shapes on your plan and give each one a dimension. If a shape is irregular or unnamed, it will almost certainly cause a problem. A 50 mm difference in a kitchen walkway or a bathroom turning circle is the difference between a space that works and one that requires expensive remedial work after handover. Measure the voids, not just the objects, and you will catch these issues when they are still cheap to fix.