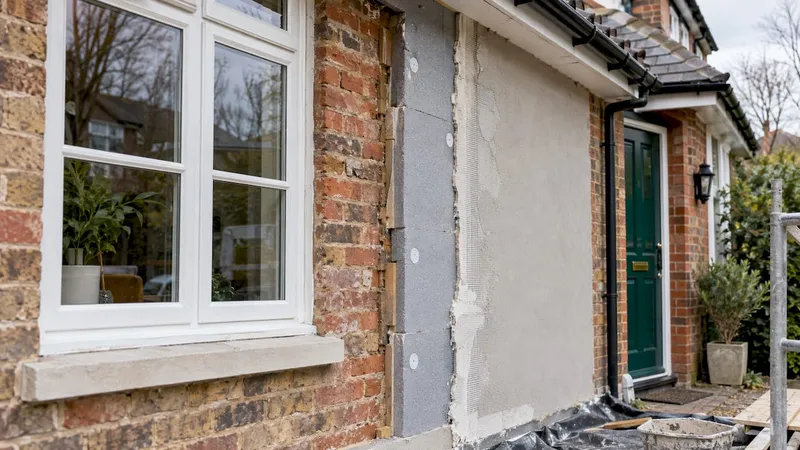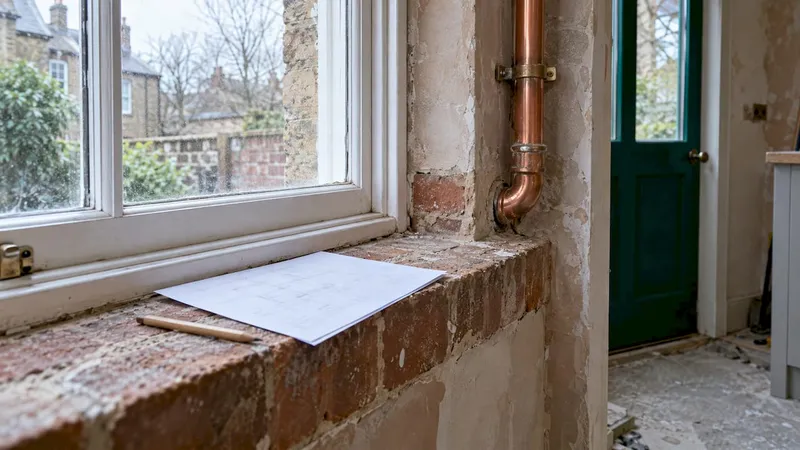
A change control process is a simple written routine for deciding whether a change to your project happens, what it costs, and who agrees to it before any work starts. On a home build or renovation it means every change, from a different tile to a moved wall, is requested, priced, approved by the right people and recorded. Nothing is left to a chat on site.
This guide walks through that routine step by step, with the rules to agree at the start, a request template, and the traps first-time builders fall into.
TL;DR
- Change control means: request in writing, assess the effect on cost, time and quality, approve or reject, record, then update the plan.
- Agree at the start who can approve a change and up to what value, and that no changed work begins until both sides have signed.
- Lock design and material choices before work begins, and hold a contingency for the changes that still arrive.
- Check whether a change touches your permit or building control approval before the work is done, not after.
- Keep one shared log of requests, prices and decisions so couples and contractors see the same numbers.
Table of Contents
- What change control means on a house project
- Why an informal approach costs more
- The change control process in seven steps
- Agree the rules before the first change
- Prevent changes before they start
- A change request you can copy
- Common mistakes
- Perspective
- Put your change log to work
- FAQ
- Sources
What change control means on a house project
In project management, change control is the discipline of identifying, documenting, approving or rejecting, and controlling changes to the project baselines. On a house, the baselines are your scope (what is being built), your budget and your programme.
The construction version of the paperwork is the change order. The Canadian Home Builders' Association describes change orders as mini-contracts: they define the altered or additional work, including payment terms, must be signed by both homeowner and contractor, and become part of the contract once signed. In the UK you will more often hear "variation" or "variation order", but the idea is the same. For a deeper primer, see our guide to what a construction change order is and why it matters.
Changes are not a sign that something went wrong. The same association points out that changes are normal, but they may increase costs or delay work, so you should discuss the implications with your renovator before agreeing. The process exists so that conversation happens every time, at the right moment.
Why an informal approach costs more
A change agreed on site is a change nobody priced. Two things then happen: the cost surprise arrives later, and memories of what was agreed differ.
There is also a pricing effect. SMACNA's contracts bulletin notes that it is common to charge 10 to 15 percent more for change order work than if it had been in the original bid, because there is no competitive tender, the change is hard to fit into the existing schedule, and the paperwork is heavy. That is a US trade body speaking about US specialty contracting, so treat the percentage as an illustration of direction, not a UK rate. The lesson travels well: decisions made before the contract is signed are cheaper than decisions made halfway through.
On fixed-price and guaranteed-maximum-price contracts, the Construction Institute notes the impact is most severe, because each change alters the basis on which timing and price were set. It recommends a team approach and open communication between owner and contractor.

The change control process in seven steps
1. Raise a written change request
Anyone on the project can ask for a change, but the request goes on paper (or into a shared log) before anything else happens. A clear request names what is changing, why, where on the drawings, and who is asking.
SMACNA, citing several US contractor associations, says a change proposal request should at minimum include the reason for the change with reference to plans and specifications, the effect on contract time and price, and a definite time period for the owner to accept or reject. That last item is easy to forget and very useful: a price that stays open for ever is a price that drifts.
2. Log it
Give each request a number and a date. A simple register with columns for request number, description, requested by, cost effect, time effect, status and decision date is enough for a house. The point is that nothing exists only in a text message.
3. Assess the impact
Before deciding, look at the change from five angles: scope, schedule, budget, quality and risk, including whether it is feasible and what resources it needs. This is the standard checklist used for project change boards, and it scales down well to a kitchen extension.
On a home project, ask:
- Scope: which other items does this touch? Moving a socket may mean moving a unit.
- Budget: the direct cost, plus any knock-on cost such as redoing finished work.
- Schedule: does it delay ordering, a trade's slot or an inspection?
- Quality: does it affect waterproofing, structure, fire safety or insulation?
- Risk: does it need new approvals, or a new supplier with a long lead time?
4. Check rules and approvals
Some changes need more than your contractor's agreement. Before you commit, check the contract, your planning permission or permit conditions, and building control. Rules vary by place, and the research we looked at shows the pattern clearly even from different countries:
- In Tracy, California, changes during construction or to structural features must be reviewed and approved by the Building Safety Division, with revisions billed hourly.
- In San Marcos, Texas, plan revisions must be uploaded for staff review before the changes are made, and the final certificate is withheld until all changes are documented and approved.
- In Richmond, Virginia, revised plans reflecting the changes are required before the work is started.
Those are US examples, not UK rules. In Britain the same principle applies in spirit: if your project has building regulations approval, planning permission or a party wall agreement, ask your local authority building control team or your approved inspector whether a change needs notifying first. Our guide to what first-time builders must check on drawings shows how to spot approval-sensitive items early.
5. Decide: approve, reject or defer
There are three honest outcomes. Approve as priced, reject, or defer to a later phase when it is cheaper to do. Deferral is underused: many "must haves" mid-build become easy after completion.
The decision should be made by whoever has the authority. The UK Government's Teal Book says change requests should be decided by those with authority within set tolerances, with a tiered delegation system defining approval limits and escalation. Written for public projects, it still gives a handy model for a household.
6. Record and sign
An approved change becomes a signed change order: description, drawings affected, price, effect on the programme, and signatures from both sides. Only then does the work start. If the change is small, a one-page form is fine. If it is large, the contractor's quote should be attached.
7. Implement, update and verify
After approval, update the budget, the programme and the drawings, and tell everyone affected. The tiler needs to know the plumber's pipe has moved. Then check the finished work against the change order, not against memory, and mark the request closed in your log.
Agree the rules before the first change
The cheapest part of change control is the conversation at the start. Before the contract is signed, settle these points:
- What counts as a change: anything outside the written scope and drawings.
- How it is priced: fixed quote, day rate, or cost plus a stated margin.
- Who may approve: for a couple, both partners above a set amount; for a contractor, only a named person on site.
- How fast: how many days a price stays valid, and how long you have to answer.
- No signature, no work: the contractor does not start, and you do not instruct trades directly.
- Effect on completion date: each change order states any extension.
Honey-Doers' prevention checklist, from a US remodelling company, makes the same point: agree the change order process in writing, specifying what triggers one and how it is priced, with both parties signing before work proceeds.
Contractor choice matters here too. A builder who already works to written variations makes this easy, and our piece on contractor selection criteria covers how to spot one.
Prevent changes before they start
The best change order is the one you never need. Most of the avoidable ones come from decisions made late.
- Write a detailed scope. Vague scope turns into disputes about what was included.
- Finalise selections before demolition. The same checklist recommends finalised materials, early ordering of long-lead items and realistic allowances, plus locking design decisions so later changes go through a formal change order.
- Level your bids. When quotes compare like with like, gaps in scope show up before the contract, not after. See our bid levelling workflow.
- Check provisional and prime cost sums. Allowances set too low are a classic source of "extras". Our checks on prime cost items help.
- Hold a contingency. The same checklist suggests 10 to 20% of project cost for remodels, higher for older homes. Our guides on how much contingency to set aside and a room-by-room 10% budget show how to build it in. If you are also thinking about how deposits and cash reserves are staged, this explanation of deposit and contingency planning gives a useful comparison.
A change request you can copy
| Field | What to write |
|---|---|
| Request number and date | CR-007, today's date |
| Requested by | Name, role |
| What changes | One sentence, with drawing or room reference |
| Why | Preference, site condition, regulation, error |
| Cost effect | Quote attached, in pounds, including VAT status |
| Time effect | Days added or none |
| Approvals needed | Contract, building control, permit, neighbour |
| Valid until | A set number of days |
| Decision | Approved, rejected, deferred |
| Signed by | Homeowner(s) and contractor, with dates |
Keep the log in one place. Spreadsheets and message threads split the story, and the person who needs the latest number is never the person who has it.
Common mistakes
Agreeing by text on site. It feels fast. It is also the source of most arguments at final payment.
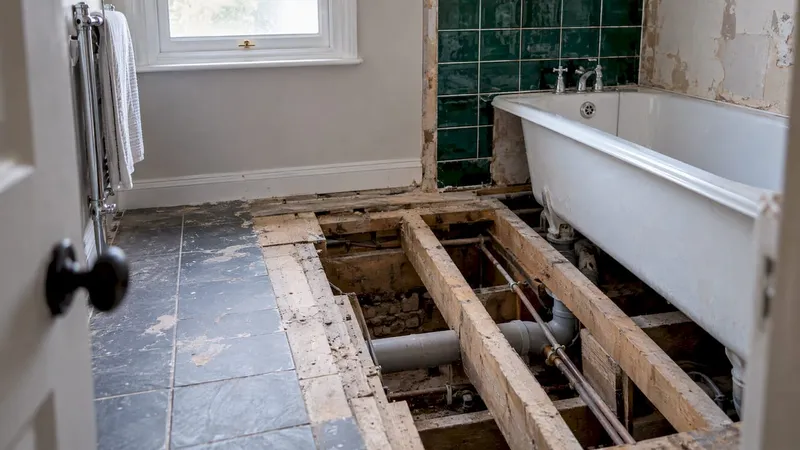
Changing one thing, forgetting the chain. A moved bath affects drainage, floor, tiles and sometimes joists. Assess the knock-on effect before you say yes.
Letting the budget absorb changes silently. If you do not update the budget after each approval, you will not know your real position until the end. Our four-step workflow for tracking a renovation budget keeps the running total honest.
Skipping permission checks. An unapproved change can hold up sign-off at the end, when you least want it.
Perspective
We built House A-Z because first-time builders are asked to run a small construction company with a spreadsheet and a group chat. Change control is where that goes wrong first. Nobody forgets the big decisions. It is the fifty small ones that quietly add up.
Our view is that a change process only works if it is easier than ignoring it. That is why we put the budget, room layouts, product choices and project tasks in one place, so a proposed change can be seen against the real numbers before anyone says yes.
Our AI agents are designed to work in plain language and to respond to your budget, preferences and timeline, so you can ask what a change might do before it reaches the contractor. Couples and contractors can see the same plan, which means fewer "I thought we agreed" moments. One of our users told us the platform helped them avoid about €20K of potential errors. That is the kind of clarity we want every build to have.
Azai
Put your change log to work
If you want the log, the budget and the plan in one place, House A-Z has a free plan for basic use, Pro at 29 € per month, and Enterprise from 99 € per month for professional and contractor use. You can compare them on the House A-Z pricing page, or start from the House A-Z homepage and set up your first project today.
FAQ
What are the steps in a change control process?
Raise a written request, log it, assess the effect on scope, cost, time, quality and risk, check contract and permit rules, decide, then record the signed change and update the plan. Close the request once the work is checked. On a house, the whole cycle can fit on one page per change.
Who should approve changes on a home renovation?
Agree this before the contract is signed. Typically the homeowner (both partners above a set value) approves and the contractor's named representative accepts. The UK Government's Teal Book recommends tiered limits with escalation, a model you can shrink to household size.
What is the difference between change control and a change order?
Change control is the whole process for managing changes. A change order is its output: the signed document that amends the contract with the new scope, price and time. One is the routine, the other is the record.
Do all changes need a signed document?
On paid work, yes, if they affect price, time or scope. Even small items are best recorded in the log with a short note and an agreed price. Anything that touches structure, fire safety or your approvals should be signed and, where relevant, checked with building control first.
Sources
- The Renovation Process, Canadian Home Builders' Association
- Contracts Bulletin #98 Change Orders and Extra Work, SMACNA
- The Impact of Changes on Construction Cost and Schedule, Construction Institute
- Change Control Boards in Project Management, Bakkah
- Chapter 22: Change control, Government Project Delivery (Teal Book)
- Building Safety Division homeowners guide, City of Tracy
- Homeowners Residential Building Permit Process Guide, City of Richmond
- Home Remodel Change Orders, Honey-Doers